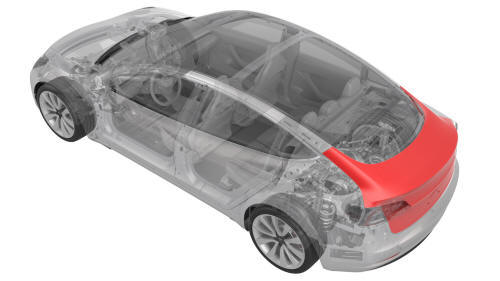
Tesla Model 3: Trunk (Remove and Replace)
Trunk (Remove and Replace)- Remove
- Remove the rear license plate.
- Remove the trunk lid trim. See Trim - Lid - Trunk (Remove and Replace).
- Remove the LH and RH rear fog/reverse lights. See Light - Fog / Reverse
- Rear - LH (Remove and Replace).
- Remove the trunk exterior release switch. See Switch - Exterior Release
- Trunk (Remove and Replace).
- Remove the LH and RH license plate lights. See Light - License Plate
(Remove and Replace).
- Remove the trunk latch. See Latch - Trunk (Remove and Replace).
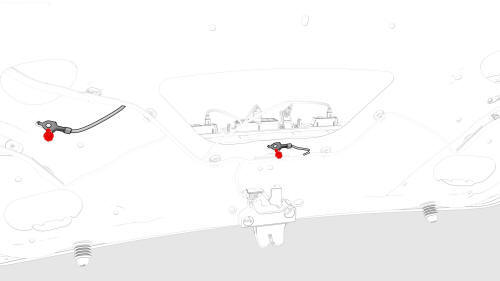
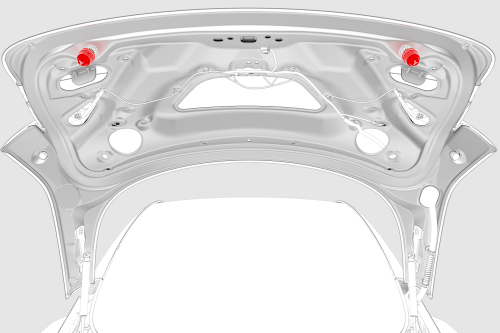
- Remove and discard the bolts (x2) that attach the trunk electrical
harness ground straps to the trunk lid.
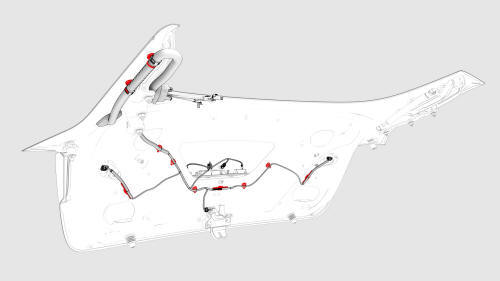
- Release the clips that attach the trunk electrical harness to the trunk
lid.
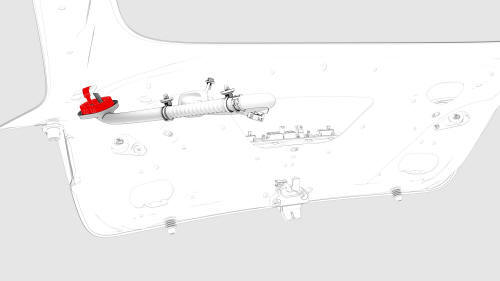
- Release the electrical harness boot, and then move the trunk electrical
harness through the trunk lid bulkhead and out of the trunk lid.
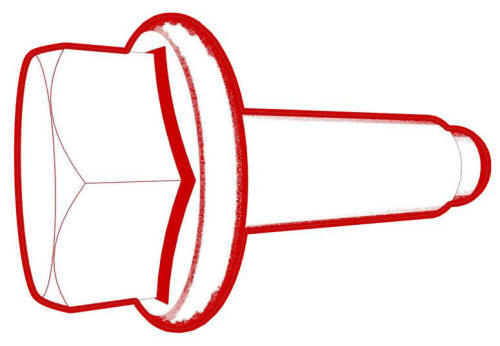
- Release the clips that attach the LH and RH bump stops to the trunk lid,
and then remove the stops from the trunk lid.
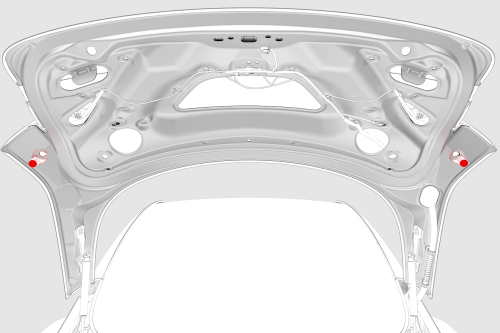
- Unscrew the LH and RH over-slam bumpers from the trunk lid.

LH
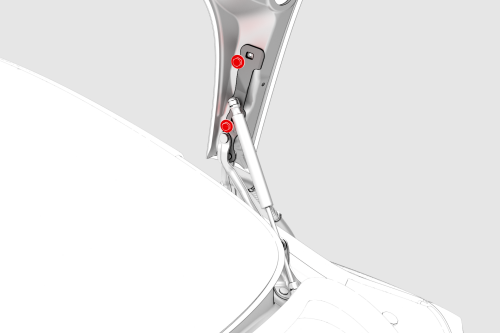
- With assistance, remove the bolts that attach the trunk lid to the trunk
hinges, and then remove the trunk from the hinges.
Caution:
Remove the bolts furthest from the body first, lift up on the trunk
lid, and while doing so, remove the bolts closest to the body.
RH
Trunk (Remove and Replace)- Install
Install
LH
RH
- With assistance, install the trunk to the trunk hinges, and then install
the bolts that attach the trunk lid to the trunk hinges.
Caution:
Install the bolts closest to the body first, and then install the bolts
furthest from the body.
Note: Hand tighten, but do not torque the bolts at this time.
- Screw the LH and RH over-slam bumpers into the trunk lid.
- Install the LH and RH bump stops into the trunk lid, and then fasten the
clips that attach the stops to the lid.
- Move the electrical harness in through the trunk lid bulkhead, and
attach the harness boot to the trunk lid.
- Fasten the clips that attach the trunk electrical harness to the trunk
lid.
- Install new bolts (x2) to attach the trunk electrical harness ground
straps to the trunk lid.
 Torque 8 Nm
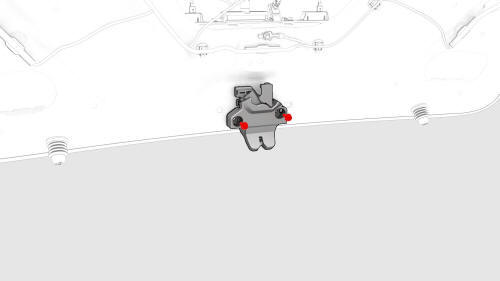
- Install the trunk latch to the trunk lid, and then install the bolts
that attach the latch to the trunk lid.
Note: Hand tighten, but do not torque the bolts at this time.
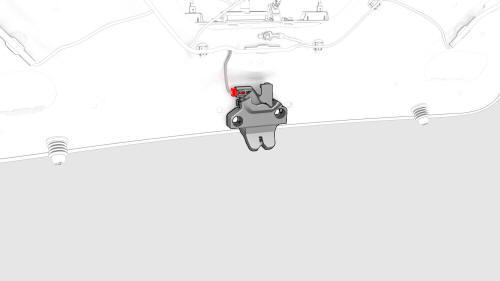
- Connect the electrical connector to the trunk latch.
- Install the LH and RH license plate lights. See Light - License Plate
(Remove and Replace).
- Install the trunk exterior release switch. See Switch - Exterior Release
- Trunk (Remove and Replace).
- Install the LH and RH rear fog/reverse lights. See Light - Fog / Reverse
- Rear - LH (Remove and Replace).
| Location |
Gap |
Flush |
| Trunk lid lower
edge to rear lower fascia |
4.5 mm +2.5/-2.0
mm |
3.0 mm +4.5/-3.5
mm |
| Trunk lid side
edge to rear side fascia |
N/A |
3.0 mm +1.5/-3.0
mm |
| Fog/reverse
light to tailight |
3.5 mm +3.0/-2.5
mm |
1.0 mm +1.7/-2.5
mm |
- Carefully close the trunk and check the trunk to body gap and fitment.
- Open the trunk, loosen the hinge bolts, adjust the trunk lid position,
and tighten the bolts.
- Repeat step 12 and step 13 until the gap and flush is minimal and
uniform.
- Torque the hinge bolts to specification.
 Torque 24 Nm
- Torque the trunk latch bolts to specification.
 Torque 8 Nm
- Install the trunk lid trim. See Trim - Lid - Trunk (Remove and Replace).
- Use IPA wipes to thoroughly clean these locations on the trunk lid:
-
Hinge bolts, washers and surrounding area
-
Area between the trunk lid lower lip and trunk latch
-
Trunk lid badge area above license plate location
- Vigorously shake the vehicle color touch-up paint applicator for several
minutes.
- Apply a coat of touch-up paint to the discolored areas of the hinge
bolts and washers, and allow at least 20 minutes to dry.
Note: Perform the remainder of this procedure while the touch-up
paint dries.
- Affix a new emissions sticker to the trunk lid, in the gap between the
trunk lid lower lip and the trunk latch.
- Install the rear Tesla badge. See Tesla Badge - Rear (Remove and
Replace).
- Install the rear license plate.
.png) Torque 1.5 Nm
Torque 1.5 Nm
READ NEXT:
SEE MORE:
Remove
Remove the driver headrest trim from the seat. See
Trim - Headrest - Driver (Remove and Replace).
Release the clips that attach the seat back shell to the driver seat,
lift up on the shell to unhook it from the seat back frame, and lay the
shell back.
Release
Install
Glove box harness connectors
Bring the glove box into the vehicle, and then connect the electrical
harness to the glove box solenoid connector, the damper connector, and the
puddle light connector
Note: 2 of the electrical connectors are accessed from the bottom
of the instrument
 Shell - Seat Back - Driver (Remove and Replace)
