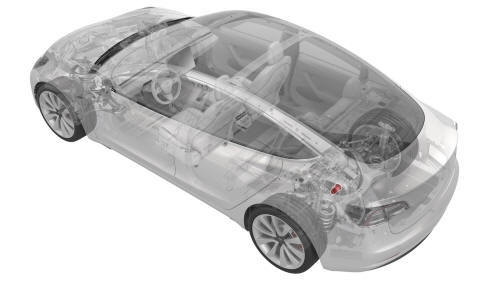
Tesla Model 3: Oil Pump - Rear Drive Unit(Remove and Replace)
Tesla Model 3 2017-2026 Service Manual / Rear Drive Unit / Rear Gearbox and Halfshafts / Oil Pump - Rear Drive Unit(Remove and Replace)
Remove
- Disconnect 12V power. See 12V Power (Disconnect and Connect).
- Drain the gearbox fluid from the rear drive unit. See Gearbox Fluid - Rear Drive Unit (Drain and Refill).
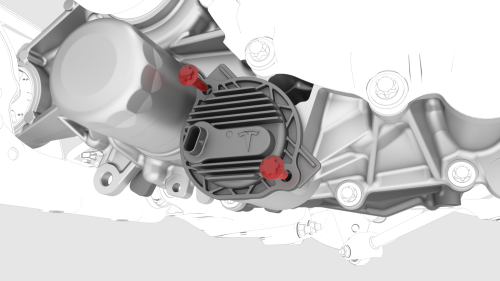
- Remove the bolts that attach the oil pump to the rear drive unit, and then remove the pump from the rear drive unit.
- Use a pry tool to lever against the rear drive unit to loosen the oil pump.
- Remove the oil pump from the rear drive unit assembly.
Install
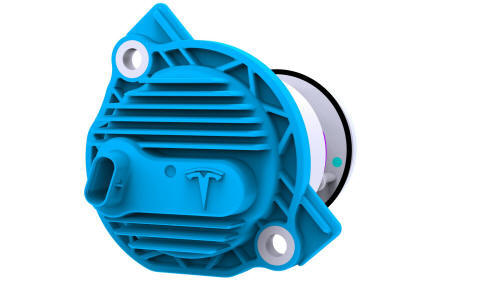
- Lightly coat the oil pump O-rings with clean ATF-9 fluid.
- Install the oil pump into the rear drive unit, and then install the
bolts that attach the oil pump to the rear drive unit.
 Torque 5 Nm + 20 degrees
 - Refill the gearbox fluid for the rear drive unit fluid. See Gearbox Fluid - Rear Drive Unit (Drain and Refill).
- Connect 12V power. See 12V Power (Disconnect and Connect).
- Use Toolbox to update the vehicle firmware.
READ NEXT:
 Oil Screen - Rear Drive Unit
(Remove and Replace)
Oil Screen - Rear Drive Unit
(Remove and Replace)
SPECIAL TOOLS
Tool, Oil Pump Screen Removal, Model 3 (1140378-00-A)
Remove
Remove the oil pump. See
Oil Pump - Rear Drive Unit (Remove and Replace).
Use the special tool to remove the oil sc
Seal - Oil - Differential to
Halfshaft - Rear Drive Unit - LH
(Remove and Replace)
SPECIAL TOOLS
Adapter, Coolant Reservoir Pressure Test (1130942-00-B)
Install Tool, Output Seal, Model 3 (1131206-00-A)
Remove
Remove the LH rear drive unit halfshaft. See
Halfshaft - Rear Driv
SEE MORE:
Filter - Oil - Rear Drive Unit (Remove and
Replace)
SPECIAL TOOLS
Skt, Oil Filter, 63.5mm X 14
(1130484-00-A)
Kit, Drive Unit Oil Drain, Model
3 (1134264-00-A)
Procedure
Replace the oil filter according
to the gearbox fluid procedure. See
Door - Front - LH (Remove and Replace)
Remove
Disconnect 12V power.
Remove the LH front door trim panel.
Remove the LH front door inner belt seal.
Remove the LH front door outer belt seal.
Remove the LH front window motor/regulator assembly.
Remove the LH door exterior release handle.
Remove the LH front door latch.
Remove
© 2019-2026 Copyright www.tmodel3.com
