
Tesla Model 3: Oil Screen - Rear Drive Unit (Remove and Replace)
Tesla Model 3 2017-2026 Service Manual / Rear Drive Unit / Rear Gearbox and Halfshafts / Oil Screen - Rear Drive Unit
(Remove and Replace)
SPECIAL TOOLS
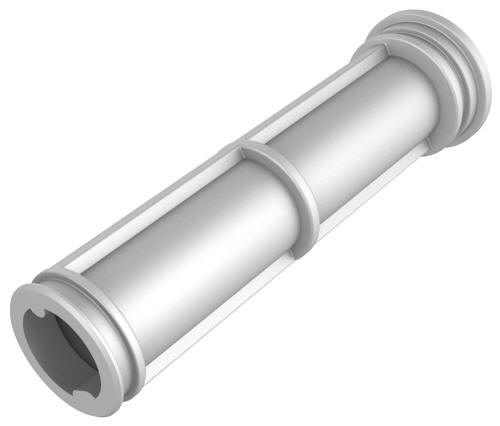
Tool, Oil Pump Screen Removal, Model 3 (1140378-00-A)
Remove
- Remove the oil pump. See Oil Pump - Rear Drive Unit (Remove and Replace).
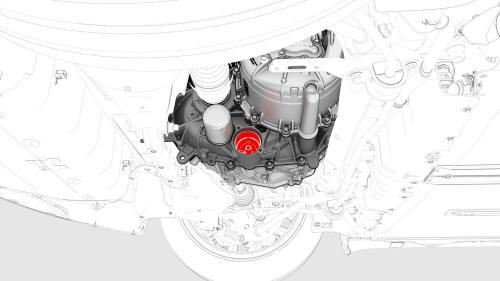
- Use the special tool to remove the oil screen from the rear drive unit.
Install
Installation procedure is the reverse of removal
READ NEXT:
 Seal - Oil - Differential to
Halfshaft - Rear Drive Unit - LH
(Remove and Replace)
Seal - Oil - Differential to
Halfshaft - Rear Drive Unit - LH
(Remove and Replace)
SPECIAL TOOLS
Adapter, Coolant Reservoir Pressure Test (1130942-00-B)
Install Tool, Output Seal, Model 3 (1131206-00-A)
Remove
Remove the LH rear drive unit halfshaft. See
Halfshaft - Rear Driv
SEE MORE:
Harness - Charge Port to HV Battery (Three-Phase) (Remove and Replace)
Harness - Charge Port to HV Battery (Three-Phase) - Remove
Remove
Open all doors and windows.
Move the driver seat and front passenger seat fully
forward.
Remove the 2nd row lower seat cushion. See
USB Hub - Center Console - Rear (Remove and Replace)
Remove
Remove the center console air vent panel. See Panel - Air Vent - Center
Console (Remove and Replace).
Remove the screws that attach the vent unit to the center console air
vent panel, and remove the vent unit from the panel
Torque 1.6 Nm
Remove the screws that attach the r
© 2019-2026 Copyright www.tmodel3.com
