Tesla Model 3: Speaker - Emergency (Remove and Replace)
Tesla Model 3 2017-2026 Service Manual / Infotainment / Audio System - Speakers Subwoofer Amplifier / Speaker - Emergency (Remove and Replace)
Remove
- Remove the RH footwell cover. See Cover - Footwell - Passenger (LHD) (Remove and Replace).
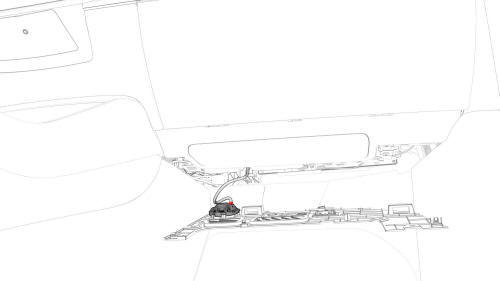
- Disconnect the electrical connector for the emergency speaker.
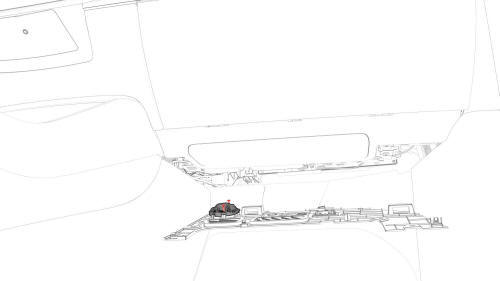
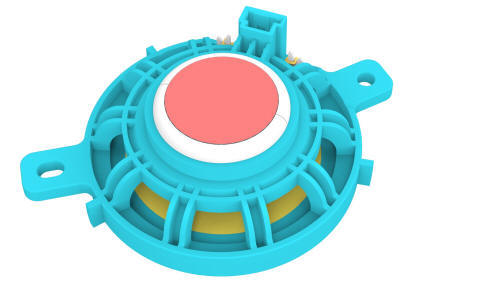
- Release the screws that attach the emergency speaker to the RH footwell
cover, and then remove the emergency speaker.
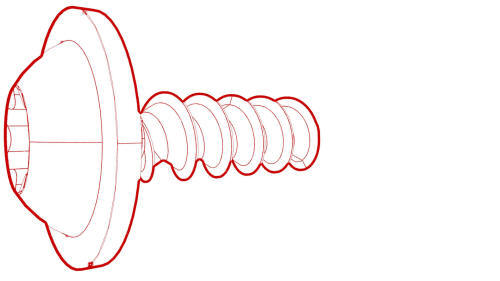 Torque 0.9 Nm
Install
Installation procedure is the reverse of removal.
READ NEXT:
 Speaker - Front Door - LH (Remove and Replace)
Remove
Remove the LH front door trim panel. See Panel - Door Trim - Front - LH
(Remove and Replace).
Disconnect the electrical connector from the front door speaker.
Remove the screws
Speaker - Parcel Shelf - LH (Remove and Replace)
Note:
This procedure was formulated using a release candidate or production
model. Follow safety requirements and use extreme caution when working on or
near high-voltage systems and components.
Subwoofer (Remove and Replace)
Remove
Disconnect 12V power. See 12V Power (Disconnect and Connect).
Remove the RH trunk side trim. See Trim - Side - Trunk - RH (Remove and
Replace).
Disconnect the electrical harness fro
SEE MORE:
HV Battery (Dual Motor) (Remove and Install)
HV
Battery (Dual Motor) - Remove
SPECIAL TOOLSAdapter, Lift Pad, Model 3 (1453419-00-A)Key, Seat Belt Release, Model 3 (1133787-00-A)
ASY, Battery Table, Manual Lift (1020566-00-F)Top Plate, Battery Table, Manual Lift (1020566-99-A)
Hoist, H-Frame EMEA (1129166-00-A)Kit, Alignment
Seal - Oil - Differential to Halfshaft - Front Drive Unit - LH (Remove and
Replace)
SPECIAL TOOLS
Tool, Axle Extraction, Model 3 (1133386-00-A)
Tool, Hub Puller, Hydraulic (1096075-00-A)
Install Tool, Output Seal, Model 3 (1131206-00-A)
Tool, Seal Puller, Adjustable (1052583-00-A)
Remove
Remove the LH front drive unit halfshaft. See
Halfshaft - Front Drive Unit - LH (Remove an
© 2019-2026 Copyright www.tmodel3.com
