Tesla Model 3: Speaker - Front Door - LH (Remove and Replace)
Tesla Model 3 2017-2026 Service Manual / Infotainment / Audio System - Speakers Subwoofer Amplifier / Speaker - Front Door - LH (Remove and Replace)
Remove
- Remove the LH front door trim panel. See Panel - Door Trim - Front - LH (Remove and Replace).
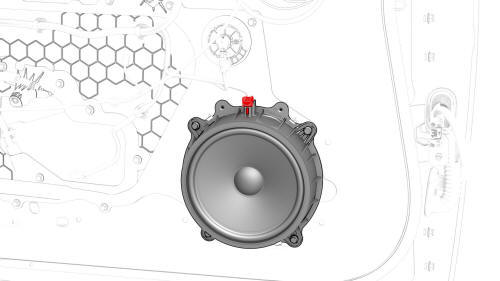
- Disconnect the electrical connector from the front door speaker.
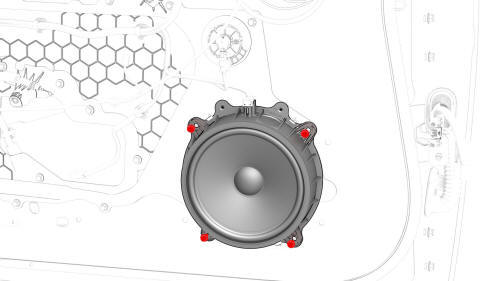
- Remove the screws that attach the front door speaker to the door, and
then remove the speaker.
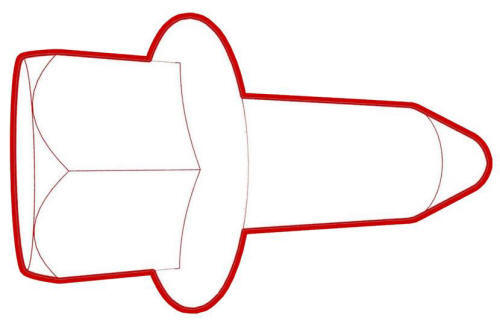 Torque 4 Nm

Install
Installation procedure is the reverse of removal.
READ NEXT:
 Speaker - Parcel Shelf - LH (Remove and Replace)
Note:
This procedure was formulated using a release candidate or production
model. Follow safety requirements and use extreme caution when working on or
near high-voltage systems and components.
Subwoofer (Remove and Replace)
Remove
Disconnect 12V power. See 12V Power (Disconnect and Connect).
Remove the RH trunk side trim. See Trim - Side - Trunk - RH (Remove and
Replace).
Disconnect the electrical harness fro
Tweeter - Dash (Remove and Replace)
Remove
Remove the LH and RH instrument panel end caps. See End Cap - Instrument
Panel - LH (Remove and Replace).
Remove the LH and RH mid A-pillar trims. See Trim - A-Pillar - Middle -
LH (Re
SEE MORE:
Suspension - Front (Check Torque)
Procedure
Remove the LH and RH front wheels. See
Wheel (Remove and Install).
Remove the front aero shield panel. See
Panel - Aero Shield - Front (Remove and Replace).
Remove the clips (x2) that attach the valance to the front stabilizer
bar brackets.
Check the torque for the nuts th
Windows
Opening and Closing
Press down on a switch to lower the
associated window. Window switches operate
at two levels:
To lower a window fully, press the switch
all the way down and immediately release.
To lower a window partially, press the
switch gently and release when the
window is whe
© 2019-2026 Copyright www.tmodel3.com
