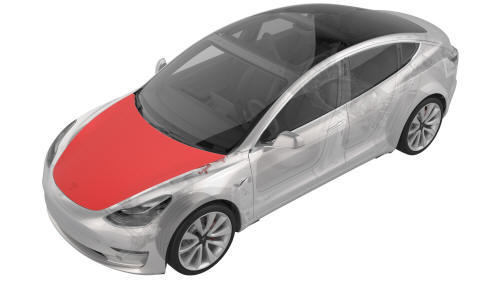
Tesla Model 3: Hood (Remove and Install)
Remove
- Remove the LH and RH hood gas struts. See Gas Strut - Hood - LH (Remove and Replace).
- Use tape to mark the mounting locations of the LH and RH hood hinges on the hood.
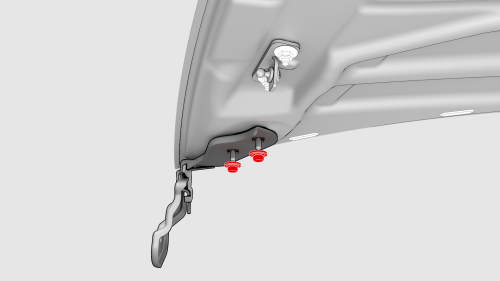
- With an assistant, remove the nuts that attach the hood assembly to the LH and RH hood hinges.
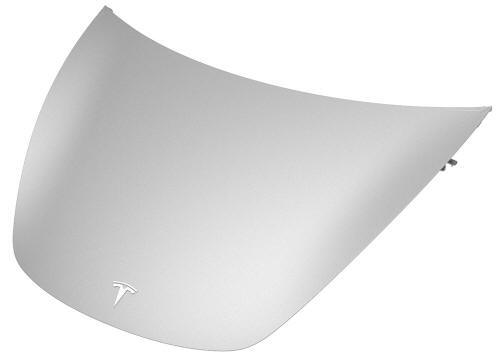
- With an assistant, remove the hood assembly from the vehicle and place
it on a padded surface.
Install
- With an assistant, install the hood assembly onto the vehicle and align the tape marks with the hood hinges.
- Loosely install the nuts that attach the hood assembly to the LH and RH hood hinges, but do not tighten the nuts at this time.
- Use a prop to attach the hood assembly in the open position
- Install the clips that attach the LH and RH hood gas struts to the hood assembly.
- Perform gap and flush adjustments on the hood assembly, if necessary.
- Tighten the nuts that attach the hood assembly to the LH and RH hood hinges, and then remove the tape used to mark the hood hinge mounting locations. Torque 15 Nm
READ NEXT:
 Hood (Remove and Replace)
Hood (Remove and Replace)- Remove
This procedure assumes the hood striker, hinges, bump stops, and plugs are
undamaged. Inspect these components from the old hood and if necessary, replace
with n
SEE MORE:
Beam - 12V Battery (RWD) (Remove and Replace)
Beam - 12V Battery (RWD) - Remove
Remove
Remove the 2nd row lower seat cushion. See
Seat Cushion - Lower - 2nd Row (Remove and Replace).
Remove the rear underhood apron. See
Underhood Apron - Rear (Remove and Replace).
Remove the cabin intake duct. See
Duct - Cabin Intake (Remove and Replac
Antenna - Bluetooth Passive Entry - Front (Remove and Replace)
Remove
Raise and support the vehicle. See
Raise Vehicle - 2 Post Lift.
Remove the rear underhood apron. See
Underhood Apron - Rear (Remove and Replace).
Remove the cabin intake duct. See
Duct - Cabin Intake (Remove and Replace).
Remove the hood latch cover. See
Cover - Hood Latch (Remove an
© 2019-2026 Copyright www.tmodel3.com
