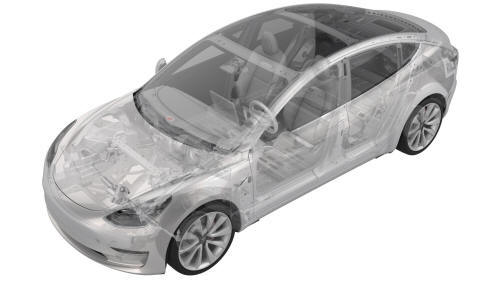
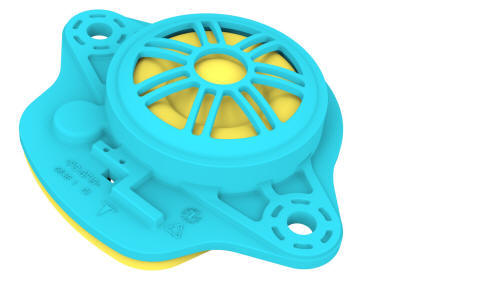
Tesla Model 3: Tweeter - Dash (Remove and Replace)
Tesla Model 3 2017-2026 Service Manual / Infotainment / Audio System - Speakers Subwoofer Amplifier / Tweeter - Dash (Remove and Replace)
Remove
- Remove the LH and RH instrument panel end caps. See End Cap - Instrument Panel - LH (Remove and Replace).
- Remove the LH and RH mid A-pillar trims. See Trim - A-Pillar - Middle - LH (Remove and Replace).
- Remove the LH and RH upper A-pillar trims. See Trim - A-Pillar - Upper - LH (Remove and Replace).
- Remove the instrument panel speaker grille. See Grille - Speaker - Instrument Panel (Remove and Replace).
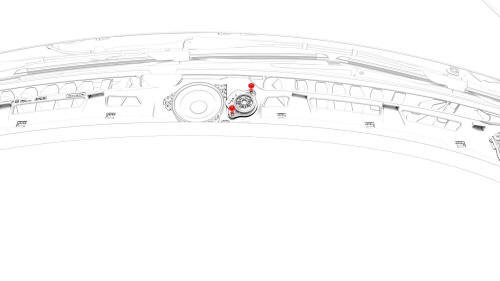
- Remove the screws that attach the dash tweeter to the instrument panel,
and then remove the tweeter from the vehicle.
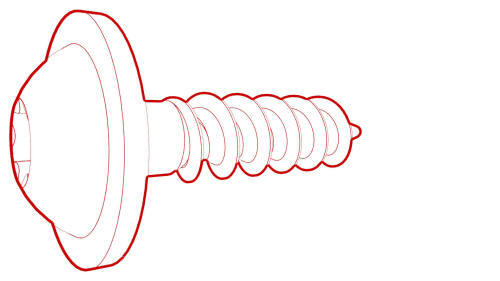 Torque
2.3 Nm
Torque
2.3 Nm - Disconnect the electrical harness from the dash tweeter connector, and
then remove the tweeter from the vehicle.
Install
Installation procedure is the reverse of removal.
READ NEXT:
 Tweeter - Front Door - LH (Remove and Replace)
Remove
Pull straight up to release the clips that attach the LH front door
tweeter assembly to the door.
Caution: Do not pull the tweeter assembly too far from the door panel,
as the tweeter
USB Hub - Center Console - Front (Remove and Replace)
Remove
Remove the center console. See Center Console (Remove and Install).
Disconnect the electrical wiring harness connector from the USB hub.
Release the clips that attach the electric
SEE MORE:
HV Header - Inverter - Rear Drive Unit (Remove
and Replace)
HV Header - Inverter - Rear Drive Unit - Remove
SPECIAL TOOLS
Extractor, Drive Unit HV Header, Model 3
(1142608-00-B)
Lever Lock, HV Connector, Model 3 (1140311-00-A)
Vehicle Electrical Isolation Procedure
SPECIAL TOOLS
Insulation Multimeter, Fluke 1507 (1076921-00-B)
Test Probes, Slim, Fluke TP38 (1130480-00-A)
Warning: This procedure verifies that high voltage power is no
longer available to high voltage components (PTC heater, A/C compressor,
inverters, etc). Perform this procedure before servici
© 2019-2026 Copyright www.tmodel3.com
