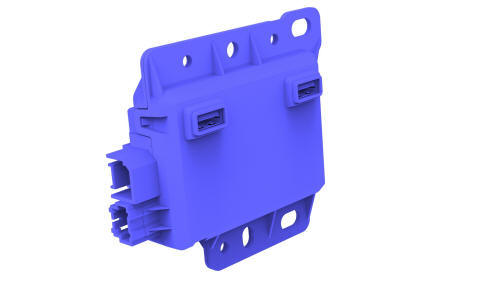
Tesla Model 3: USB Hub - Center Console - Front (Remove and Replace)
Tesla Model 3 2017-2026 Service Manual / Infotainment / Audio System - USB Media Port / USB Hub - Center Console - Front (Remove and Replace)
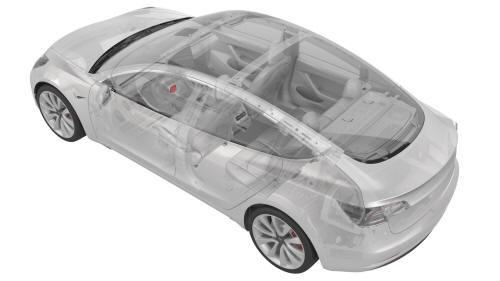
Remove
- Remove the center console. See Center Console (Remove and Install).
- Disconnect the electrical wiring harness connector from the USB hub.

- Release the clips that attach the electrical harness to the USB hub.
- Remove the bolts that attach the USB hub to the center console, and then
remove the USB hub from the center console.
Install
Installation procedure is the reverse of removal.
READ NEXT:
 USB Hub - Center Console - Rear (Remove and Replace)
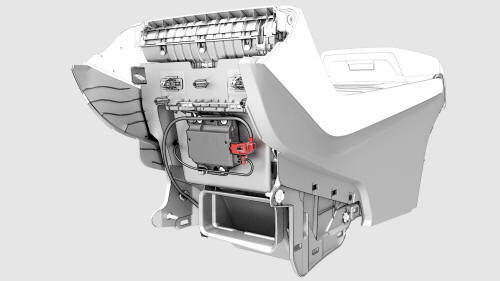
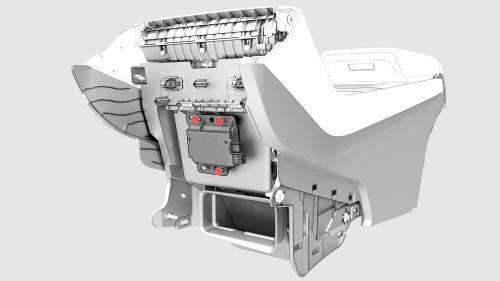
Remove
Remove the center console air vent panel. See Panel - Air Vent - Center
Console (Remove and Replace).
Remove the screws that attach the vent unit to the center console air
vent pan
Amplifier - Antenna - FM (Remove and Replace)
Remove
Remove the LH side rail trim. See Trim - Side Rail - LH (Remove and
Install).
Disconnect the electrical connector from the FM antenna amplifier.
Remove the bolt and release the
SEE MORE:
Module - Cooling Fan (Remove and Replace)
Remove
Remove the cooling fan module. See Module - Cooling Fan (Remove and
Install).
Release the clips (x14) that attach the active grille shutter to the
cooling fan module, and then remove the active grille shutter from the
module.
Remove the screws (x2) that attach the radiat
Window Regulator - Front - LH (Recalibrate)
Connect a laptop with Toolbox to the vehicle.
In Toolbox, select the connection status icon at the top right corner,
and then select Connect Locally.
Get into the driver seat, and then close the door.
In Toolbox, type window in the search field.
Note: Make sure that "Actions" is selected, if
© 2019-2026 Copyright www.tmodel3.com
