Tesla Model 3: Amplifier - Antenna - FM (Remove and Replace)
Tesla Model 3 2017-2026 Service Manual / Infotainment / Antenna - FM HD Radio / Amplifier - Antenna - FM (Remove and Replace)
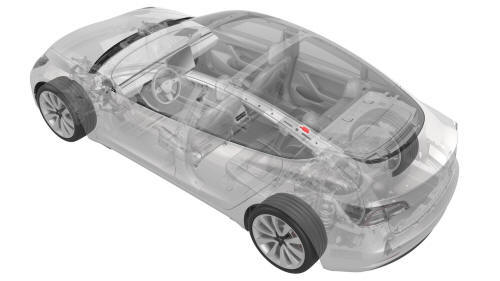
Remove
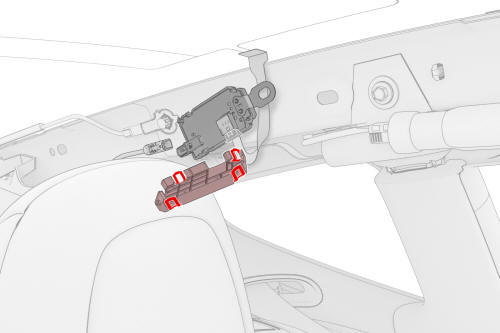
- Remove the LH side rail trim. See Trim - Side Rail - LH (Remove and Install).
.jpg)
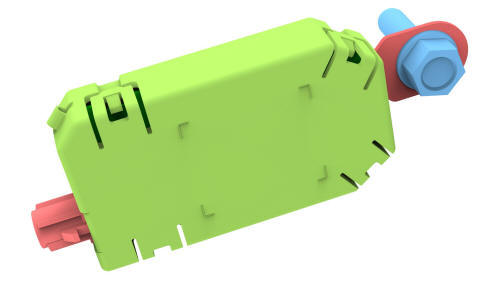
- Disconnect the electrical connector from the FM antenna amplifier.
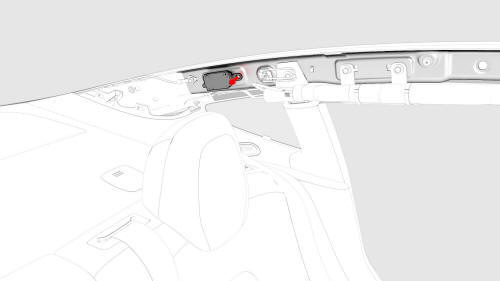
- Remove the bolt and release the clip that attach the FM antenna
amplifier to the C-pillar, and then remove the amplifier from the C-pillar.
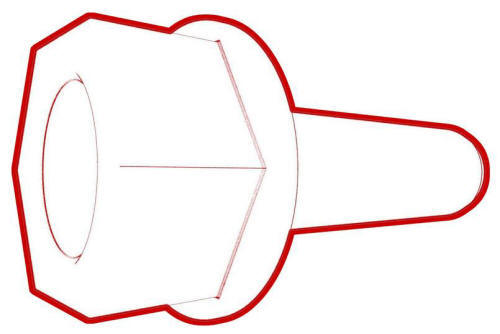 Torque 4 Nm
Note: The FM antenna amplifier is still connected to the backlight harness.
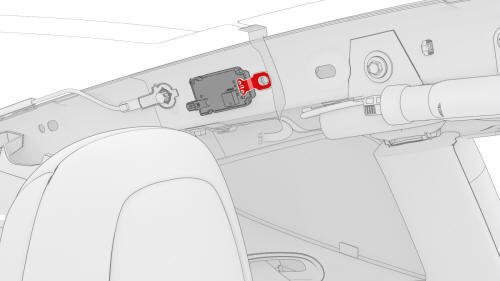
- Release the tabs that attach the FM antenna amplifier cover to the FM antenna amplifier, and then remove the cover.
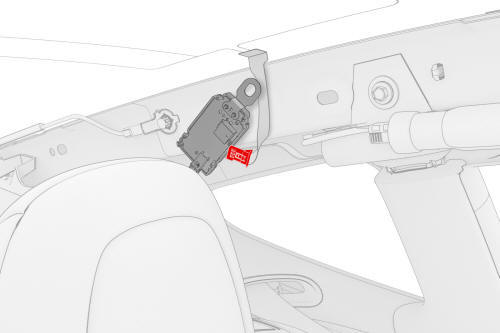
- Disconnect the backlight electrical connector from the FM antenna
amplifier.
Install
Installation procedure is the reverse of removal.
READ NEXT:
 Tuner - FM / HD (Remove and Replace)
Remove
Remove the RH side rail trim. See Trim - Side Rail - LH (Remove and
Replace).
Disconnect the backlight electrical connector from the tuner.
Disconnect the electrical connectors
Antenna - GPS
Antenna - GPS (Remove and Replace)
Remove
Remove the forward facing camera. See Camera - Forward Facing (Remove
and Replace).
Disconnect the electrical harness from the humidity and tempera
Antenna - Wi-Fi
Antenna - Wi-Fi (Remove and Replace)
Remove
Remove the LH and RH side rail trims. See Trim - Side Rail - LH (Remove
and Install).
Open the LH and RH hook covers, and then release the clips th
SEE MORE:
Tuner - FM / HD (Remove and Replace)
Remove
Remove the RH side rail trim. See Trim - Side Rail - LH (Remove and
Replace).
Disconnect the backlight electrical connector from the tuner.
Disconnect the electrical connectors from the front of the tuner.
Disconnect the electrical connector from the rear of the tuner.
Striker - Hood (Remove and Replace)
DRAFT
Warning:
This procedure was derived from pre-production computer models, and
might not reflect the real-world situation. Warnings and cautions might be
missing. Follow safety requirements and use extreme caution when working on or
near high voltage systems and components.
Do not redistr
© 2019-2026 Copyright www.tmodel3.com
