Tesla Model 3: Antenna - Wi-Fi
Tesla Model 3 2017-2026 Service Manual / Infotainment / Antenna - Wi-Fi
Antenna - Wi-Fi (Remove and Replace)
Remove
- Remove the LH and RH side rail trims. See Trim - Side Rail - LH (Remove and Install).
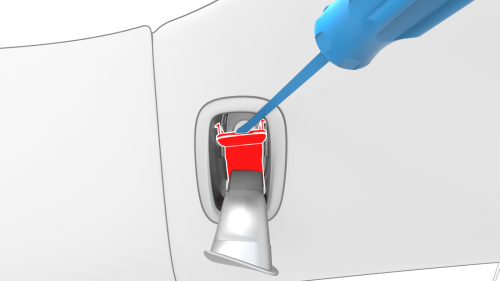
- Open the LH and RH hook covers, and then release the clips that attach the screw covers to the LH and RH coat hooks.
.jpg)
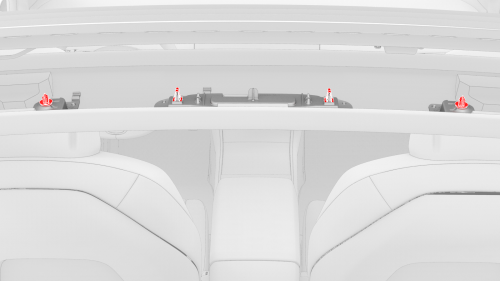
- Remove the screws that attach the LH and RH rear coat hooks to the
vehicle.
.jpg) Torque 2.5 Nm
Torque 2.5 Nm - Release the clips that attach the LH and RH upper B-pillar trims to the vehicle, and then set the B-pillar trims aside. See Trim - B-Pillar - Upper - LH (Remove and Replace).
Note: It is not necessary to completely remove the upper B-pillar trims from the vehicle. While still attached to the seatbelt, set the trim aside.
- Release the clips (4x) that attach the rear end of the headliner to the vehicle, and then insert up a rolled up rag between the headliner and body for additional clearance.
Caution:
Take care not to bend the headliner.
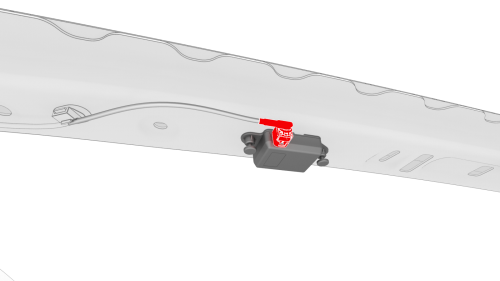
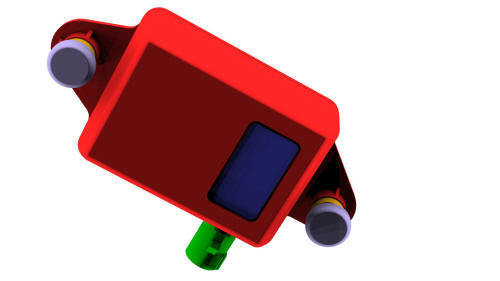
- Disconnect the electrical connector from the Wi-Fi antenna.
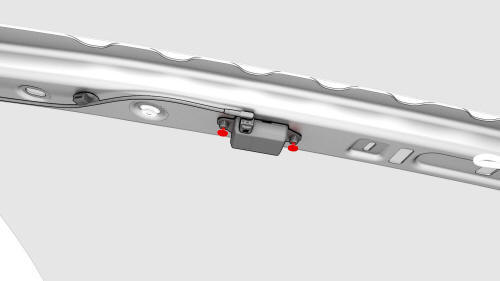
- Release the clips that attach the Wi-Fi antenna to the body, and then
remove the antenna from the vehicle.
Install
Installation procedure is the reverse of removal.
READ NEXT:
 Isolator - Motor Mount - Front - LH (Remove and Replace)
Remove
Remove the front subframe assembly from the vehicle. See Subframe
Assembly - Front (Dual Motor) (Remove and Install).
Remove and discard the bolts that attach the LH front motor moun
SEE MORE:
Suspension - Front (Check Torque)
Procedure
Remove the LH and RH front wheels. See
Wheel (Remove and Install).
Remove the front aero shield panel. See
Panel - Aero Shield - Front (Remove and Replace).
Remove the clips (x2) that attach the valance to the front stabilizer
bar brackets.
Check the torque for the nuts th
Airbag - Knee - Driver (Remove and Install)
Remove
Remove the LH center console side panel carpet. See Carpet - Side Panel
- Center Console - LH (Remove and Replace).
Disconnect 12V power. See 12V Power (Disconnect and Connect).
Remove the driver footwell cover. See Cover - Footwell - Driver (Remove
and Replace).
Remove the T20
© 2019-2026 Copyright www.tmodel3.com
