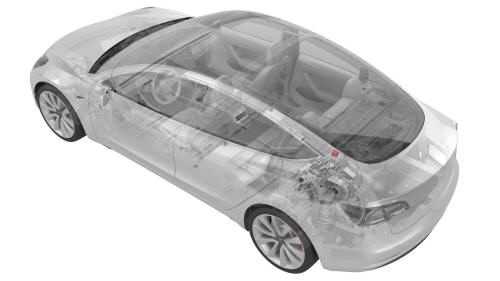
Tesla Model 3: Bushing - Rear Drive Unit - RH (Remove and Replace)
Tesla Model 3 2017-2026 Service Manual / Rear Drive Unit / Rear Drive Unit Assembly / Bushing - Rear Drive Unit - RH (Remove and Replace)
SPECIAL TOOLS
Kit, Drive Unit Bushing R&R, Model 3 (1137785-00-A)
Remove
- Remove the rear drive unit. See Drive Unit - Rear (Remove and Install).
- Position the rear drive unit above an empty rear drive unit crate. Note: Use a pallet if no crate is available.
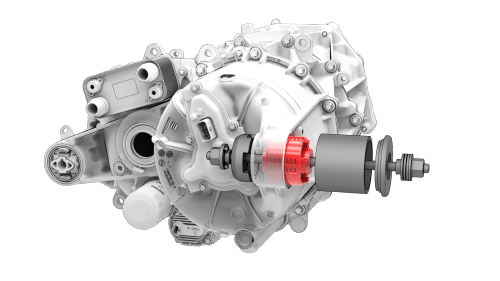
- Install the bushing removal tool on the RH bushing.
Note: Use cups "A", "C", and "D" when assembling the special tool, as shown.
- Turn the bushing removal tool nut furthest away from the drive unit with a wrench while holding the other nut in place.
- When the bushing has been pushed out of the drive
unit, separate the bushing removal tool, and then remove
it from the drive unit.
Install

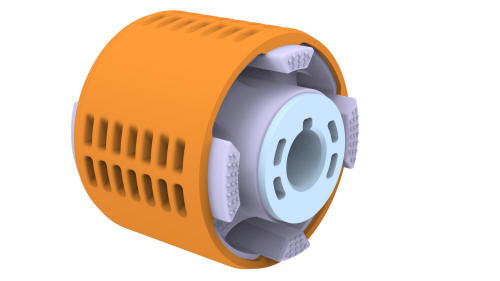
- Set up the bushing tool to press in the new bushing. Note: Use cups "D" and "E" when assembling the special tool, as shown.
- Turn the nut on the thrust washer to press the new bushing into the drive unit.
- Separate the bushing tool, and then remove it from the drive unit.
- Install the rear drive unit. See Drive Unit - Rear (Remove and Install).
READ NEXT:
 Fluid Coupling (55 Degrees) - Rear Drive Unit (Remove and Replace)
SPECIAL TOOLS
Kit, Svc Plug, Cooling Hose, Model 3
(1135762-00-A)
Remove
Fluid Coupling (Straight) - Rear Drive Unit (Remove and Replace)
SPECIAL TOOLS
Kit, Svc Plug, Cooling Hose, Model 3
(1135762-00-A)
Drive Unit - Rear (Remove and Install)
Drive Unit - Rear- Remove
SPECIAL TOOLS
Fixture, Subframe, Model 3 (1099645-00-B)
Li
SEE MORE:
IP Carrier (Remove and Replace)
Remove
Remove the IP carrier. See
IP Carrier (Remove and Install).
Remove the upper gap hider nuts from the IP carrier.
Remove the screws that attach the LH and RH side window defroster ducts
to the IP carrier, and then remove the ducts from the IP carrier
Release the clips that attach th
Glass - Backlight (Remove and Replace)
Glass - Backlight (Remove and Replace) - Remove
Remove
Release the clips that attach the screw covers to the LH and RH rear
coat hooks.
Remove the screws that attach the LH and RH rear coat hooks to the body.
Remove the package tray trim. See Trim - Package Tray (Remove and
Install).
© 2019-2026 Copyright www.tmodel3.com
