Tesla Model 3: Motor - Recliner - Backrest - Driver Seat (Remove and Replace)
Tesla Model 3 2017-2026 Service Manual / Seats / Front Seat Tracks and Motors / Motor - Recliner - Backrest - Driver Seat (Remove and Replace)
Remove
- Remove the lumbar support assembly from the driver's seat back. See Lumbar Support - Backrest - Driver Seat (Remove and Replace).
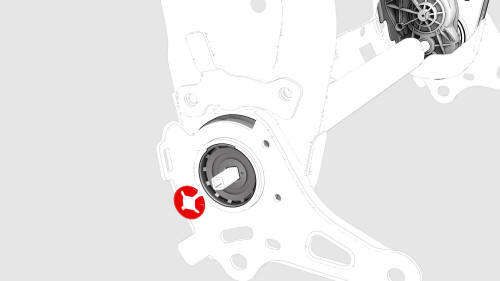
- Remove and discard the clip that attaches the recliner tube to the frame.
- Use a rubber hammer to tap the recliner tube where the clip was located earlier, and then remove the tube from the frame.
Note: The removal of the tube might require several taps with the rubber hammer in order to get the tube out of the seat.
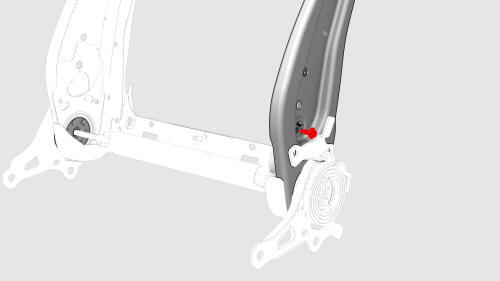
- Remove the bolt that attaches the recliner motor to the seat back frame.
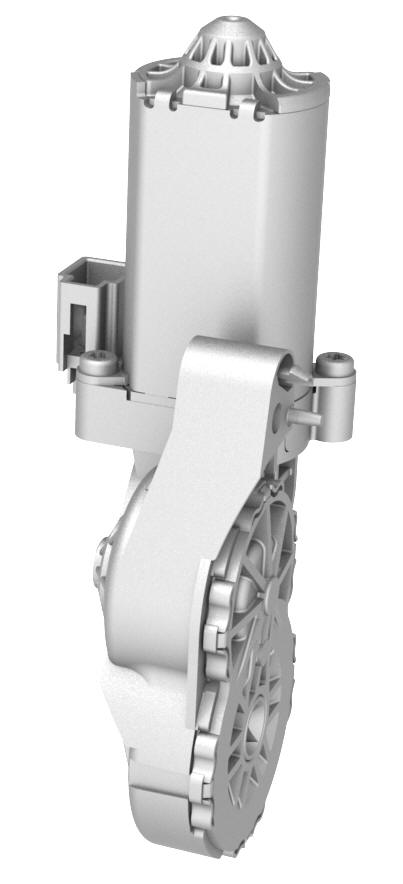
- Remove the recliner motor from the frame.
Install
- Install the recliner motor onto the seat back frame, and hand-tighten the bolt that attaches the motor to the frame
- Install the recliner tube into the seat back frame, through the recliner motor, and to the other side of the frame.
Note: Use the rubber hammer to tap the recliner tube so that the tube extends 16mm out of the seat back frame.
- With assistance, install a new clip onto the recliner tube.
Note: Use a 12mm deep socket and rubber hammer to tap the clip onto the recliner tube. Have an assistant use another hammer at the other end of the tube to oppose the tapping.
- Tighten the bolt that attaches the recliner motor to the seat back frame. Torque 5 Nm
- Install the lumbar support assembly to the driver's seat back. See Lumbar Support - Backrest - Driver Seat (Remove and Replace).
READ NEXT:
 Motor - Seat Height - Driver Seat (Remove and Replace)
Remove
Remove the 2nd row lower seat cushion. See
Seat Cushion - Lower - 2nd Row (Remove and Replace).
Remove the rear underhood apron. See
Underhood Apron - Rear (Remove and Replace).
Remove
Motor - Seat Tilt - Driver Seat (Remove and Replace)
Remove
Remove the driver seat. See
Seat - Driver (Remove and Replace).
Remove the driver seat outer side cover. See
Cover - Outer Side - Driver Seat (Remove and Install).
Disconnect the
Switch - Back Rest and Cushion Adjust - Driver Seat (Remove and Replace)
Remove
Remove the drivers seat outer side cover. See
Cover - Outer Side - Driver Seat (Remove and Install).
Carefully release the clips that attach the seat cushion and seat back
buttons
SEE MORE:
Puddle Light - Front Door - LH (Remove and Replace)
Remove
Use a small screwdriver or pry tool in the slot at the front of the
puddle light to pry the light out of the bottom of the front LH door trim
panel.
Release the clips that attach the front of the puddle light to the
bottom of the door trim panel, and then separate the light f
Shell - Seat Back - Driver (Remove and Replace)
Remove
Remove the driver headrest trim from the seat. See
Trim - Headrest - Driver (Remove and Replace).
Release the clips that attach the seat back shell to the driver seat,
lift up on the shell to unhook it from the seat back frame, and lay the
shell back.
Release
© 2019-2026 Copyright www.tmodel3.com
