
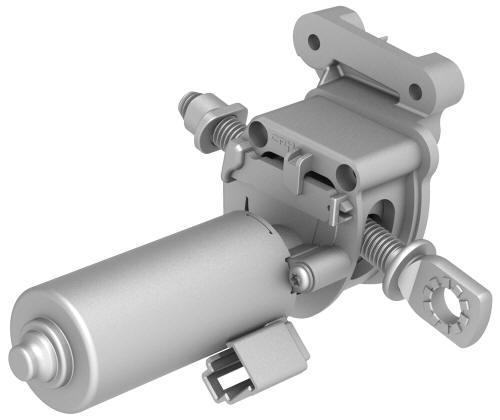
Tesla Model 3: Motor - Seat Tilt - Driver Seat (Remove and Replace)
Tesla Model 3 2017-2026 Service Manual / Seats / Front Seat Tracks and Motors / Motor - Seat Tilt - Driver Seat (Remove and Replace)
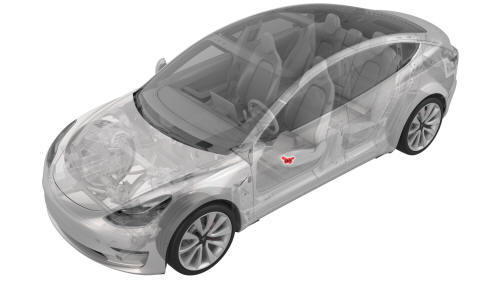
Remove
- Remove the driver seat. See Seat - Driver (Remove and Replace).
- Remove the driver seat outer side cover. See Cover - Outer Side - Driver Seat (Remove and Install).
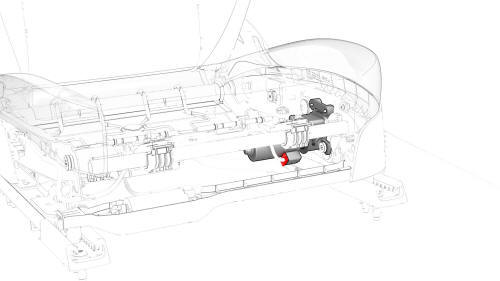
- Disconnect the electrical harness from the driver seat tilt motor connector.
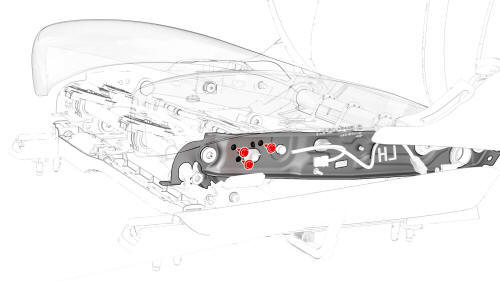
- Remove the bolts that attach the motor to the seat frame. Torque 7.5 Nm
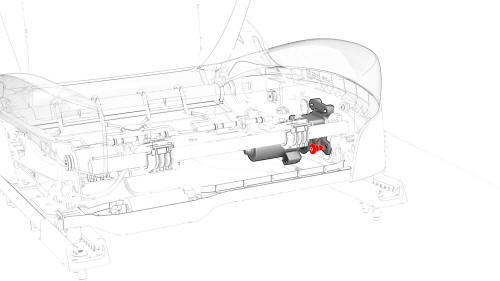
- Remove the bolt that attaches the motor adjustment arm to the
seat cushion tilt tube bracket, and then remove the seat tilt motor from the
seat frame..
Torque 16 Nm
Install
Installation procedure is the reverse of removal.
READ NEXT:
 Switch - Back Rest and Cushion Adjust - Driver Seat (Remove and Replace)
Remove
Remove the drivers seat outer side cover. See
Cover - Outer Side - Driver Seat (Remove and Install).
Carefully release the clips that attach the seat cushion and seat back
buttons
Lumbar Support - Backrest - Driver Seat (Remove and Replace)
Remove
Remove the driver seat back shell. See
Shell - Seat Back - Driver (Remove and Replace).
Release the clips that attach the outboard side of the seat back
cover to the seat ba
SEE MORE:
Harness - Headliner (Remove and Replace)
Remove
Remove the headliner. See Headliner (Remove and Install).
Disconnect the electrical harness from the LH headliner tweeter
connector.
Disconnect the electrical harness from the front overhead console
connector.
Disconnect the electrical harness from the RH headliner tweeter
connec
Ankle Catcher (Remove and Replace)
Remove
Remove the front fascia.
Remove the bolts that attach the bottom of the cooling fan module to the
ankle catcher
Note: Lift the condenser fan module up to ease removal of the bolts.
Loosen but do not remove the bolts that attach the upper section of the
front end carrier to
© 2019-2026 Copyright www.tmodel3.com
