Tesla Model 3: Lumbar Support - Backrest - Driver Seat (Remove and Replace)
Tesla Model 3 2017-2026 Service Manual / Seats / Front Seat Assemblies and Hardware / Lumbar Support - Backrest - Driver Seat (Remove and Replace)
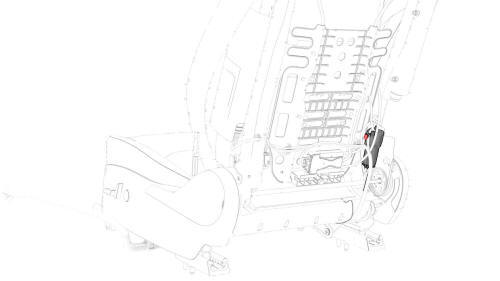
Remove
- Remove the driver seat back shell. See Shell - Seat Back - Driver (Remove and Replace).

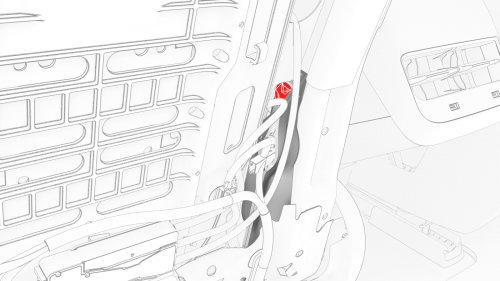
- Release the clips that attach the outboard side of the seat back cover to the seat back frame, and then expose the air bag connector.
- Disconnect the electrical harness from the driver side airbag connector.
- Disconnect the electrical harness from the recliner motor connector.
- Disconnect the electrical harness from the ECU connector.
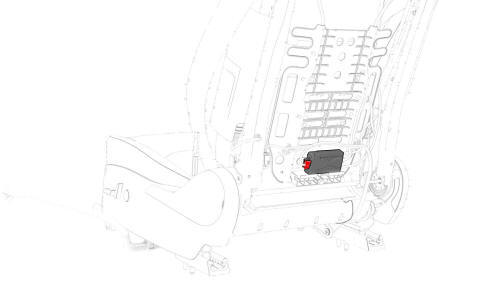
- Disconnect the electrical harness from the lumbar pump connector.
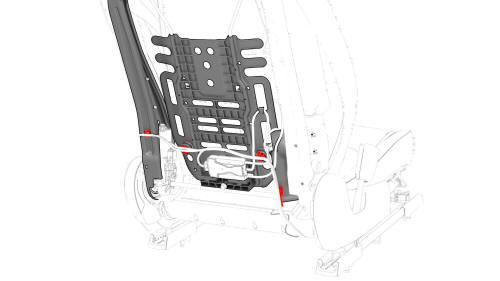
- Release the clips that attach the electrical harness to the seat frame.
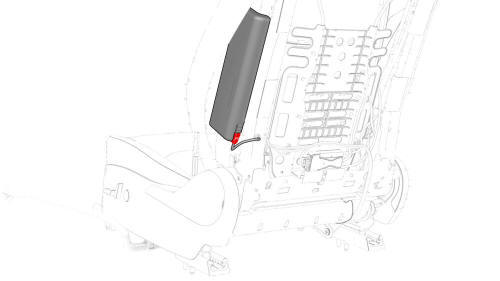
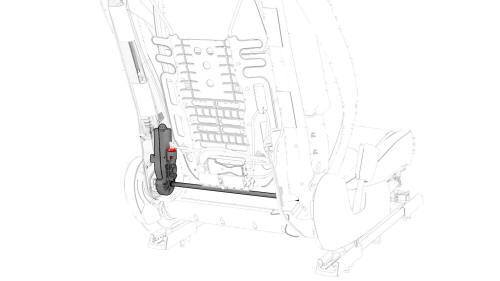
- Release the clip that attaches the seat trim to the lumbar support assembly.
- Release the clips that attach the lumbar pump pouch to the seat frame, and then separate the pouch from the seat back.
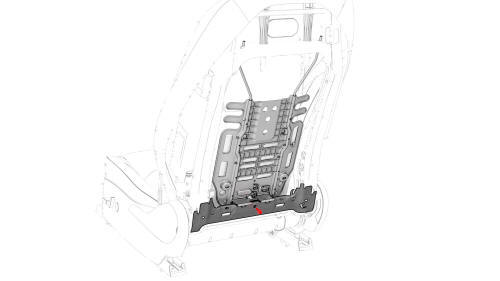
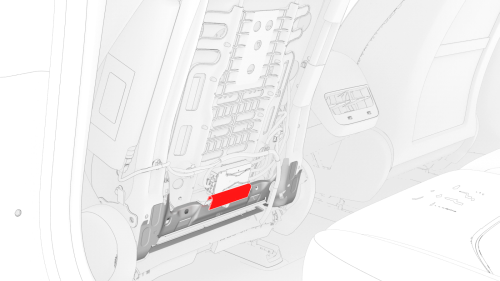
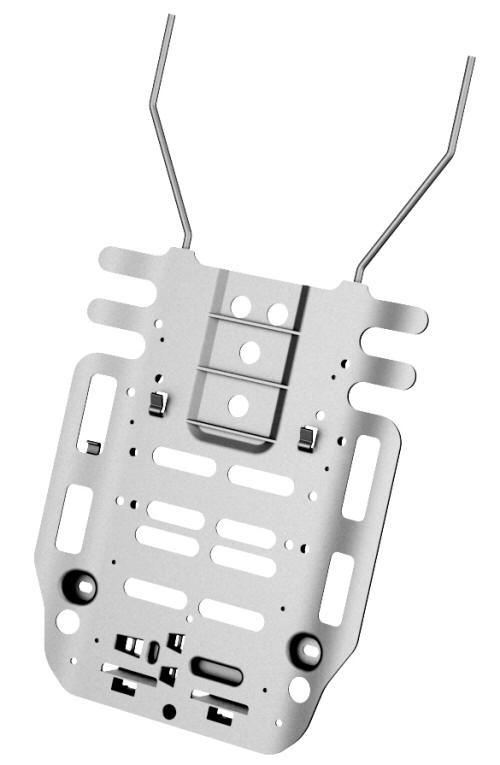
- Remove the bolt that attaches the lumbar support assembly to the seat frame. Torque 5 Nm
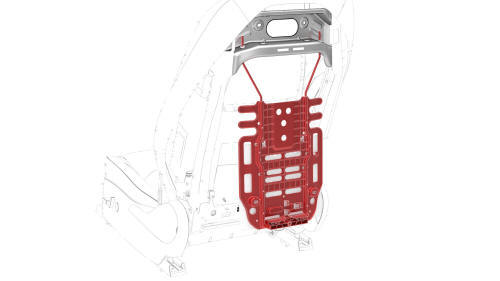
- Slide the lumbar support assembly down, then press the bottom of the
lumbar support assembly in, and at the same time, slide the lumbar support
assembly up. Pivot the bottom of the lumbar support assembly out from the
frame, and pull the lumbar support assembly down and out of the frame.
Install
Installation procedure is the reverse of removal.
READ NEXT:
 Shell - Seat Back - Driver (Remove and Replace)
Remove
Remove the driver headrest trim from the seat. See
Trim - Headrest - Driver (Remove and Replace).
Release the clips that attach the seat back shell to the driver seat,
lift
Seat - Driver (Remove and Replace)
Seat - Driver (Remove and Replace)- Remove
SPECIAL TOOLS
Key, Seat Belt Release, Model 3 (1133787-00-A)
Torx Plus T45 (1082447-07-A)
Remove
Note: Though the driver seat is described, the procedure
SEE MORE:
Braking and Stopping
Braking Systems
Warning: Properly functioning braking
systems are critical to ensure safety. If
you experience a problem with the brake
pedal, brake caliper, or any component of
a Model 3 braking system, contact Tesla
immediately.
Model 3 has an anti-lock braking system (ABS)
that prevents th
End Panel - Center Console (Remove and Replace)
Remove
Remove the center console lower rear panel. See
Panel - Lower Rear - Center Console (Remove and Replace).
Remove the center console air vent panel. See
Panel - Air Vent - Center Console (Remove and Replace).
Remove the bolts (x2) and release the clips (x6) that attach the center
© 2019-2026 Copyright www.tmodel3.com
