Tesla Model 3: Sun Visor - Driver (Remove and Replace)
Tesla Model 3 2017-2026 Service Manual / Interior Trim / Interior Mirror and Sun Visors / Sun Visor - Driver (Remove and Replace)
Remove
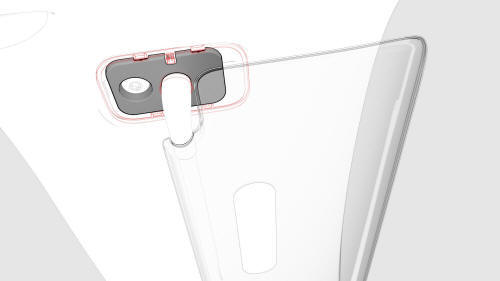

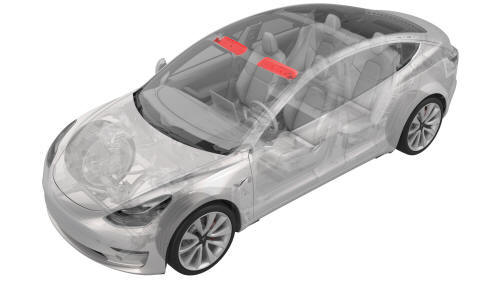
- Remove the fastener that attaches the driver sun visor to the vehicle.
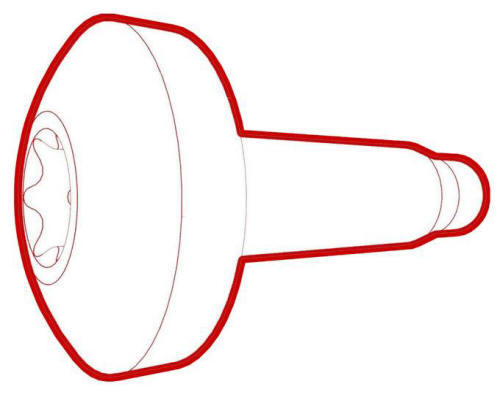 Torque 6 Nm
 - Disconnect the electrical connector from the driver sun visor.
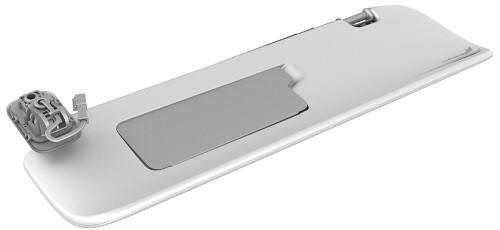
- Remove the driver sun visor from the vehicle.
Install
Installation procedure is the reverse of removal.
READ NEXT:
 Mirror - Rear View (Remove and Replace)
Remove
Remove the lower quad camera cover. See
Quad Camera Cover - Lower (Remove and Replace).
Grip the rear view mirror stalk, and then turn counterclockwise to
release the rear view mi
Quad Camera Cover - Lower (Remove and Replace)
Remove
Use a trim tool to remove the lower quad camera cover.
Remove the tether from the lower quad camera cover, and then remove the
lower quad camera cover.
Install
Installation
Quad Camera Cover - Upper (Remove and Replace)
Remove
Remove the lower quad camera cover. See
Quad Camera Cover - Lower (Remove and Replace).
Remove the rear view mirror. See
Mirror - Rear View (Remove and Replace).
Release the clips
SEE MORE:
Vent Assembly - HV Battery - RH (Remove and Replace)
Remove
Use Toolbox to put the vehicle into Factory Mode.
Invoke diagnostics on the touchscreen.
Inspect the Notifications for either a BMS_a123 or a BMS_W123 alert.
If:
Either alert is present - Contact Service Engineering. Do not perform
this procedure.
Neither alert is present - Continu
Filter - Oil - Rear Drive Unit (Remove and
Replace)
SPECIAL TOOLS
Skt, Oil Filter, 63.5mm X 14
(1130484-00-A)
Kit, Drive Unit Oil Drain, Model
3 (1134264-00-A)
Procedure
Replace the oil filter according
to the gearbox fluid procedure. See
© 2019-2026 Copyright www.tmodel3.com
