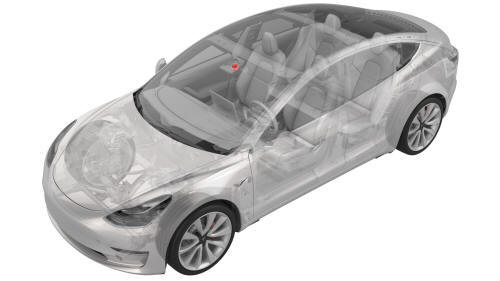
Tesla Model 3: Quad Camera Cover - Lower (Remove and Replace)
Tesla Model 3 2017-2026 Service Manual / Interior Trim / Interior Mirror and Sun Visors / Quad Camera Cover - Lower (Remove and Replace)
Remove
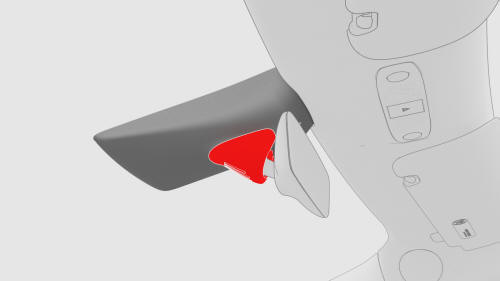
- Use a trim tool to remove the lower quad camera cover.
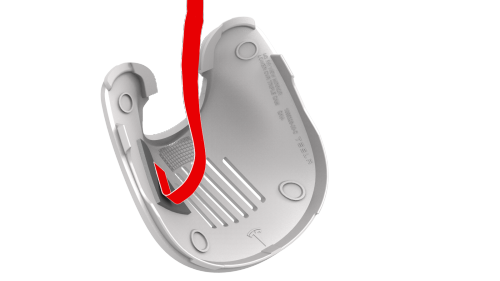
- Remove the tether from the lower quad camera cover, and then remove the
lower quad camera cover.
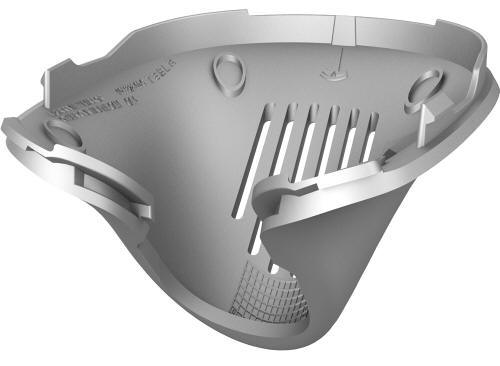
Install
Installation procedure is the reverse of removal.
READ NEXT:
 Quad Camera Cover - Upper (Remove and Replace)
Remove
Remove the lower quad camera cover. See
Quad Camera Cover - Lower (Remove and Replace).
Remove the rear view mirror. See
Mirror - Rear View (Remove and Replace).
Release the clips
Garnish - Trunk (Remove and Replace)
Remove
LH shown, RH similar
Open the trunk.
Release the clips (x2) that attach the ends of the trunk garnish to the
body.
Release the tabs (x10) that attach the trunk garnish to the b
SEE MORE:
Charge Port - Manual Release of Cable
DRAFT
Warning:
This procedure was derived from pre-production computer models, and
might not reflect the real-world situation. Warnings and cautions might be
missing. Follow safety requirements and use extreme caution when working on or
near high voltage systems and components
Procedure
Ensu
Module - Body Controller - Front (Dual Motor) (Remove and Replace)
Module - Body Controller - Front (Dual Motor) - Remove
Remove
Remove the 2nd row lower seat cushion. See Seat Cushion - Lower - 2nd
Row (Remove and Replace).
Remove the rear underhood apron. See Underhood Apron - Rear (Remove and
Replace).
Remove the cabin intake duct. See Duct - Cabin Int
© 2019-2026 Copyright www.tmodel3.com
