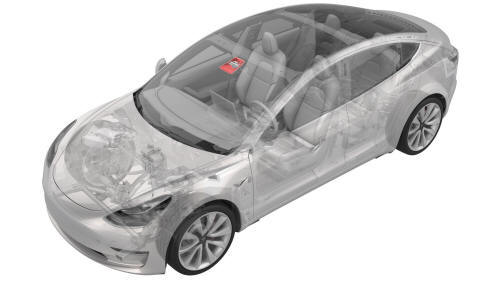
Tesla Model 3: Quad Camera Cover - Upper (Remove and Replace)
Tesla Model 3 2017-2026 Service Manual / Interior Trim / Interior Mirror and Sun Visors / Quad Camera Cover - Upper (Remove and Replace)
Remove
- Remove the lower quad camera cover. See Quad Camera Cover - Lower (Remove and Replace).
- Remove the rear view mirror. See Mirror - Rear View (Remove and Replace).
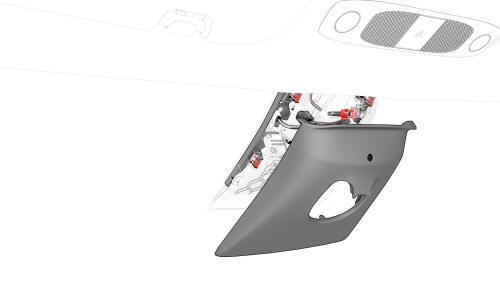
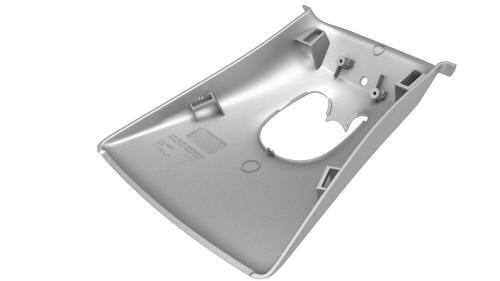
- Release the clips that attach the upper quad camera cover, disconnect the interior camera connector, and then remove the upper quad camera cover and interior camera assembly from the vehicle.
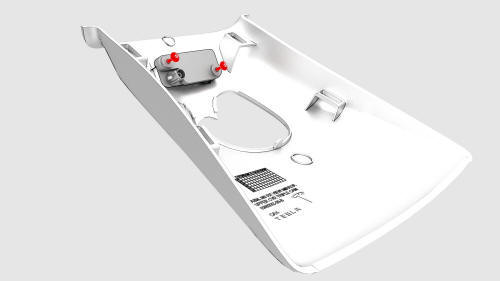
- Remove the screws that attach the interior camera to the upper quad
camera cover, and then remove the interior camera from the upper quad camera
cover.
Install
- Position the interior camera onto the upper quad camera cover, and then
install the screws that attach the interior camera onto the upper quad
camera cover.
 Torque 1 Nm
- Connect the interior camera connector, and then install the clips that attach the upper quad camera cover to the vehicle.
- Install the rear view mirror. See Mirror - Rear View (Remove and Replace).
- Install the lower quad camera cover. See Quad Camera Cover - Lower (Remove and Replace).
READ NEXT:
 Garnish - Trunk (Remove and Replace)
Remove
LH shown, RH similar
Open the trunk.
Release the clips (x2) that attach the ends of the trunk garnish to the
body.
Release the tabs (x10) that attach the trunk garnish to the b
Trim - Lid - Trunk (Remove and Replace)
Remove
Open the trunk.
Release the clips at the upper corners, then work around the trim to
release the clips that attach the trunk trim to the trunk lid.
Note: The clips (x4) closest to
SEE MORE:
Jacking and Lifting
Follow the steps below to lift Model 3. Ensure
that any non-Tesla repair facility is aware of
these lifting points.
Position Model 3 centrally between the lift
posts.
Position the lift arm pads under the
designated body lift points at the
locations shown.
Warning: DO NOT position th
Headliner (Remove and Install)
Remove
Remove the RH side rail trim. See
Trim - Side Rail - LH (Remove and Replace).
Push to open the RH rear coat hook.
Pry open the RH rear coat hook screw cover with a small flat head
screwdriver.
LH shown, RH similar
Remove the screw that attaches the RH rear coat hook to t
© 2019-2026 Copyright www.tmodel3.com
