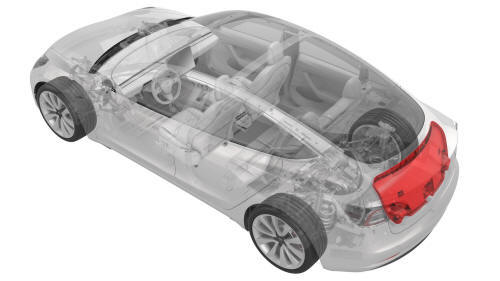
Tesla Model 3: Trim - Lid - Trunk (Remove and Replace)
Tesla Model 3 2017-2026 Service Manual / Interior Trim / Trunk Trim / Trim - Lid - Trunk (Remove and Replace)
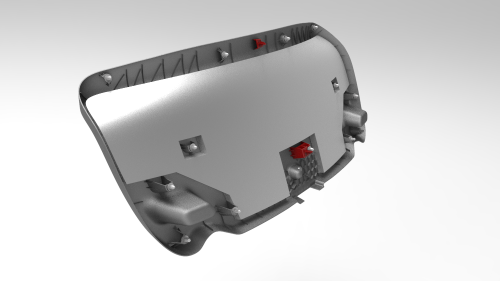
Remove
- Open the trunk.
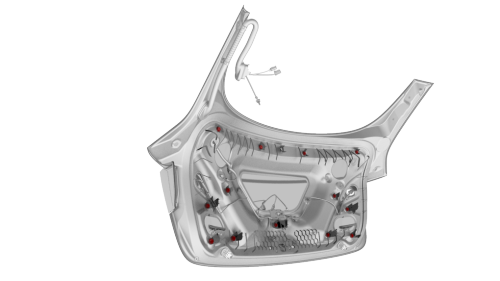
- Release the clips at the upper corners, then work around the trim to release the clips that attach the trunk trim to the trunk lid.
Note: The clips (x4) closest to the rear window have a higher retention force; use a clip prytool, if necessary. Remove any broken clips from the trunk lid.
- Remove the trunk lid trim from the trunk lid, and then remove any remaining clips from the trunk lid.
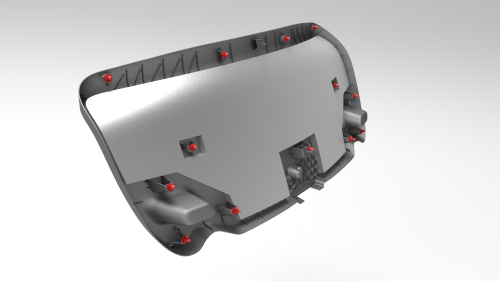
Note: If the trunk trim removed is to be later installed, remove
all clips from the trim.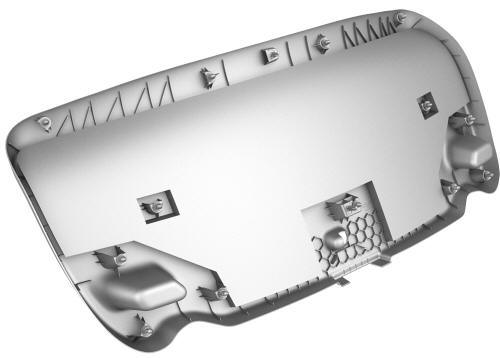
Install
- If reusing the same trunk lid trim, install new clips onto the trim.
- Align the trunk lid tabs with the slots on the trunk lid, and then press the clips into the trunk lid.
READ NEXT:
 Panel - Door Trim - Front - LH (Remove and Install)
Panel - Door Trim - Front - LH (Remove and Install) - Remove
Remove
Open the front LH door, and fully lower the window.
Remove the front LH door tweeter. See
Tweeter - Front Door - LH (Remove a
SEE MORE:
Cover - Airbag - Knee - Driver (Remove and Replace)
Note:
This procedure was formulated using a release candidate or production
model. Follow safety requirements and use extreme caution when working on or
near high-voltage systems and components.
Remove
Remove the driver knee airbag.
Use a flat head screwdriver to apply pressure along t
Bracket - 12V Battery (Dual Motor) (Remove and Replace)
Remove
Remove the 2nd row lower seat cushion. See
Seat Cushion - Lower - 2nd Row (Remove and Replace).
Remove the rear underhood apron. See
Underhood Apron - Rear (Remove and Replace).
Remove the cabin intake duct. See
Duct - Cabin Intake (Remove and Replace).
Remove the underhood storage
© 2019-2026 Copyright www.tmodel3.com
