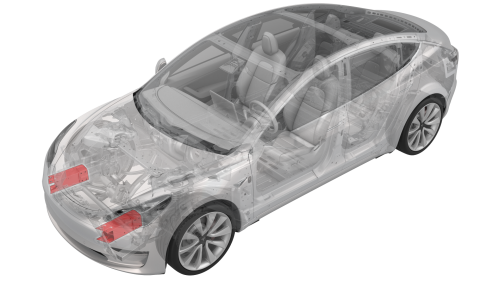
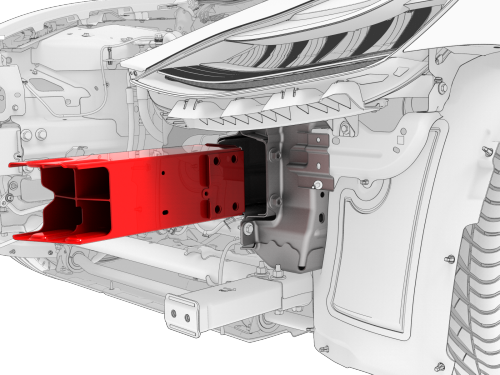
Tesla Model 3: Crush Can - Front - LH (Remove and Replace)
Remove
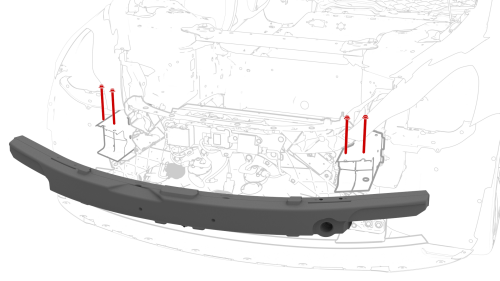
Caution: Do not damage the body when prying the front bumper. Note: Lightly tap the front bumper with a dead blow harmer to assist with
removal of the front bumper.
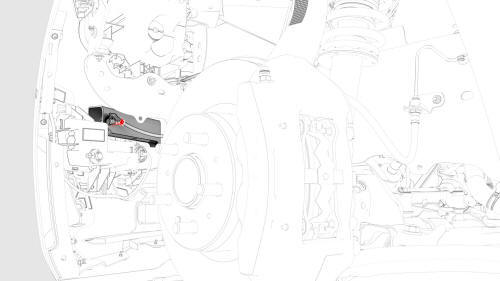
Remove the bolts (x2) that attach the bottom of the cooling fan module to the
ankle catcher, and then set the cooling fan module onto the front subframe. Note: Lift the condenser fan module up to ease removal of the bolts.
Install
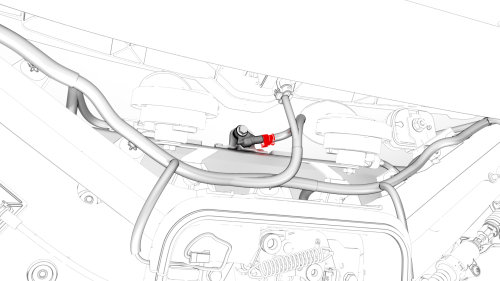
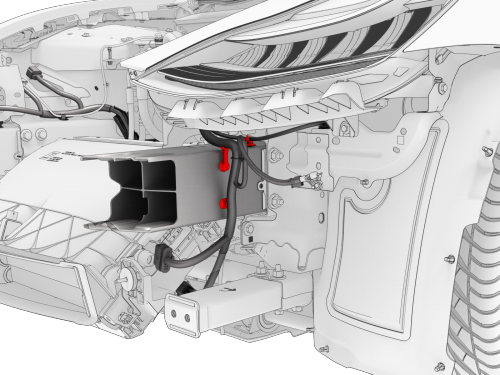
Note: Lightly tap the crush can with a dead blow harmer to assist
with installation into the inner rail.
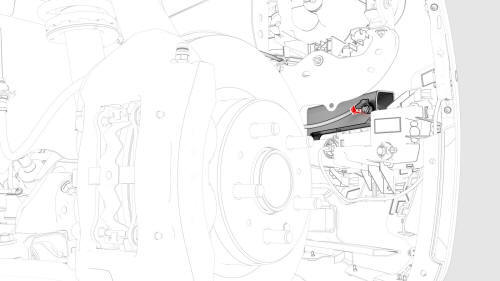
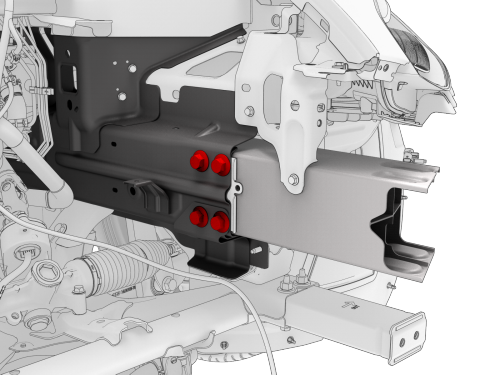
Install the bolts (x4) that attach the LH front crush can to the LH front
inner rail.
Note: Lift the condenser fan module up to ease installation of the
bolts.
Crush Can - Front - LH - Remove
.jpg)
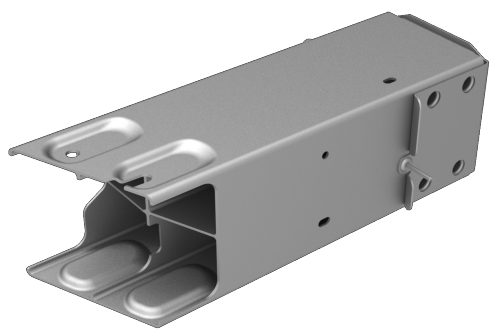
Crush Can - Front - LH - Install
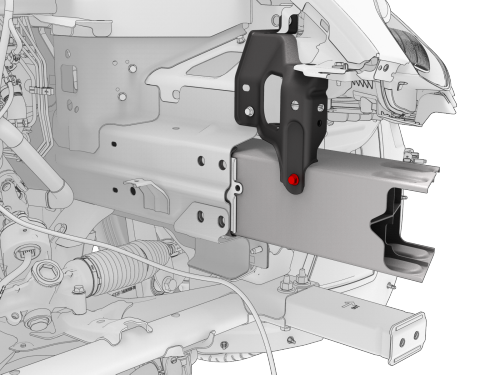
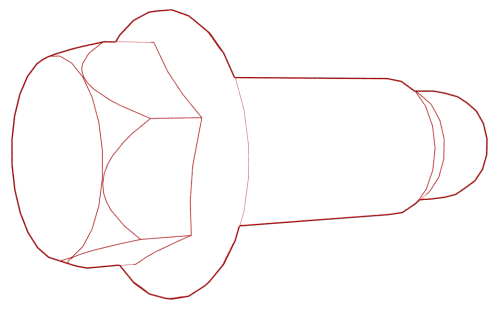 Torque
35 Nm
Torque
35 Nm Torque
90 Nm
Torque
90 Nm
.jpg) Torque 10 Nm
Torque 10 Nm
 Torque 75 Nm
READ NEXT:
 Fascia - Front (Remove and Install)
Remove
Remove the rear underhood apron.
Remove the cabin intake duct.
Remove the hood latch cover.
Remove the underhood storage unit carpet
Remove the underhood storage unit.
Remove th
SEE MORE:
Striker - Door - Rear - LH (Remove and Replace)
Remove
Open the LH rear door.
Mark the position of the LH rear door striker using masking tape.
Remove the bolts that attach the LH rear door striker to the body, and
then remove the striker from the vehicle.
Install
Hand-tighten the bolts that attach the LH rear door striker to
Striker - Seat Back - 2nd Row - LH (Remove and Replace)
Remove
Remove the 2nd row lower seat cushion. See
Seat Cushion - Lower - 2nd Row (Remove and Replace).
Remove the LH and RH 2nd row seat side bolsters. See
Bolster - Side - Seat - 2nd Row - LH (Remove and Replace).
Remove the LH side rail trim. See
Trim - Side Rail - LH (Remove and Replace
