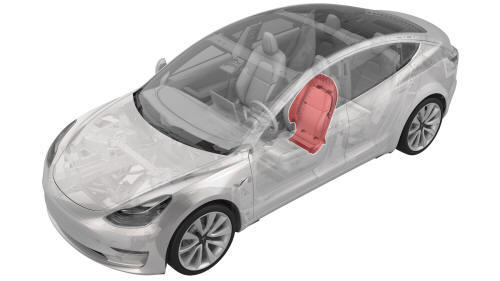
Tesla Model 3: Shell - Seat Back - Driver (Remove and Replace)
Tesla Model 3 2017-2026 Service Manual / Seats / Front Seat Assemblies and Hardware / Shell - Seat Back - Driver (Remove and Replace)
Remove
- Remove the driver headrest trim from the seat. See Trim - Headrest - Driver (Remove and Replace).
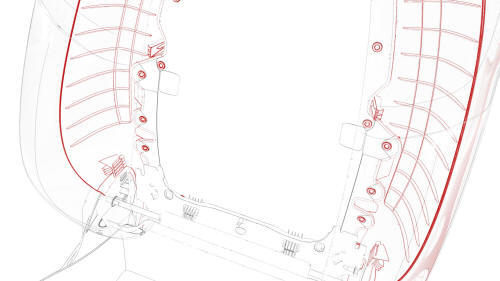
- Release the clips that attach the seat back shell to the driver seat, lift up on the shell to unhook it from the seat back frame, and lay the shell back.
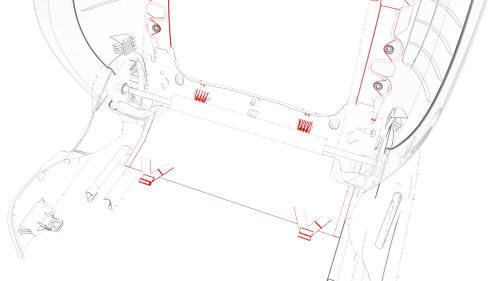
- Release the clips that attach the shell apron to the underside of the
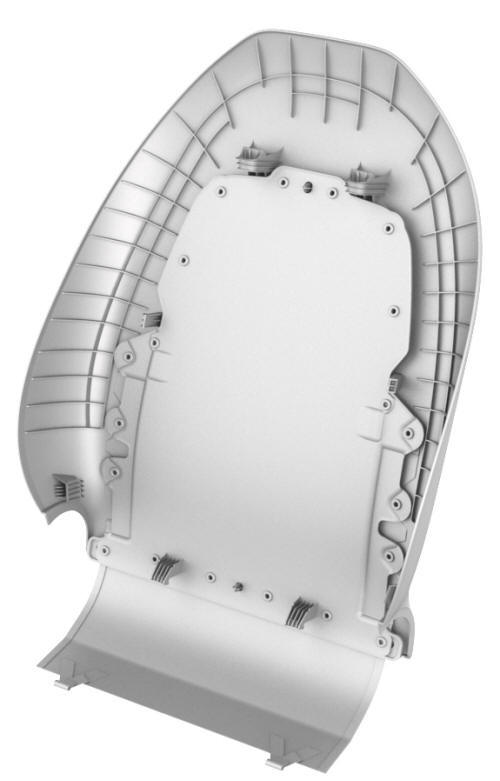
seat, and then remove the shell from the seat.
Install
Installation procedure is the reverse of removal.
READ NEXT:
 Seat - Driver (Remove and Replace)
Seat - Driver (Remove and Replace)- Remove
SPECIAL TOOLS
Key, Seat Belt Release, Model 3 (1133787-00-A)
Torx Plus T45 (1082447-07-A)
Remove
Note: Though the driver seat is described, the procedure
SEE MORE:
Parts and Accessories
Parts, Accessories, and
Modifications
Use only genuine Tesla parts and accessories.
Tesla performs rigorous testing on parts to
ensure their suitability, safety, and reliability.
Purchase these parts from Tesla, where they
are professionally installed and where you can
receive expert advic
Autopilot
This is a thorough rundown of the Autopilot Advanced Driver Assistance System (ADAS). It discusses autopilot's features and constraints while highlighting how it improves driving safety and comfort.
This section gives a summary of the functioning of several Autopilot features, including Traffic-Awa
© 2019-2026 Copyright www.tmodel3.com
