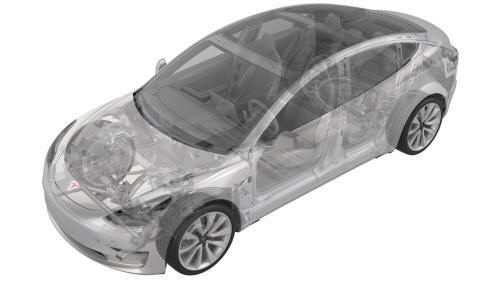
Tesla Model 3: Tesla Badge - Front (Remove and Replace)
Tesla Model 3 2017-2026 Service Manual / Exterior Fittings / Badges and Films / Tesla Badge - Front (Remove and Replace)

SPECIAL TOOLS
Kit, Badge Removal (1453028-00-A)
Fixture, Front Badge, Model 3 (1134702-00-A)
Remove
- Prepare the badge removal tool with approximately 60 centimeters of monofilament line.
- With the hood closed, position the badge removal tool so that the monofilament line cuts under a corner of the front Tesla badge.
Move the badge removal tool in a sawing motion to separate the front Tesla badge from the hood.

- Use IPA wipes to clean all adhesive residue and debris from the hood surface.
Install
- Open the hood partially, and place a folded shop towel over the latch to prevent the hood from closing.
- Install the front badge fixture over the hood and onto the striker, and then attach the fixture in place with tape.
- Peel the adhesive backing from the hood badge, align the badge protective film to the locating posts of the fixture, and then press the badge to the hood
- Remove the protective film from the badge, and then remove the fixture from the hood.
- Remove the shop towel from the latch, and close the hood.
- Replace the protective film over the badge, use a seam roller to wet-out the badge, and then remove the protective film.
- Use an IPA wipe to clean the badge and any remaining debris.
Note: Make sure that all edges of the badge are securely affixed to the hood surface.
READ NEXT:
 Tesla Badge - Rear (Remove and Replace)
SPECIAL TOOLS
Kit, Badge Removal (1453028-00-A)
Fixture, Rear Badge, Model 3 (1134703-00-A)
Remove
Prepare the badge removal tool with approximately 60 centimeters of
monofilament line.
Raise
 Bracket - License Plate - Front (EMEA) (Retrofit using Jig)
SPECIAL TOOLS
Front license plate bracket jig, Model 3, EMEA (1496772-00-A )
Procedure
Clean the front center surface of the front fascia with isopropyl
alcohol (IPA) wipe, and then allow surfa
SEE MORE:
 Seat Cushion - Lower - 2nd Row (Remove and Replace)
Remove
Move the driver seat and the front passenger seat fully forward.
Note: Note the position of the driver seat and the front passenger
seat prior to movement so that both seats are restored to their original
position during installation.
While pressing the LH and RH tabs towards the
 Door - Front - LH (Remove and Replace)
Remove
Disconnect 12V power.
Remove the LH front door trim panel.
Remove the LH front door inner belt seal.
Remove the LH front door outer belt seal.
Remove the LH front window motor/regulator assembly.
Remove the LH door exterior release handle.
Remove the LH front door latch.
Remove
© 2019-2026 Copyright www.tmodel3.com

