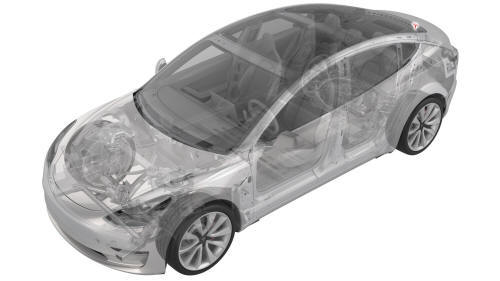
Tesla Model 3: Tesla Badge - Rear (Remove and Replace)
Tesla Model 3 2017-2026 Service Manual / Exterior Fittings / Badges and Films / Tesla Badge - Rear (Remove and Replace)

SPECIAL TOOLS
Kit, Badge Removal (1453028-00-A)
Fixture, Rear Badge, Model 3 (1134703-00-A)
Remove
- Prepare the badge removal tool with approximately 60 centimeters of monofilament line.
- Raise the trunk lid, and position the badge removal tool so that the monofilament line cuts under a corner of the rear Tesla badge.
- Move the badge removal tool in a sawing motion to separate the rear Tesla badge from the trunk lid.

- Use IPA wipes to clean all adhesive residue and debris from the trunk lid surface.
Install
- Open the trunk lid partially to accommodate the rear badge fixture.
- Install the rear badge fixture over the rear-view camera and onto the trunk lid, and then attach the fixture in place with tape.
- Peel the adhesive backing from the trunk badge, align the badge protective film to the locating posts of the fixture, and then press the badge to the trunk.
- Remove the protective film from the badge, and then remove the fixture from the trunk lid.
- Replace the protective film over the badge, use a seam roller to wet-out the badge, and then remove the protective film
- Use an IPA wipe to clean the badge and any remaining debris.
Note: Make sure that all edges of the badge are securely affixed to the trunk lid surface.
- Close the trunk lid.
READ NEXT:
 Bracket - License Plate - Front (EMEA) (Retrofit using Jig)
SPECIAL TOOLS
Front license plate bracket jig, Model 3, EMEA (1496772-00-A )
Procedure
Clean the front center surface of the front fascia with isopropyl
alcohol (IPA) wipe, and then allow surfa
 Bracket - License Plate - Front (EMEA) (Retrofit using Template)
Procedure
Clean the front center surface of the front fascia.
Align the template with the parking sensors, and then use masking tape
to hold the template in place.
LH side shown, RH s
SEE MORE:
 Trim - Package Tray (Remove and Install)
Trim - Package Tray (Remove and Install) - Remove
Remove
Remove the 2nd row lower seat cushion. See
Seat Cushion - Lower - 2nd Row (Remove and Replace).
Remove the LH 2nd row seat side bolster. See
Bolster - Side - Seat - 2nd Row - LH (Remove and Replace).
Remove the LH side rail trim. See
 Bezel - Handle - Seat Back - 2nd Row - LH (Remove and Replace)
Remove
Release the LH 2nd row seat back and fold it slightly forward.
Use a pry tool to release the clips (x2) that attach the LH 2nd row seat
back handle bezel to the LH 2nd row seat back handle assembly, and then
remove the bezel from the handle assembly
Install
Install the LH 2n
© 2019-2026 Copyright www.tmodel3.com

