Tesla Model 3: Bumper - Rear (Remove and Replace)
Tesla Model 3 2017-2026 Service Manual / Body / Bumper / Fascia / Bumper - Rear (Remove and Replace)

Remove
.jpg)
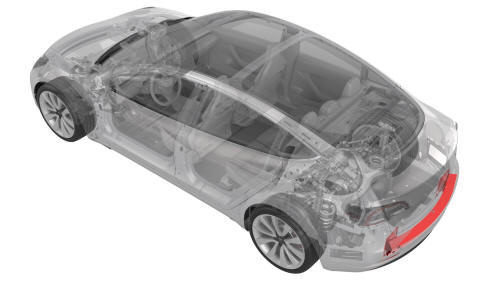
- Remove the rear fascia.
- Release the clips that attach the rear Bluetooth passive entry antenna electrical harness to the rear center bracket assembly.
- Remove rear Bluetooth passive entry antenna.
- Remove the center rear bracket.

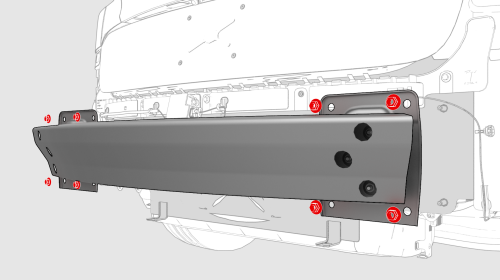
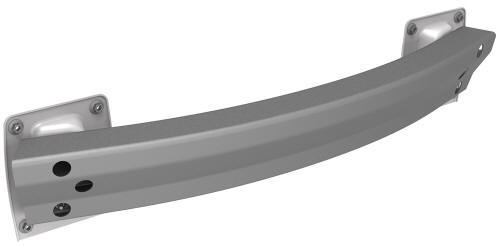
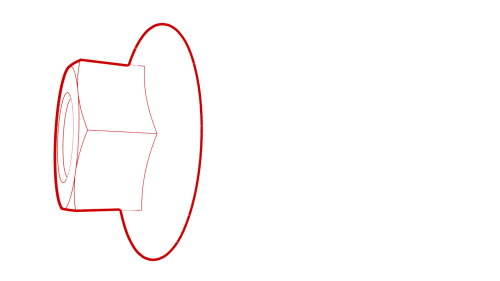
- Remove the nuts that attach the rear bumper to the body, and then remove the bumper from the vehicle.

Install

- Position the rear bumper on the body, and then install the nuts that
attach the rear bumper to the body.
 Torque 60 Nm
 - Install the center rear bracket.
- Install rear Bluetooth passive entry antenna.
.jpg)
- Install the clips that attach the rear Bluetooth passive entry antenna electrical harness to the rear center bracket assembly.
- Іnstall the rear fascia.
READ NEXT:
 Cover - Tow Hook (Remove and Replace)
Remove
Place two thumbs at the 1 and 2 o'clock positions, resting your knuckles on
the bumper fascia surface to support your hand position. Use both thumbs to
apply force on the outer edge of the
 Crush Can - Front - LH (Remove and Replace)
Crush Can - Front - LH - Remove
Remove
Raise and support the vehicle
Remove the rear underhood apron.
Remove the cabin intake duct
Remove the hood latch cover.
Remove the underhood storage uni
SEE MORE:
 Front Trunk
Opening/ Closing
Opening
To open the front trunk:
Ensure that the area around the hood is
free of obstacles.
Touch the associated OPEN button on the
touchscreen, double-click the front trunk
button on the key fob accessory, or touch
the front trunk button on the mobile app.
&n
 Media and Audio
Overview
Touch the Media Player icon at the
bottom of the touchscreen to play
various types of media through
your vehicle's speaker system. The
media options available to you
depend on market region and
options chosen at time of
purchase. For example, you can
stream internet radio or po
© 2019-2026 Copyright www.tmodel3.com

