Tesla Model 3: Switch - Back Rest and Cushion Adjust - Driver Seat (Remove and Replace)
Tesla Model 3 2017-2026 Service Manual / Seats / Front Seat Tracks and Motors / Switch - Back Rest and Cushion Adjust - Driver Seat (Remove and Replace)

Remove
- Remove the drivers seat outer side cover. See Cover - Outer Side - Driver Seat (Remove and Install).
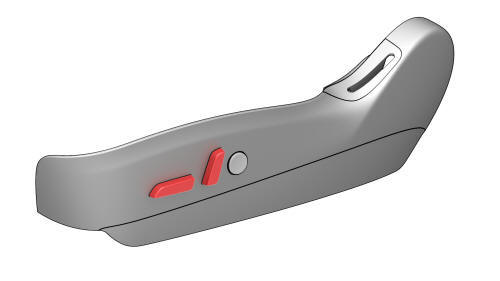
- Carefully release the clips that attach the seat cushion and seat back buttons to the driver seat backrest and cushion adjust switch, and then remove the buttons from the outer side cover.
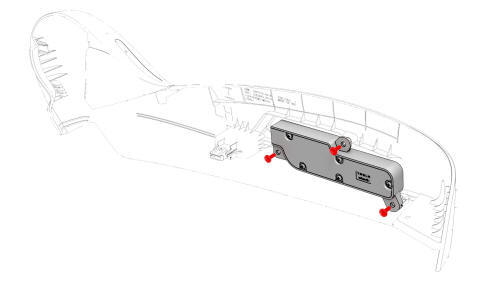
- Remove the screws that attach the driver seat backrest and cushion
adjust switch to the outer side cover, and remove the switch from the cover.
Torque 1.7 Nm

Install
Installation procedure is the reverse of removal.
READ NEXT:
 Lumbar Support - Backrest - Driver Seat (Remove and Replace)
Remove
Remove the driver seat back shell. See
Shell - Seat Back - Driver (Remove and Replace).
Release the clips that attach the outboard side of the seat back
cover to the seat ba
Shell - Seat Back - Driver (Remove and Replace)
Remove
Remove the driver headrest trim from the seat. See
Trim - Headrest - Driver (Remove and Replace).
Release the clips that attach the seat back shell to the driver seat,
lift
SEE MORE:
Jacking and Lifting
Follow the steps below to lift Model 3. Ensure
that any non-Tesla repair facility is aware of
these lifting points.
Position Model 3 centrally between the lift
posts.
Position the lift arm pads under the
designated body lift points at the
locations shown.
Warning: DO NOT position th
Knuckle - Suspension - Front - LH (Dual Motor) (Remove and Replace)
Knuckle - Suspension - Front - LH (Dual Motor) - Remove
Remove
If equipped, remove the LH front wheel center cap. See
Cap - Wheel (Remove and Replace).
Loosen the LH front wheel lug nuts.
Caution: Use only hand tools to remove
or install the fasteners. Do not use impact or power tools.
© 2019-2026 Copyright www.tmodel3.com
