Tesla Model 3: Receiver Dryer and Desiccant (Remove and Replace)
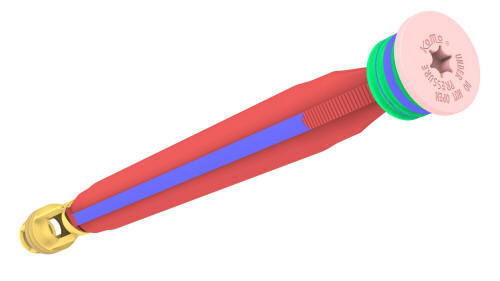
SPECIAL TOOLS Remove
Install
Note: The cooling fan module tab must be inserted into the isolator
so that the trailing tab touches the isolator rubber and the chamfered edge is
clearly visible when looking from above
Note: The trailing edge of the cooling fan module mount must
contact the lower tunnel of the isolator.
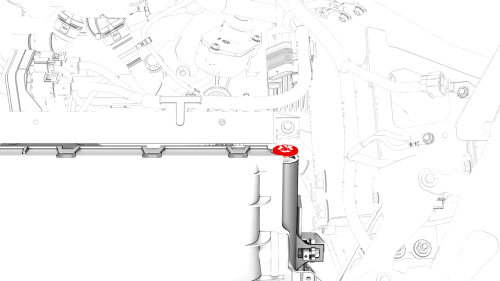
Receiver Dryer and Desiccant- Remove
.png)
Receiver Dryer and Desiccant- Install
.png) Torque 4 Nm
Torque 4 Nm.png)
.png)
Torque 16 Nm.png)
.png)
Torque 6 Nm
READ NEXT:
 TXV Valve - Evaporator (Remove and Replace)
TXV Valve - Evaporator- Remove
Remove
Disconnect 12V power. See 12V Power (Disconnect and Connect).
Remove the underhood storage unit. See Underhood Storage Unit (Remove
and Replace).
Recover
SEE MORE:
Fuse - A/C Compressor - HV Battery (Remove and Replace)
Fuse - A/C Compressor - HV Battery- Remove
SPECIAL TOOLS
Ratchet, 1/4" Sq Dr, HV Insulated (1057602-00-A)
Ext Bar, Wobble, 1/4" Dr, HV Insulated (1057603-00-A)
Skt, 1/4" Sq Dr, 8mm, HV Insulated (1057604-00-A)
Magnet, Flexible, HV Insulated, 18" (1057607-00-A)
Asy, Service Cover, Penthouse, Model
12V Power (Disconnect and Connect)
12V Power- Disconnect
SPECIAL TOOLS
Cap, Logic Conn, Inv, 3DU (1108272-00-B)
Warning: This procedure disables 12V power, but does not verify that
high voltage power is no longer available to high voltage components (PTC heater,
A/C compressor, inverters, etc). Perform
Vehicle Electrical Isolati
