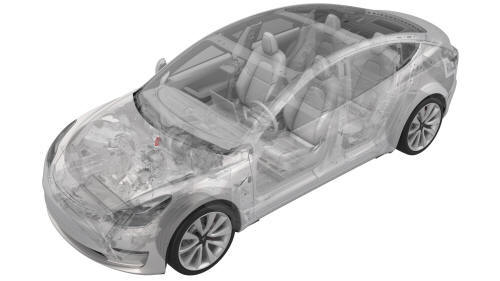
Tesla Model 3: TXV Valve - Evaporator (Remove and Replace)
TXV Valve - Evaporator- Remove
Remove
- Disconnect 12V power. See 12V Power (Disconnect and Connect).
- Remove the underhood storage unit. See Underhood Storage Unit (Remove
and Replace).
- Recover the A/C refrigerant. See A/C Refrigerant (Recovery and
Recharge).
Note: The following steps can be performed while the
refrigerant is recovered.
- Remove the inner HVAC plenum duct. See Duct - HVAC Plenum - Inner
(Remove and Replace).
- Remove the cover for the 12V positive terminal.
.jpg)
- Loosen the nut that attaches the positive harness to the battery, and
then remove the harness from the battery.
.png)
- Release the clip that attaches the suction/liquid lines to the
electrical harness near the TXV.
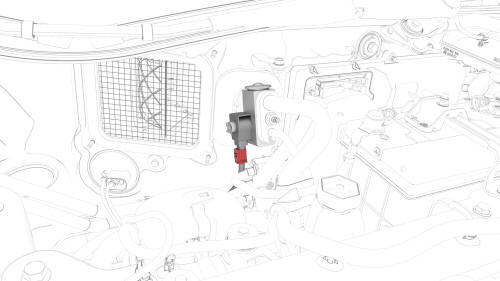
- Disconnect the electrical harness from the TXV valve connector.
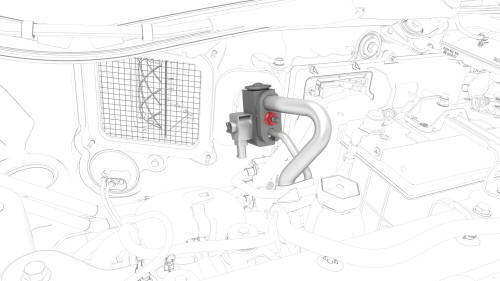
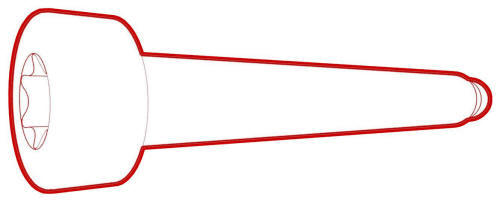
- After the refrigerant has been fully recovered, remove the nut that
attaches the suction/liquid lines fitting to the TXV valve, and then remove
the fitting from the TXV valve.
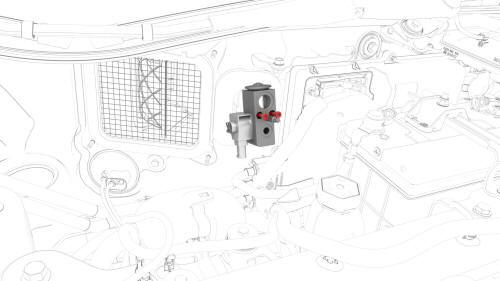
- Remove and discard the o-rings (x2) from the suction/liquid lines
fitting.
- Remove the bolts that attach the TXV valve to the HVAC module, and then
remove the TXV valve from the HVAC module.
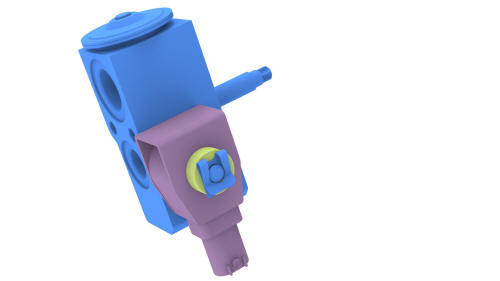
- Remove and discard the o-rings (x2) from the HVAC module.
TXV Valve - Evaporator - Install
Install
- Install new o-rings (x2) onto the HVAC module.
- Install the TXV valve onto the HVAC module, and then install the bolts
that attach the TXV valve to the HVAC module.
 Torque 7.2 Nm
- Install new o-rings (x2) onto the suction/liquid lines fitting.
- Install the suction/liquid lines fitting into the TXV valve, and then
install the nut that attaches the suction/liquid lines fitting to the TXV
valve.
 Torque 22 Nm
- Perform the A/C refrigerant recharge concurrently with the remainder of
this procedure. See A/C Refrigerant (Recovery and Recharge).
- Connect the electrical harness to the TXV valve connector.
- Fasten the clip that attaches the suction/liquid lines to the electrical
harness near the TXV.
- Install the positive harness onto the battery, and tighten the nut that
attaches the positive harness to the battery.
.jpg) Torque 6 Nm
Torque 6 Nm
- Install the cover for the 12V positive terminal.
- Install the inner HVAC plenum duct. See Duct - HVAC Plenum - Inner
(Remove and Replace).
- Connect 12V power. See 12V Power (Disconnect and Connect).
Note: Do not install the rear apron at this time.
- After the A/C refrigerant recharge has fully completed, verify the
operation of the A/C system.
- Connect a charging cable to the vehicle.
- Use Toolbox to perform a Thermal System Performance Test.
- After successful completion of the test, disconnect the charging cable.
- Install the underhood storage unit. See Underhood Storage Unit (Remove
and Replace).
READ NEXT:
SEE MORE:
Remove
Remove the driver floormat.
Remove the center console LH side carpet. See
Carpet - Side Panel - Center Console - LH (Remove and Replace).
Disconnect the LH temperature sensor electrical connector.
Release the tabs that attach the LH temperature sensor inside the HVAC
assembl
General
Avoid getting grease on electrical components and connectors. Grease collects
dirt, which can cause electrical tracking (short circuits) or high resistance.
Handle printed circuit boards (PCBs) at an electrostatic discharge (ESD) work
station only. Hold printed circuit boards by the edges
 Sensor - Temperature - LH (Remove and Replace)
