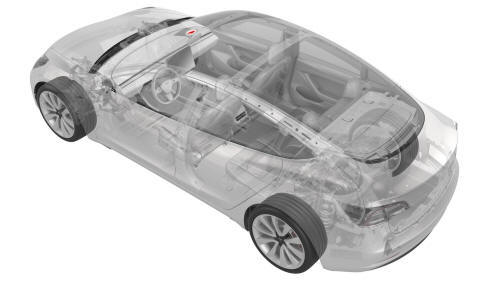
Tesla Model 3: Antenna - GPS
Tesla Model 3 2017-2026 Service Manual / Infotainment / Antenna - GPS
Antenna - GPS (Remove and Replace)
Remove
- Remove the forward facing camera. See Camera - Forward Facing (Remove and Replace).
.jpg)
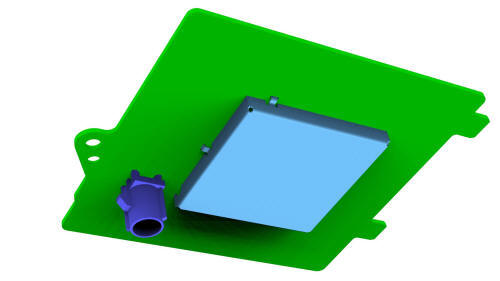
- Disconnect the electrical harness from the humidity and temperature sensor connector.
.jpg)
- Disconnect the electrical harness from the GPS antenna connector.
.jpg)
- Remove the screw that attaches the electrical harness to the windshield
bracket, and then move the electrical harness aside.
.jpg) Torque 1 Nm
Torque 1 Nm
.jpg)
- Remove the screw that attaches the GPS antenna to the bracket, and then
remove the GPS antenna from the vehicle.
Torque 1 Nm
Install
Installation procedure is the reverse of removal, except for the following:
After the installation of the new GPS antenna, perform the forward facing camera target calibration. See Camera - Forward Facing (Target Calibration).
READ NEXT:
 Antenna - Wi-Fi
Antenna - Wi-Fi (Remove and Replace)
Remove
Remove the LH and RH side rail trims. See Trim - Side Rail - LH (Remove
and Install).
Open the LH and RH hook covers, and then release the clips th
Isolator - Motor Mount - Front - LH (Remove and Replace)
Remove
Remove the front subframe assembly from the vehicle. See Subframe
Assembly - Front (Dual Motor) (Remove and Install).
Remove and discard the bolts that attach the LH front motor moun
SEE MORE:
Garnish - Trunk (Remove and Replace)
Remove
LH shown, RH similar
Open the trunk.
Release the clips (x2) that attach the ends of the trunk garnish to the
body.
Release the tabs (x10) that attach the trunk garnish to the body, and
then remove the trunk garnish from the vehicle.
Install
Installation procedure is the
Connecting to Wi-Fi
Wi-Fi is available as a data connection method
and is often faster than cellular data networks.
Connecting to Wi-Fi is especially useful in
areas with limited or no cellular connectivity.
To ensure fast, reliable delivery of software
and map updates, Tesla recommends leaving
your vehicle c
© 2019-2026 Copyright www.tmodel3.com
