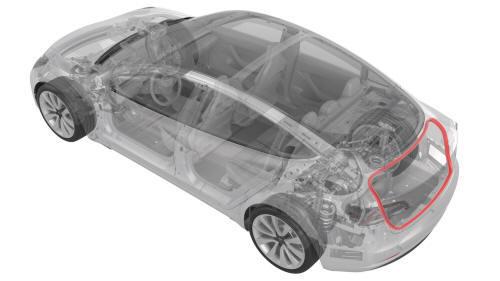
Tesla Model 3: Seal - Trunk (Remove and Replace)
Tesla Model 3 2017-2026 Service Manual / Closures / Seals Body Closures / Seal - Trunk (Remove and Replace)
Remove
- Open the trunk.
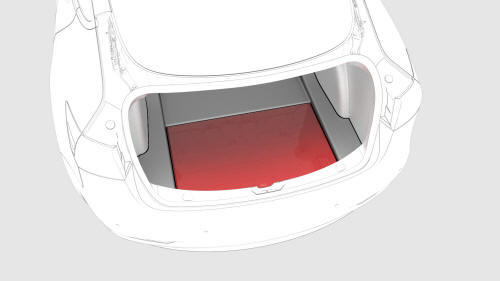
- Lift up the rear trunk floor, and then remove it from the vehicle.
- Remove the trunk sill trim. See Trim - Sill - Trunk (Remove and Replace).
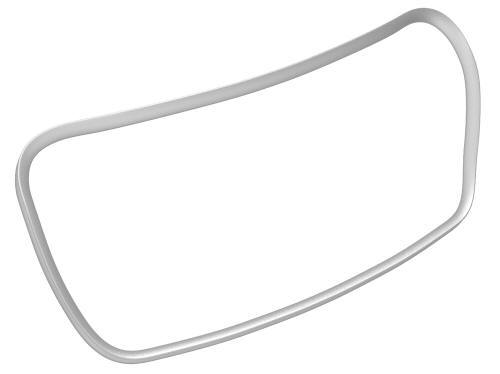
- Release the trunk seal from the trunk perimeter, and then remove the seal from the body.
Install
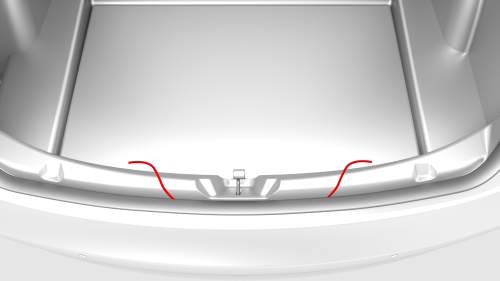
- Install the trunk seal to the perimeter of the trunk.
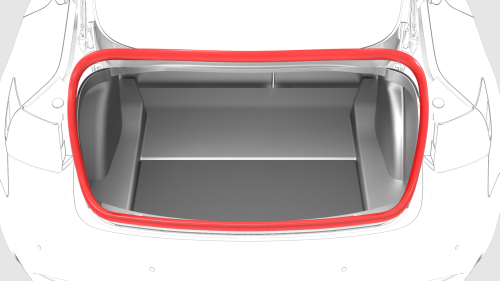
Note: Line up the striker to the line on the trunk seal, and then install the trunk seal around the perimeter of the trunk.
 Tip:
Tap the trunk seal with a rubber hammer to fully install the trunk seal to the
body.
Tip:
Tap the trunk seal with a rubber hammer to fully install the trunk seal to the
body.

- Install the trunk sill trim. See Trim - Sill - Trunk (Remove and Replace).
- Pull the strings on the trunk seal to seat it flush across the interior.
- Install the rear trunk floor.
READ NEXT:
 Wheel Arch Liner - Front - LH (Remove and Replace)
SPECIAL TOOLS
Pliers, Clip Removal (1133569-00-A)
Remove
Remove the LH front wheel. See
Wheel (Remove and Install).
Remove the bolt and release the clips (x18) that attach the LH front
w
SEE MORE:
Power Socket 12V - Center Console (Remove and Replace)
Remove
Disconnect 12V power. See 12V Power (Disconnect and Connect).
Remove the center console decor trim. See Decor Trim - Center Console (Remove
and Replace).
Remove the screws and release the tabs that attach LH and RH bright
strips to the center console, and then remove the strips from
Subframe Assembly - Rear - Remove
SPECIAL TOOLS
Fixture, Subframe, Model 3 (1099645-00-B)
Lifting Sling, Drive Unit, Model 3 (NA, APAC) (1130279-00-A)
Adapter, Subframe, Body Shop, Model 3 (1130481-00-A)
Tool, Hub Puller, Hydraulic (1096075-00-A)
Tool, Axle Extraction, Model 3 (1133386-00-A)
Lever Lock, HV Connector, Model 3 (1140
© 2019-2026 Copyright www.tmodel3.com
