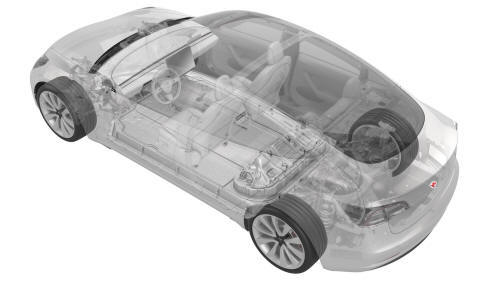
Tesla Model 3: Rear Cameras
Tesla Model 3 2017-2026 Service Manual / Electrical / Rear Cameras
Camera - Rear Facing (Remove and Replace)

Remove
- Remove the trunk trim. See Trim - Lid - Trunk (Remove and Replace).
- Remove the trunk exterior release switch. See Switch - Exterior Release - Trunk (Remove and Replace)
Install
- Install the trunk exterior release switch. See Switch - Exterior Release - Trunk (Remove and Replace).
- Install the trunk trim. See Trim - Lid - Trunk (Remove and Replace).
- Connect a laptop with Toolbox Web to the vehicle.
- In Tools, search for "DAS Image Capture."
- Click the Clear Calibration Backup button.
READ NEXT:
 Sensor - Parking Distance - Front - Each (Remove and Replace)
Remove
Remove the rear underhood apron. See Underhood Apron - Rear (Remove and
Replace).
Remove the cabin intake duct. See Duct - Cabin Intake (Remove and
Replace).
Remove the hood latch cov
 Sensor - Parking Distance - Rear - Each (Remove and Replace)
Remove
Remove the rear fascia. See Fascia - Rear (Remove and Install).
Disconnect the electrical harness from the rear parking distance sensor
connector.
Release the clips that attach
SEE MORE:
 Bezel - Handle - Seat Back - 2nd Row - LH (Remove and Replace)
Remove
Release the LH 2nd row seat back and fold it slightly forward.
Use a pry tool to release the clips (x2) that attach the LH 2nd row seat
back handle bezel to the LH 2nd row seat back handle assembly, and then
remove the bezel from the handle assembly
Install
Install the LH 2n
 Latch Actuator - Charge Port (Remove and Replace)
Latch Actuator - Charge Port - Remove
Remove
Perform the vehicle electrical isolation procedure.
See Vehicle Electrical Isolation Procedure.
Remove the LH trunk side trim. See Trim - Side -
Trunk - LH (Remove and Re
© 2019-2026 Copyright www.tmodel3.com

