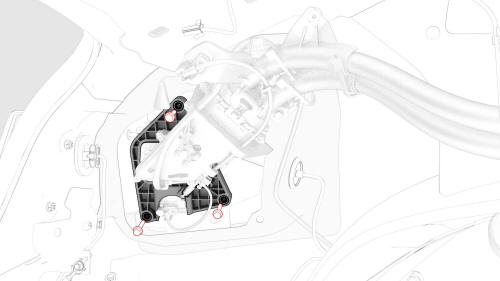
Tesla Model 3: Latch Actuator - Charge Port (Remove and Replace)
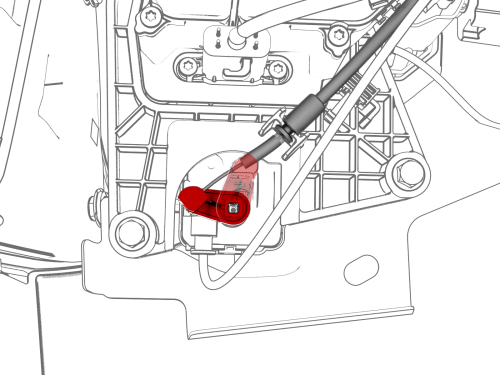
Remove
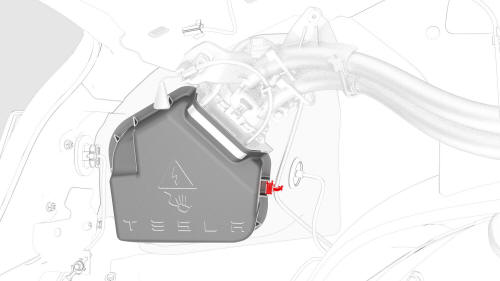
Note: Pull the charge port away from the body
for access.
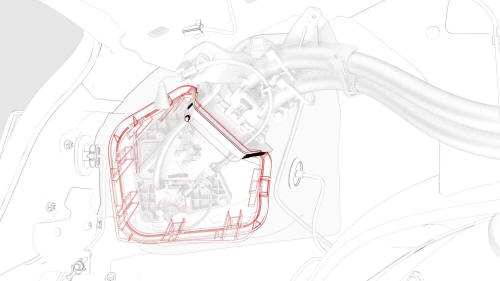
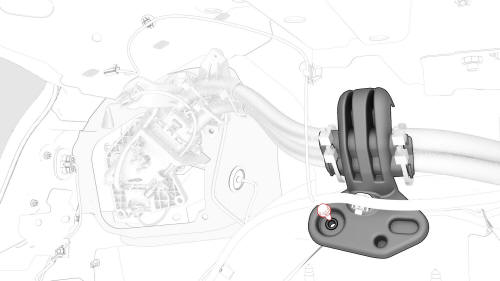
Note: Note the orientation of the release arm
before removing it from the latch actuator.
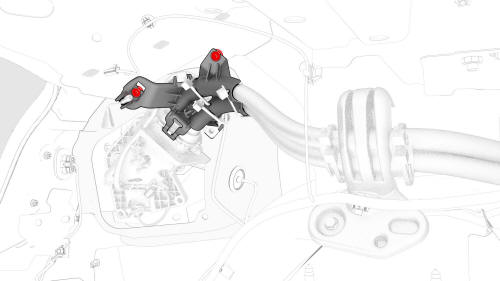
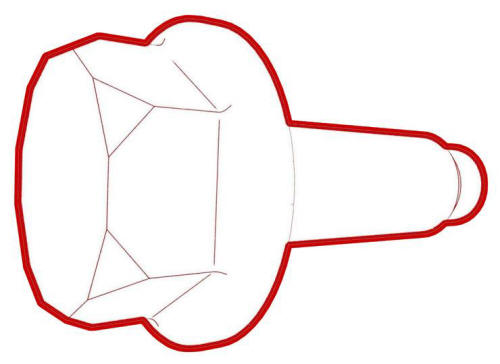
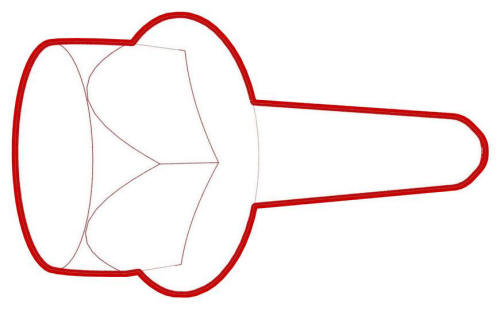
Install
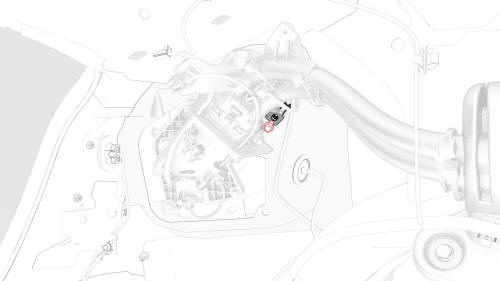
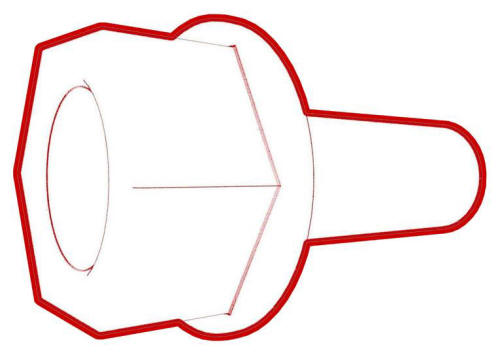
Caution:
Ensure the latch actuator is oriented correctly,
as shown below. Incorrect installation can
result in inability to properly latch.
Latch Actuator - Charge Port - Remove

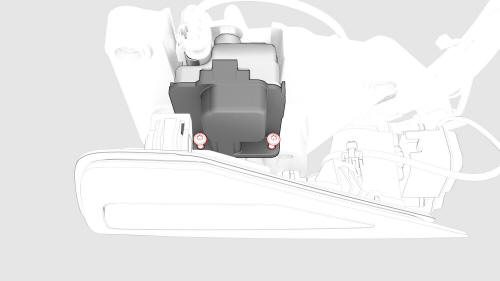
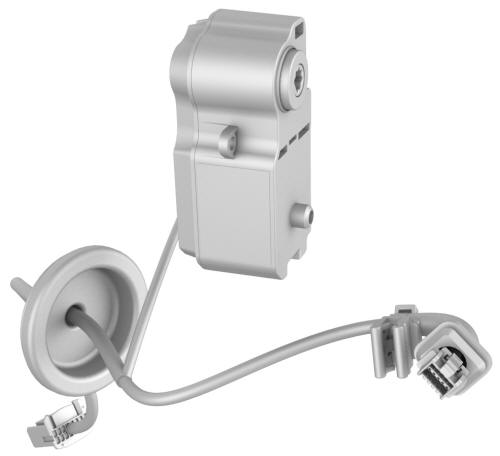
Latch Actuator - Charge Port
- Install
 Torque 6 Nm
 Torque 6 Nm
 Torque 6 Nm
READ NEXT:
SEE MORE:
 Doors
Doors
Keyless Locking and Unlocking
Locking and unlocking Model 3 is easy and
convenient. Just carry your authenticated
phone or paired key fob with you. Model 3
recognizes the presence of an authenticated
phone or paired key fob and automatically
unlocks when you press a door handle, and
locks when
Calendar
Overview
The Calendar app allows you to view
scheduled events from your phone's (iPhone
or Android) calendar for the current and next
day. The Calendar is conveniently integrated
with navigation and the Phone app so you can
navigate to, or dial into, your next meeting.
The Calendar app requ
