Tesla Model 3: Fascia - Front (Remove and Replace)
Fascia - Front (Remove)
.jpg)
Remove
- Remove the front license plate bracket.
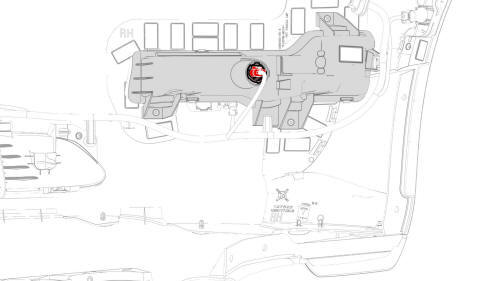
- Remove the front fascia.
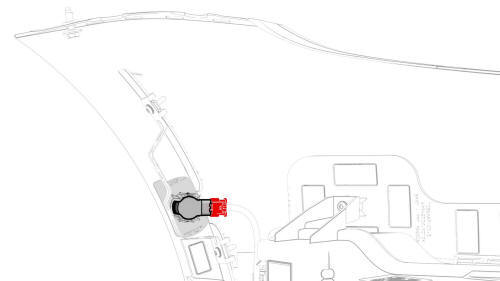
- Disconnect the electrical harness from the RH front turn signal/fog
light connector.
- Release the clips that attach the electrical harness to the front turn
signal/fog light.
- Remove the screws that attach the front turn signal/fog light to the
front fascia
- Use a trim tool to release the tabs (x4) that attach the front turn
signal/fog light to the front fascia, and then remove the light from the
front fascia.
- Repeat step 3 through step
5 for the LH front turn signal/fog light.
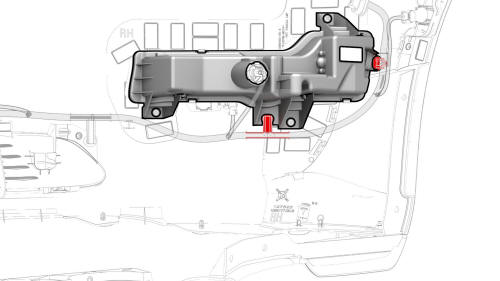
LH Front Parking Assist Sensor Shown
- Disconnect the electrical harness from all of the front parking distance
sensors connectors (x6).
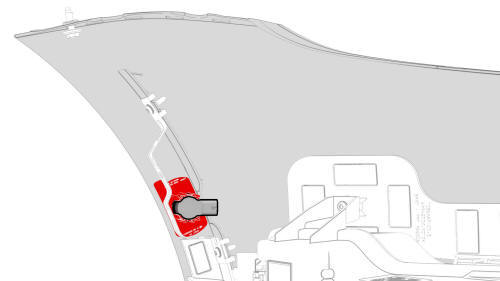
LH Front Parking Assist Sensor Shown
- Release the clips that attach the parking distance sensors to the front
fascia, and then remove the sensors (x6) from the fascia.
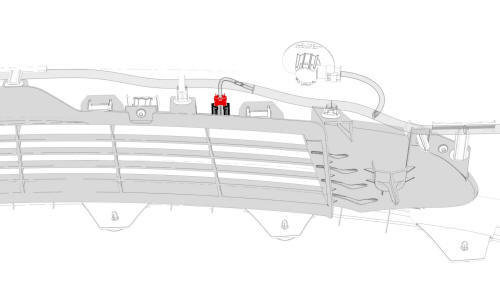
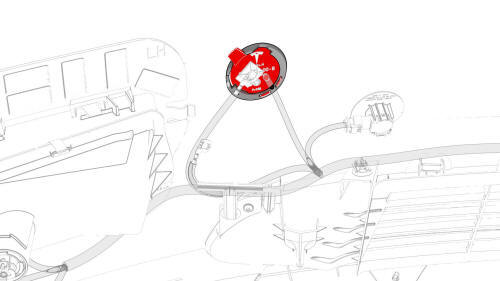
- Disconnect the electrical harness from the ambient air temperature
sensor connector
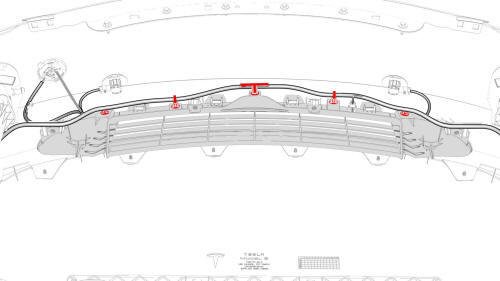
- Release the clips that attach the electrical harness to the front fascia,
and then remove the electrical harness from the fascia.
- Release the clips that attach the tow hook cover to the front fascia,
and then remove the cover from the fascia.
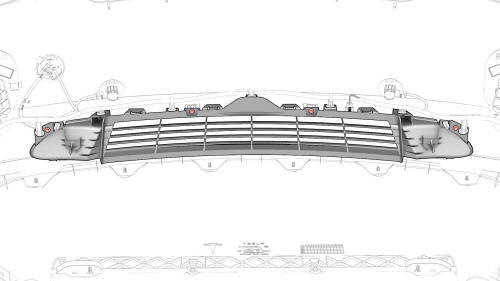
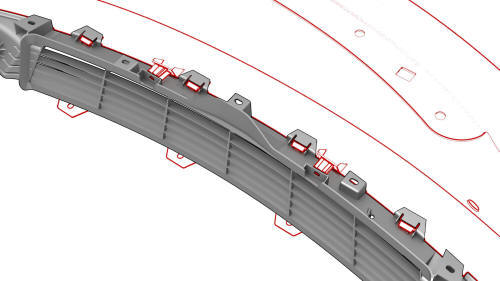
- Remove the screws that attach the front fascia grille to the front
fascia.
Top
- Release the clips (x9) that attach the front fascia grille to the front
fascia, and then remove grille from the fascia.
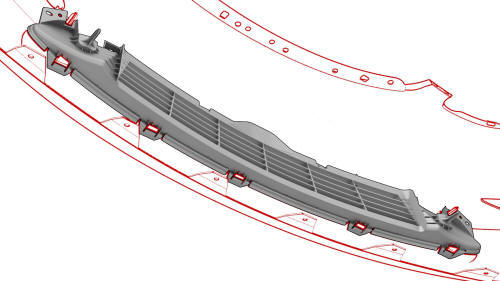
Bottom
Fascia - Front (Remove and Replace)-Install
Install
Installation procedure is the reverse of removal.
Top
Bottom
- Install the front fascia grille onto the front fascia, and then fasten
the clips (x9) that attach the grille to the fascia.
- Install the screws that attach the front fascia grille to the front
fascia.
 Torque 1.8 Nm
- Install the tow hook cover to the front fascia, and then fasten the
clips that attach the cover to the fascia.
- Install the electrical harness to the front fascia, and then fasten the
clips that attach the electrical harness to the fascia.
- Connect the electrical harness to the ambient air temperature sensor
connector.
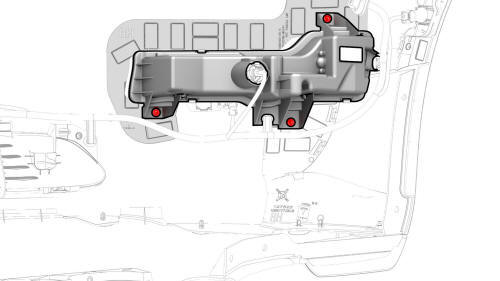
LH Front Parking Assist Sensor Shown
- Install the parking distance sensors (x6) to the front fascia, and then
fasten the clips that attach the sensors to the fascia.
LH Front Parking Assist Sensor Shown
- Connect the electrical harness to all of the front parking distance
sensors connectors (x6).
- Install the front turn signal/fog light to the front fascia, and then
fasten the tabs (x4) that attach the light to the fascia.
- Install the screws that attach the front turn signal/fog light to the
front fascia.
Torque
2.8 Nm
- Fasten the clips that attach the electrical harness to the front turn
signal/fog light.
- Connect the electrical harness to the RH front turn signal/fog light
connector.
- Install the front fascia.
- Install the front license plate bracket.
READ NEXT:
Remove
Remove the 2nd row lower seat cushion
Remove the trunk sill trim.
Remove the LH and RH taillights.
On each side of the vehicle, remove the bolt that attaches the corner of
the rear
SEE MORE:
Link - Aft - Lower - Rear - LH - Remove
SPECIAL TOOLS
Tool, Spring Compressor, Hook, Model 3
(1135103-00-A)
Tool, Rear Ride Height Torque, Model 3
(1137855-00-A)
SPECIAL TOOLS
Camera Calibration Target (1053066-00-A)
Wrench, 2.5mm, Thin (1448868-00-A)
Note: This procedure describes how to calibrate the forward
facing cameras. It does not apply to the rear facing camera.
Setup
Park the vehicle on a flat surface with at least 106 cm (3.5 ft) of
space in
 Fascia - Rear (Remove and Install)
