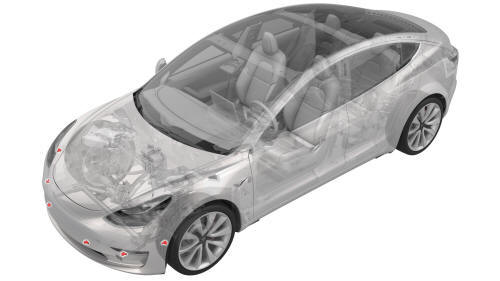
Tesla Model 3: Sensor - Parking Distance - Front - Each (Remove and Replace)
Tesla Model 3 2017-2026 Service Manual / Electrical / Parking Sensors / Sensor - Parking Distance - Front - Each (Remove and Replace)
Remove
- Remove the rear underhood apron. See Underhood Apron - Rear (Remove and Replace).
- Remove the cabin intake duct. See Duct - Cabin Intake (Remove and Replace).
- Remove the hood latch cover. See Cover - Hood Latch (Remove and Replace).
- Remove the underhood storage unit. See Underhood Storage Unit (Remove and Replace).
.jpg)
- Remove the bolts that attach the top of the front fascia to the body.
.jpg) Torque 4 Nm
Torque 4 Nm - Remove the LH and RH front wheels. See Wheel (Remove and Install).
- Remove the front aero shield panel. See Panel - Aero Shield - Front (Remove and Replace).
- Remove the front fascia valance. See Valance - Front Fascia (Remove and Replace).
- Remove the front fascia. See Fascia - Front (Remove and Install).
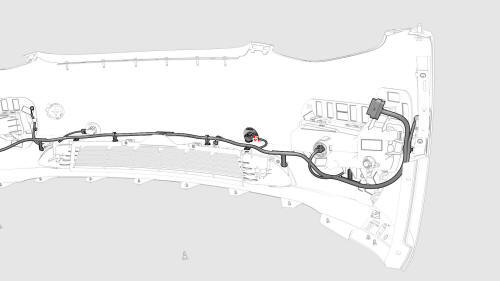
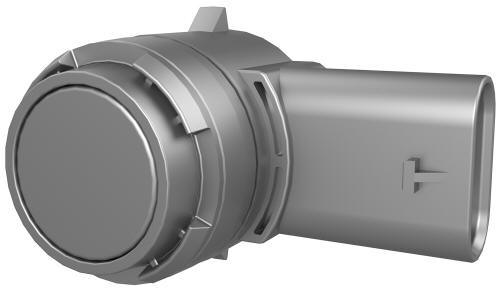
- Disconnect the electrical connector from the front parking distance sensor.
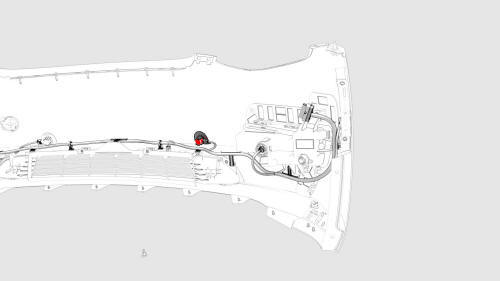
- Release the tabs (x2) that attach the front parking distance sensor to
the front fascia, and then remove the sensor from the fascia.
Install
Installation procedure is the reverse of removal.
READ NEXT:
 Sensor - Parking Distance - Rear - Each (Remove and Replace)
Remove
Remove the rear fascia. See Fascia - Rear (Remove and Install).
Disconnect the electrical harness from the rear parking distance sensor
connector.
Release the clips that attach
Power Socket 12V - Center Console (Remove and Replace)
Remove
Disconnect 12V power. See 12V Power (Disconnect and Connect).
Remove the center console decor trim. See Decor Trim - Center Console (Remove
and Replace).
Remove the screws and release t
SEE MORE:
Strap - 12V Battery (Remove and Replace)
Remove
Remove the rear underhood apron. See
Underhood Apron - Rear (Remove and Replace).
Remove the cabin intake duct. See
Duct - Cabin Intake (Remove and Replace).
Loosen the nut that attaches the 12V battery upper tie down bracket to
the 12V battery strap. Torque 5 Nm
Push down and s
Latch - Door - Front - LH (Remove and Replace)
Remove
Remove the front LH door closeout panel. See Closeout Panel - Door -
Front - LH (Remove and Install).
Disconnect the electrical harness from the door latch connector.
© 2019-2026 Copyright www.tmodel3.com
