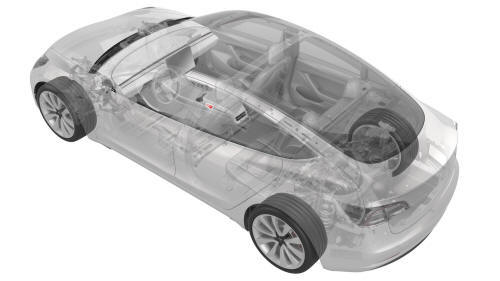
Tesla Model 3: Power Socket 12V - Center Console (Remove and Replace)
Tesla Model 3 2017-2026 Service Manual / Electrical / Interior Switches / Power Socket 12V - Center Console (Remove and Replace)
Remove
- Disconnect 12V power. See 12V Power (Disconnect and Connect).
- Remove the center console decor trim. See Decor Trim - Center Console (Remove and Replace).
- Remove the screws and release the tabs that attach LH and RH bright
strips to the center console, and then remove the strips from the console.
.jpg) Torque 1.6 Nm
Torque 1.6 Nm
.png)
- Open the armrest.
.jpg)
- Release the clips (x6) that attach the cupholder decor trim to the cupholder assembly, and then separate the trim from the center console assembly.
.jpg)
- Disconnect the electrical harness from the security body controller module connector, and then remove the trim from the vehicle.
.jpg)
- Disconnect the electrical harness from the center console power socket connector.
.jpg)
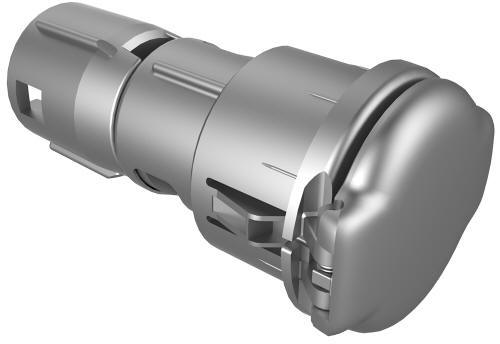
- Release the small tabs on the spring cap and slide the power socket inside the cap, so that the openings in the side of the socket align with the large tabs of the cap.
.jpg)
- Release the tabs of the cap and move the power socket and cap together out through the cupholder assembly.
- Separate the power socket from the cap.
Install
Installation procedure is the reverse of removal.
READ NEXT:
 Switch - Steering Wheel - LH (Remove and Replace)
Remove
Remove the driver airbag. See Airbag - Driver (Remove and Replace).
Disconnect the steering wheel electrical wiring harness from the
connector.
Disconnect the electrical harness
Switch - Steering Wheel - RH (Remove and Replace)
Remove the driver airbag. See Airbag - Driver (Remove and Replace).
Disconnect the steering wheel electrical wiring harness from the
connector.
Disconnect the electrical harness from t
SEE MORE:
Control Arm - Upper - Front - LH (Remove and Replace)
Control Arm - Upper - Front - LH - Remove
SPECIAL TOOLS
Tool, FUCA Ride Height, Model 3 (1450399-00-A)
Remove
Raise and support the vehicle. See
Raise Vehicle - 2 Post Lift
Remove the LH front wheel. See
Wheel (Remove and Install).
Remove the rear underhood apron. See
Underhood Apron - Rear
Seal - Inner Belt - Front Door - LH (Remove and Replace)
Remove
Remove the LH front door trim panel. See
Panel - Door Trim - Front - LH (Remove and Replace).
Remove the rear of the inner belt seal from the door.
Release the rest of the seal from the door, and then remove the seal
from the door.
Install
Installation procedure is the rever
© 2019-2026 Copyright www.tmodel3.com
