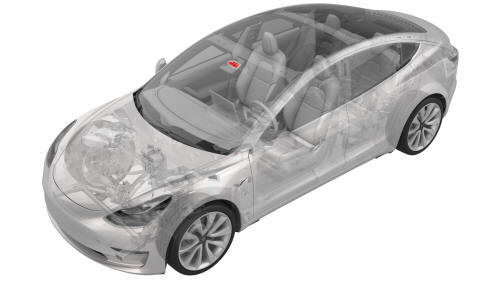
Tesla Model 3: Forward Facing (Remove and Replace)
Tesla Model 3 2017-2026 Service Manual / Electrical / Front Cameras / Forward Facing (Remove and Replace)
Remove
- Remove the rear view mirror. See Mirror - Rear View (Remove and Replace).
.jpg)
- Release the clips that attach the mirror front cover to the windshield bracket, and then separate the cover from the bracket.
- Disconnect the electrical harness from the occupant camera, and then remove the front camera cover from the vehicle.
.jpg)
- Remove the screws that attach the glare shield, and then remove the glare shield from the vehicle. Torque 1 Nm
.jpg)
- Remove the screws that attach the mount plate, and then remove the mount
plate from the vehicle.
.jpg) Torque 1 Nm
Torque 1 Nm
.jpg)
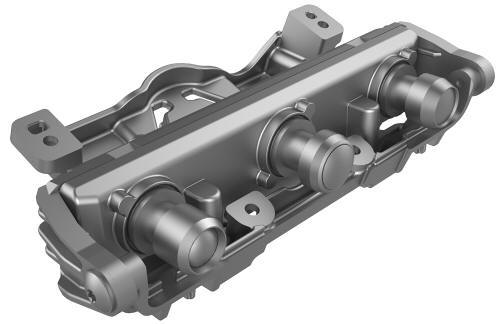
- Disconnect the electrical harness from the forward facing camera connectors.
- Remove the forward facing camera from the vehicle.
.png) Tip: Rotate the electrical connectors to the side to allow better grip of the
forward facing camera.
Tip: Rotate the electrical connectors to the side to allow better grip of the
forward facing camera.
READ NEXT:
 Forward Facing (Target Calibration)
SPECIAL TOOLS
Camera Calibration Target (1053066-00-A)
Wrench, 2.5mm, Thin (1448868-00-A)
Note: This procedure describes how to calibrate the forward
facing cameras. It does not apply to the rear f
Interior Camera
Camera - Occupant (Remove and Replace)
Remove
Remove the rear view mirror. See Mirror - Rear View (Remove and Replace).
Release the clips that attach the upper quad camera cover, disconnect
Rear Cameras
Camera - Rear Facing (Remove and Replace)
Remove
Remove the trunk trim. See Trim - Lid - Trunk (Remove and Replace).
Remove the trunk exterior release switch. See Switch - Exterior Release
- Tr
SEE MORE:
Switch - Steering Wheel - LH (Remove and Replace)
Remove
Remove the driver airbag. See Airbag - Driver (Remove and Replace).
Disconnect the steering wheel electrical wiring harness from the
connector.
Disconnect the electrical harness from the LH steering wheel switch
connector.
Disconnect the electrical harness from the RH s
Trim - Headrest - Driver (Remove and Replace)
DRAFT
Warning:
This procedure was derived from pre-production computer models, and
might not reflect the real-world situation. Warnings and cautions might be
missing. Follow safety requirements and use extreme caution when working on or
near high voltage systems and components.
Do not redistr
© 2019-2026 Copyright www.tmodel3.com
