Tesla Model 3: Interior Camera
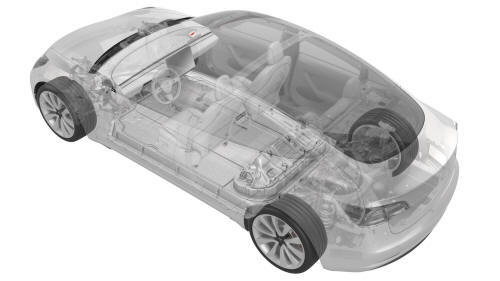
Tesla Model 3 2017-2026 Service Manual / Electrical / Interior Camera
Camera - Occupant (Remove and Replace)
Remove
- Remove the rear view mirror. See Mirror - Rear View (Remove and Replace).
.jpg)
- Release the clips that attach the upper quad camera cover, disconnect the occupant camera connector, and remove the camera cover from the vehicle.
.jpg)
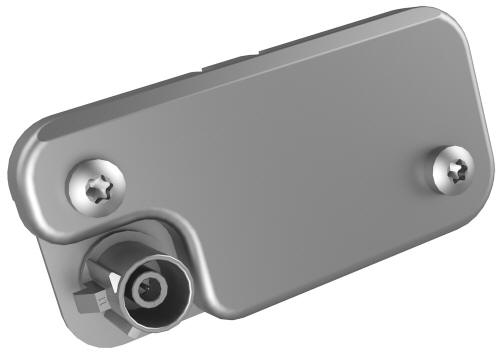
- Remove the screws that attach the camera to the cover, and then remove
the camera.
.jpg) Torque 1 Nm
Torque 1 Nm
Install
- Installation procedure is the reverse of removal.
READ NEXT:
 Rear Cameras
Camera - Rear Facing (Remove and Replace)
Remove
Remove the trunk trim. See Trim - Lid - Trunk (Remove and Replace).
Remove the trunk exterior release switch. See Switch - Exterior Release
- Tr
Sensor - Parking Distance - Front - Each (Remove and Replace)
Remove
Remove the rear underhood apron. See Underhood Apron - Rear (Remove and
Replace).
Remove the cabin intake duct. See Duct - Cabin Intake (Remove and
Replace).
Remove the hood latch cov
SEE MORE:
Beam - Cross Car (Remove and Replace) - Install
Install
With an assistant, position the cross car beam in the vehicle for
installation.
Caution:
Do not damage the interior when installing the cross car beam in the
vehicle.
Hand-tighten the bolts that attach the LH and RH corners of the cross
car beam to the body.
Hand-tighten the b
Duct - Air Wave - RH (Remove and Replace)
Remove
Remove the glove box. See
Glove Box (LHD) (Remove and Replace).
Remove the RH footwell air duct from the HVAC module, and then remove
the duct from the vehicle.
Release the clips that attach the RH air wave duct to the cross car
beam, and then remove the duct from the cross
© 2019-2026 Copyright www.tmodel3.com
