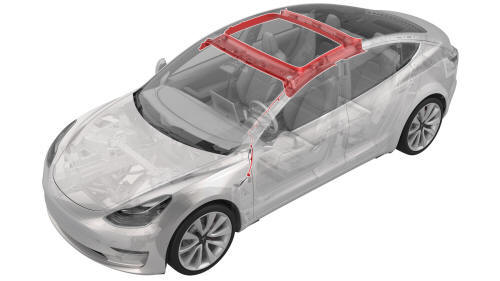
Tesla Model 3: Headliner (Remove and Replace)
Remove
- Remove the headliner. See Headliner (Remove and Install).
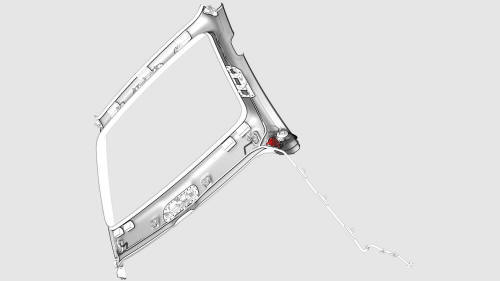
- Release the clips that attach the LH and RH headliner tweeter covers to the headliner, and remove the tweeter covers from the headliner.
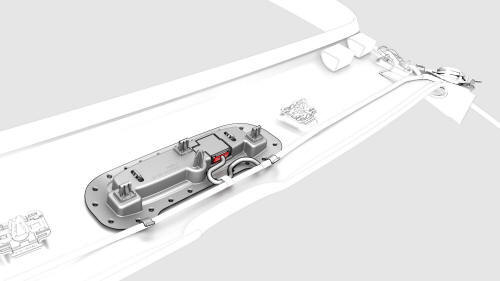
- Disconnect the electrical harness from the front overhead console connector.
- Release the clips that attach the front overhead console to the headliner, and then remove the console from the headliner.
- Disconnect the electrical harness from the rear overhead console connector.
- Release the clips that attach the rear overhead console to the headliner, and then remove the console from the headliner.

- Release the clips that attach the LH coat hook bezel to the LH coat hook assembly, and then remove the LH coat hook assembly from the headliner.
- Release the clips that attach the RH coat hook bezel to the RH coat hook assembly, and then remove the RH coat hook assembly from the headliner.
Install
Installation procedure is the reverse of removal.
READ NEXT:
 Overhead Console - Front (Remove and Replace)
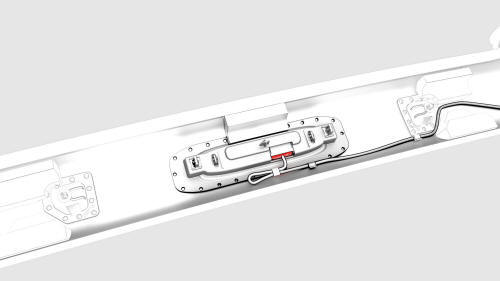
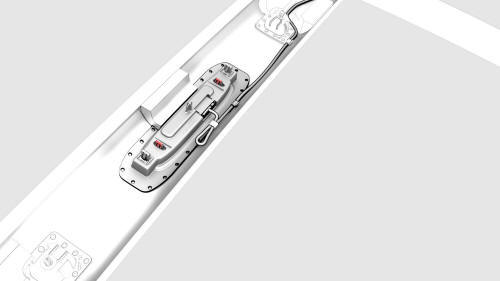
Remove
Release the clips (x2) that attach the front overhead console to the
headliner, and then lower the console from the headliner.
Caution:
To avoid damaging the headliner, do not pry a
Overhead Console - Rear (Remove and Replace)
Remove
Release the clips (x2) that attach the rear overhead console to the
headliner, and then lower the console from the headliner.
Caution:
To avoid damaging the headliner, do not pry
SEE MORE:
Interior Camera
Camera - Occupant (Remove and Replace)
Remove
Remove the rear view mirror. See Mirror - Rear View (Remove and Replace).
Release the clips that attach the upper quad camera cover, disconnect
the occupant camera connector, and remove the camera cover from the vehicle.
Remove the screws
Reservoir - Windshield Washer (Remove and Replace)
Remove
Remove the rear underhood apron. See
Underhood Apron - Rear (Remove and Replace).
Remove the cabin intake duct. See
Duct - Cabin Intake (Remove and Replace).
Remove the hood latch cover. See
Cover - Hood Latch (Remove and Replace).
Remove the underhood storage unit. See
Underhood S
© 2019-2026 Copyright www.tmodel3.com
