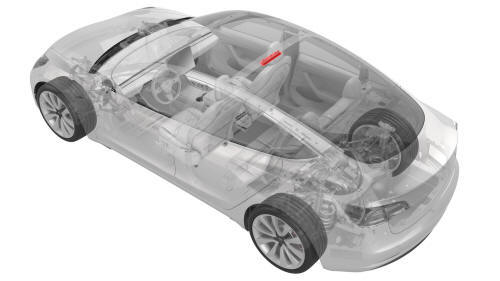
Tesla Model 3: Overhead Console - Rear (Remove and Replace)
Tesla Model 3 2017-2026 Service Manual / Interior Trim / Headliner / Overhead Console - Rear (Remove and Replace)
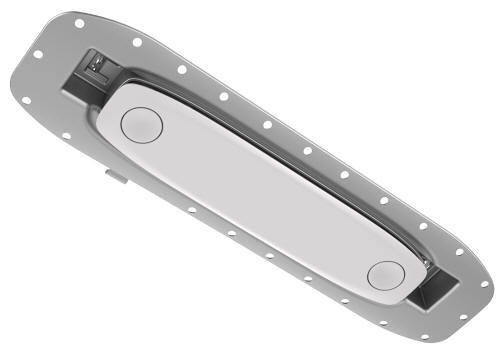
Remove
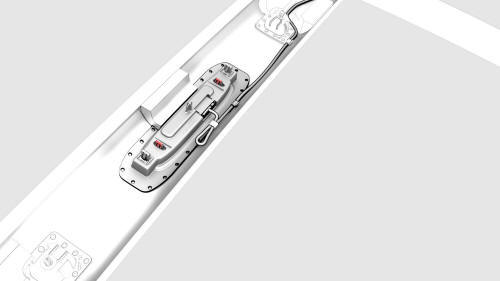
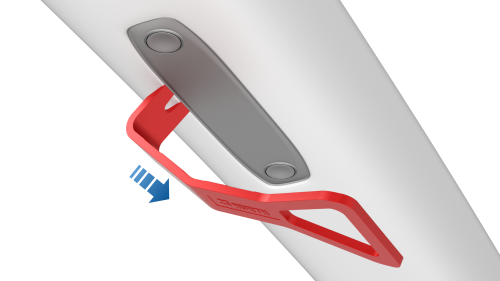
- Release the clips (x2) that attach the rear overhead console to the headliner, and then lower the console from the headliner.
Caution:
To avoid damaging the headliner, do not pry against the headliner. Insert a 90 degree trim tool near the dome light and pull downwards to release the clip, and then move to the other side to release the remaining clip.
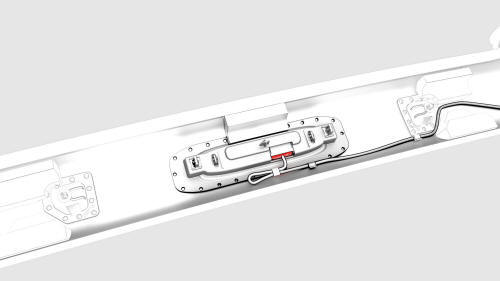
- Disconnect the electrical wiring connector from the rear overhead
console, and then remove the console from the vehicle.
Install
Installation procedure is the reverse of removal.
READ NEXT:
 Cover - Hood Latch (Remove and Replace)
Remove
Open the hood.
Release the clips that attach the hood latch cover to the body.
Tip: Grab the cover from the bottom, and then pull it
upward to release the clips.
Disconne
Switch - Child Safety - Underhood Storage Area (Remove and Replace)
Remove
Remove the hood latch cover. See
Cover - Hood Latch (Remove and Replace).
Release the clips that attach the child safety switch to the hood latch
cover, and remove the switch from
SEE MORE:
Remove Dirt Inclusion
Apply isopropyl alcohol to the general area of the defect, and then wipe
the area with a clean microfiber towel.
While wearing a nitrile glove, run hand over the area around the dirt
inclusion and check for fine bumps in the paint.
If bumps are detected, perform clay treatment on the
Airbag - Side - Driver (Remove and Replace)
DRAFT
Warning:
This procedure was derived from pre-production computer models, and
might not reflect the real-world situation. Warnings and cautions might be
missing. Follow safety requirements and use extreme caution when working on or
near high voltage systems and components.
Remove
Remove
© 2019-2026 Copyright www.tmodel3.com
