Tesla Model 3: Cover - Hood Latch (Remove and Replace)
Tesla Model 3 2017-2026 Service Manual / Interior Trim / Luggage Compartment Trim / Cover - Hood Latch (Remove and Replace)
Remove
- Open the hood.
- Release the clips that attach the hood latch cover to the body.
.png) Tip: Grab the cover from the bottom, and then pull it
upward to release the clips.
Tip: Grab the cover from the bottom, and then pull it
upward to release the clips. - Disconnect the electrical harness from the child safety switch
connector, and then remove the cover from the vehicle.
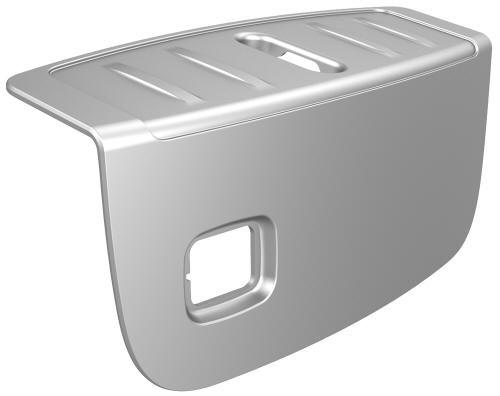
Install
Installation procedure is the reverse of removal.
READ NEXT:
 Switch - Child Safety - Underhood Storage Area (Remove and Replace)
Remove
Remove the hood latch cover. See
Cover - Hood Latch (Remove and Replace).
Release the clips that attach the child safety switch to the hood latch
cover, and remove the switch from
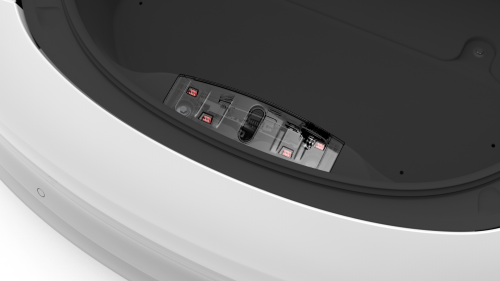
Trim - Floor - Trunk (Remove and Replace)
Remove
Open the rear trunk.
Lift up the trunk floor trim and remove it from the vehicle.
Tip:
Use the pull tab located at the rear edge of the trunk floor trim.
Install
Installation pr
Trim - Side - Trunk - LH (Remove and Replace)
Trim - Side - Trunk - LH (Remove and Replace) - Remove
Remove
Remove the 2nd row lower seat cushion. See
Seat Cushion - Lower - 2nd Row (Remove and Replace).
Remove the LH 2nd row seat side bol
SEE MORE:
Hood (Remove and Install)
Remove
Remove the LH and RH hood gas struts. See Gas Strut - Hood - LH (Remove
and Replace).
Use tape to mark the mounting locations of the LH and RH hood hinges on
the hood.
With an assistant, remove the nuts that attach the hood assembly to the
LH and RH hood hinges.
With
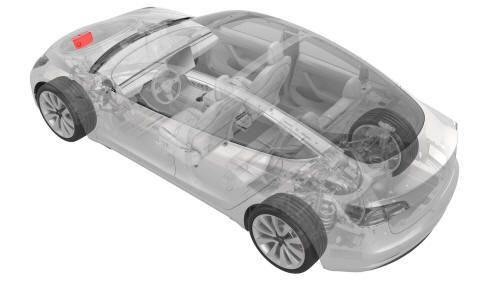
Electric Vehicle Components
High Voltage Components
Air Conditioning Compressor
Front Motor (Dual Motor vehicles only)
Cabin Heater
High Voltage Battery
High Voltage Battery Service Panel
Rear Motor
High Voltage Cabling
Charge Port
Warning: The high voltage system has no user serviceable parts. Do
no
© 2019-2026 Copyright www.tmodel3.com
