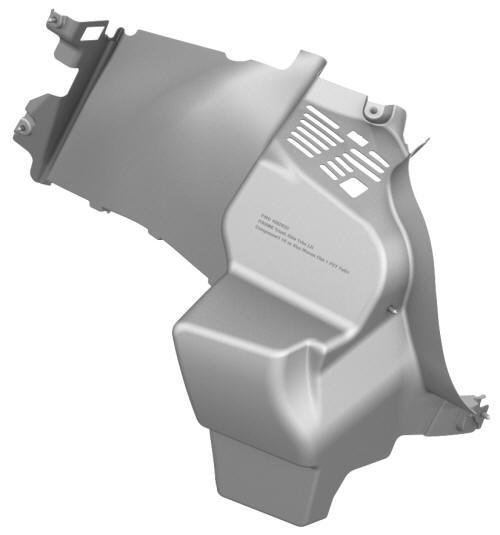
Tesla Model 3: Trim - Side - Trunk - LH (Remove and Replace)
Remove
Install
Trim - Side - Trunk - LH (Remove and Replace) - Remove
Trim - Side - Trunk - LH (Remove and Replace)- Install
READ NEXT:
 Trim - Side - Trunk - RH (Remove and Replace)
Remove
Remove the RH 2nd row seat back. See
Seat Back - 2nd Row - RH (Remove and Install).
Remove the RH side trunk carpet clips (x2) from the body studs located
under the 2nd row seat c
SEE MORE:
Battery - 12V (Remove and Replace)
Remove
Remove the 2nd row lower seat cushion. See
Seat Cushion - Lower - 2nd Row (Remove and Replace).
Remove the rear underhood apron. See
Underhood Apron - Rear (Remove and Replace).
Remove the cabin intake duct. See
Duct - Cabin Intake (Remove and Replace).
Disconnect 12V power. See
12
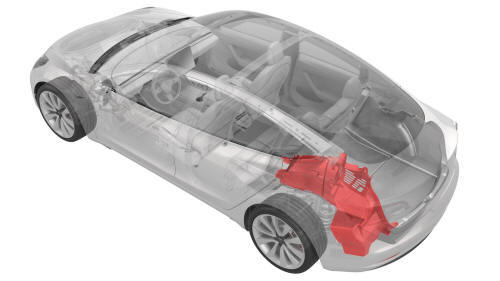
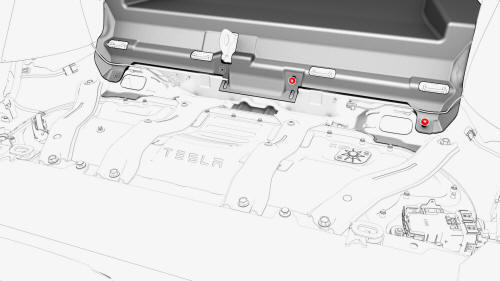
Stabilizer Bar - Front (Remove and Replace)
Remove
Remove the front fascia valance. See
Valance - Front Fascia (Remove and Replace).
LH side shown, RH similar
Remove and discard the nuts that attach the front stabilizer bar to the
LH and RH front stabilizer bar links, and then move the front stabilizer bar
links aside.
Torque
