Tesla Model 3: Trim - Side - Trunk - RH (Remove and Replace)
Tesla Model 3 2017-2026 Service Manual / Interior Trim / Luggage Compartment Trim / Trim - Side - Trunk - RH (Remove and Replace)
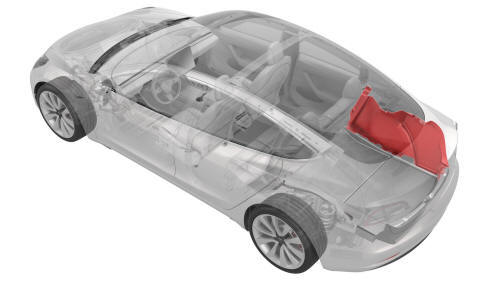
Remove
- Remove the RH 2nd row seat back. See Seat Back - 2nd Row - RH (Remove and Install).
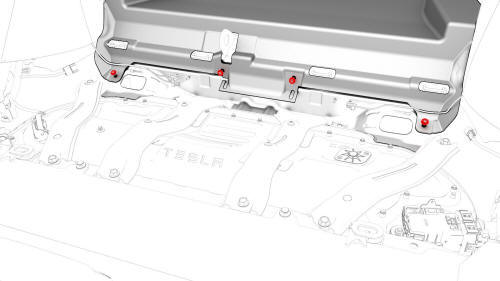
- Remove the RH side trunk carpet clips (x2) from the body studs located under the 2nd row seat cushion.
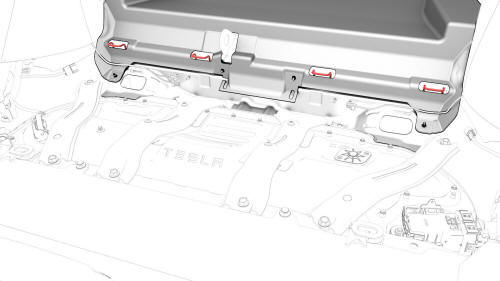
- Raise the trunk carpet over the ISOFIX bars on the RH side.
- Remove the trunk sill trim panel. See Trim - Sill - Trunk (Remove and Replace).
- Remove the trunk garnish. See Garnish - Trunk (Remove and Replace).
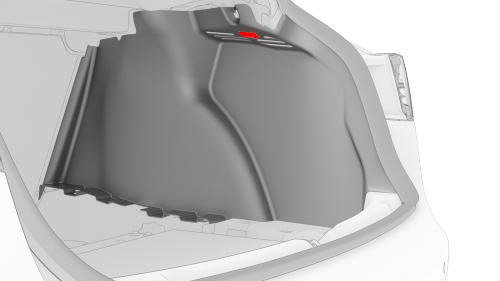
- Release the clips that attach the puddle light to the RH trunk side trim, disconnect the electrical harness from the puddle light electrical connector, and then remove the puddle light from the vehicle.
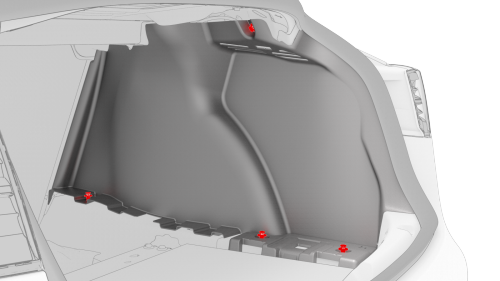
- Remove the push clips that attach the RH trunk side trim to the body,
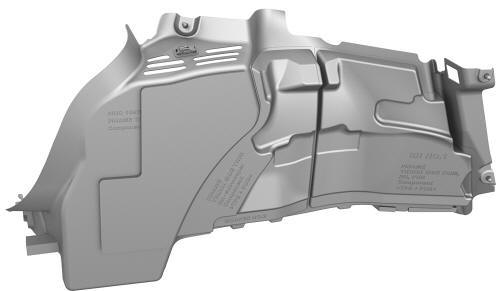
and remove the side trim from the vehicle.
Install
Installation procedure is the reverse of removal.
READ NEXT:
 Trim - Sill - Trunk (Remove and Replace)
Remove
Remove the trunk floor trim. See
Trim - Floor - Trunk (Remove and Replace).
Release the clips that attach the trunk sill trim to the body.
Tip: Pull the corner of the trunk sill t
 Trim - Package Tray (Remove and Install)
Trim - Package Tray (Remove and Install) - Remove
Remove
Remove the 2nd row lower seat cushion. See
Seat Cushion - Lower - 2nd Row (Remove and Replace).
Remove the LH 2nd row seat side bolster.
SEE MORE:
 Bracket - License Plate - Front (EMEA) (Retrofit using Template)
Procedure
Clean the front center surface of the front fascia.
Align the template with the parking sensors, and then use masking tape
to hold the template in place.
LH side shown, RH side similar
Align the front license plate bracket over the template, and then secure
the bracket
 Penthouse Air Leak Test
SPECIAL TOOLS
Pack Enclosure Leak Tester, HV Battery (1026636-00-A)
Pack Kit, Enclosure, Leak Test, HV Battery, Complete (1140501-00-A)
Kit, Encl Leak Test Adapters, HV Battery (1144879-00-A)
Kit, Dummy Plug (1455410-00-A)
Cap, Logic Conn, Inv, 3DU (1108272-00-B)
Parent topic:
1610 - HV Battery En
© 2019-2026 Copyright www.tmodel3.com

