Tesla Model 3: Trim - Sill - Trunk (Remove and Replace)
Tesla Model 3 2017-2026 Service Manual / Interior Trim / Luggage Compartment Trim / Trim - Sill - Trunk (Remove and Replace)
Remove
- Remove the trunk floor trim. See Trim - Floor - Trunk (Remove and Replace).
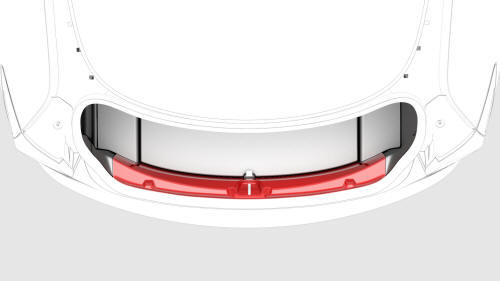
- Release the clips that attach the trunk sill trim to the body.
.png) Tip: Pull the corner of the trunk sill trim upwards to release the
corner clip, and then release the remaining clips.
Tip: Pull the corner of the trunk sill trim upwards to release the
corner clip, and then release the remaining clips.
- Remove the trunk sill trim from the vehicle.
Install
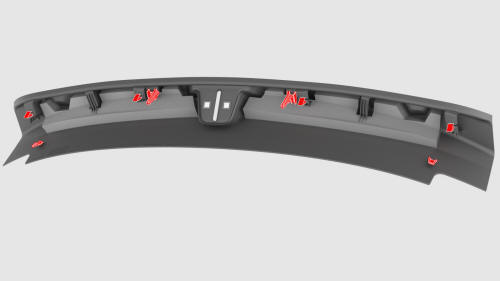
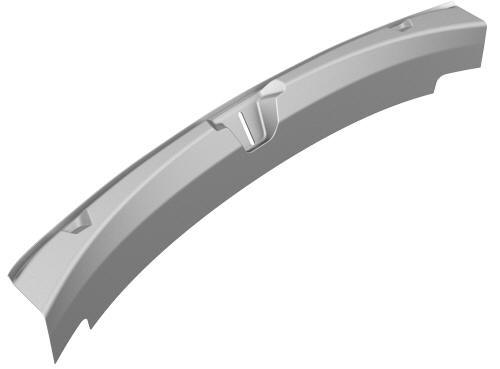
- Align the trunk latch with the slot in the trunk sill trim, align the long tabs (x2) with the slots on the trunk lid, and then press down on the trim to attach all remaining clips and tabs.
Note: Make sure that the trunk seal overlaps the trunk sill trim.
- Install the trunk floor trim. See Trim - Floor - Trunk (Remove and Replace).
READ NEXT:
 Trim - Package Tray (Remove and Install)
Trim - Package Tray (Remove and Install) - Remove
Remove
Remove the 2nd row lower seat cushion. See
Seat Cushion - Lower - 2nd Row (Remove and Replace).
Remove the LH 2nd row seat side bolster.
SEE MORE:
Rear Cameras
Camera - Rear Facing (Remove and Replace)
Remove
Remove the trunk trim. See Trim - Lid - Trunk (Remove and Replace).
Remove the trunk exterior release switch. See Switch - Exterior Release
- Trunk (Remove and Replace)
Install
Install the trunk exterior release switch. See Switch - Exterior
Mirrors
Adjusting Exterior Mirrors
Adjust the exterior mirrors by touching
Controls > Quick Controls > Mirrors. You can
choose which mirror you would like to adjust
by selecting Left or Right on the touchscreen.
Use the left scroll button on the steering
wheel to adjust the mirror to its desir
© 2019-2026 Copyright www.tmodel3.com
