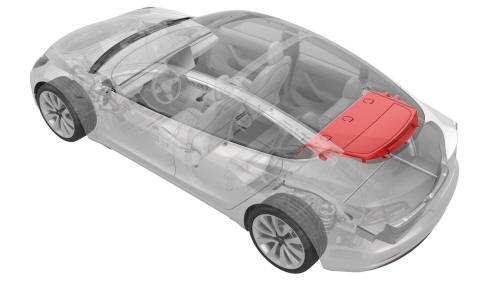
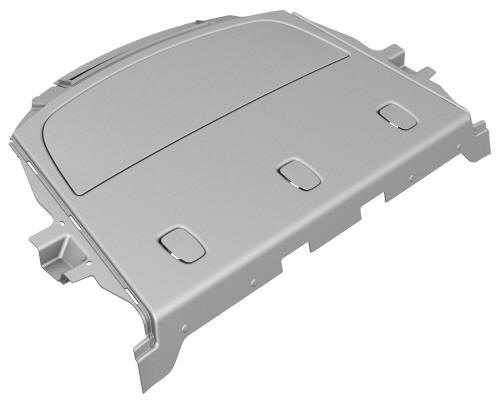
Tesla Model 3: Trim - Package Tray (Remove and Install)
Remove
Install
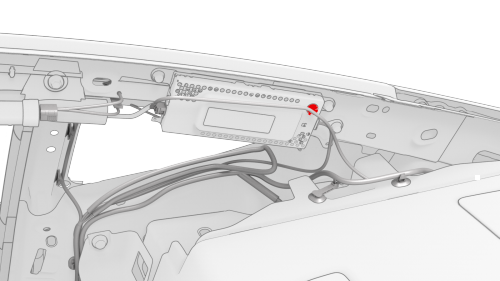
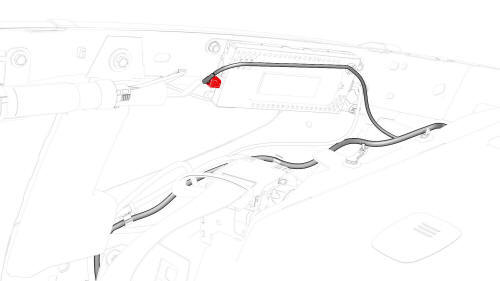
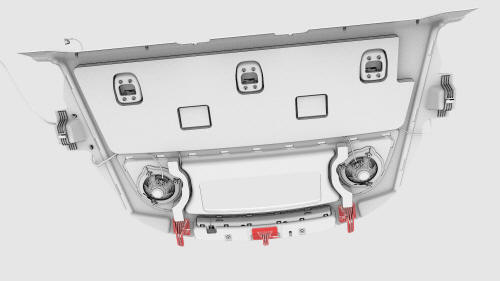
Note: Slide the package tray rearwards to install it to the
vehicle, and then attach the package tray to the body with tabs.
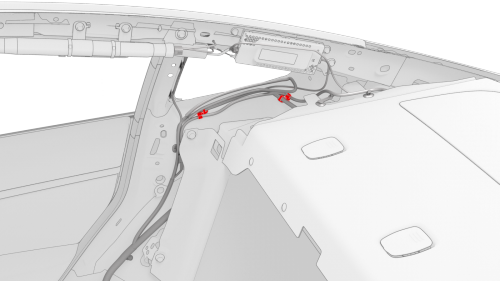
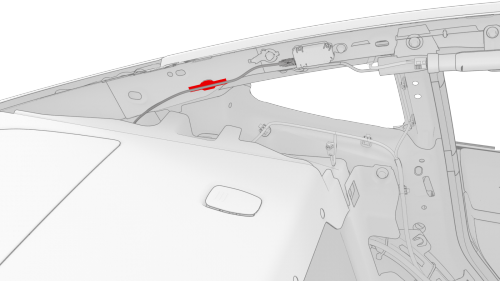
Trim - Package Tray (Remove and Install) - Remove

.jpg)
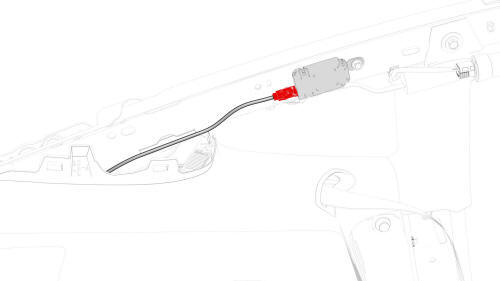
Trim - Package Tray (Remove and Install) - Install
READ NEXT:
 Underhood Storage Unit (Remove and Replace)
Underhood Storage Unit (Remove and Replace) -
Remove
Remove
Remove the rear underhood apron. See
Underhood Apron - Rear (Remove and Replace).
Remove the cabin intake duct. See
Duct - Cabin In
SEE MORE:
Penthouse Air Leak Test
SPECIAL TOOLS
Pack Enclosure Leak Tester, HV Battery (1026636-00-A)
Pack Kit, Enclosure, Leak Test, HV Battery, Complete (1140501-00-A)
Kit, Encl Leak Test Adapters, HV Battery (1144879-00-A)
Kit, Dummy Plug (1455410-00-A)
Cap, Logic Conn, Inv, 3DU (1108272-00-B)
Parent topic:
1610 - HV Battery En
Skid Plate - HV Battery - Rear (Remove and Replace)
DRAFT
Warning:
This procedure was derived from pre-production computer models, and
might not reflect the real-world situation. Warnings and cautions might be
missing. Follow safety requirements and use extreme caution when working on or
near high voltage systems and components.
Do not redistri
