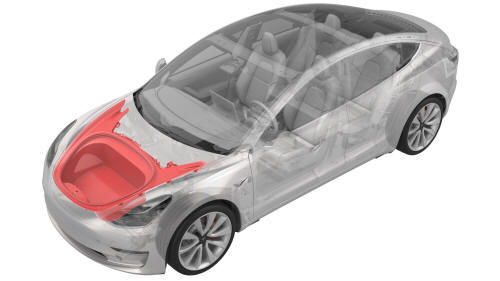
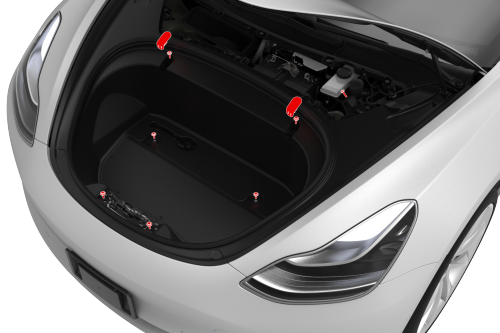
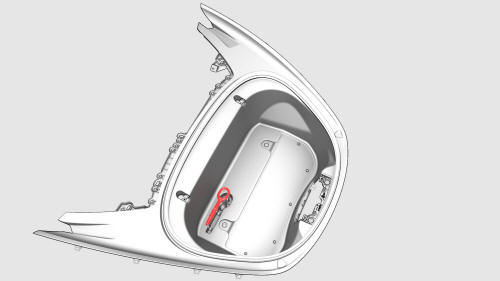
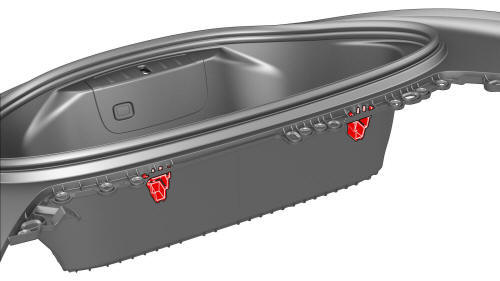
Tesla Model 3: Underhood Storage Unit (Remove and Replace)
Remove
Note: Replace any broken or missing clips, if reinstalling
the same underhood storage unit.
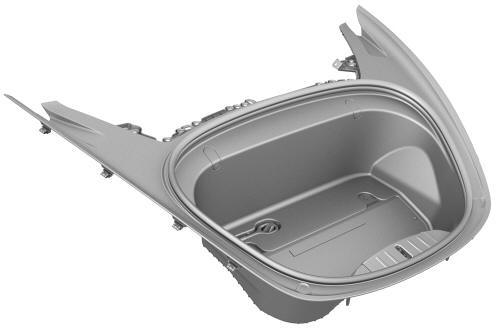
Install
Note: Make sure that all clips for the underhood storage unit are
engaged.
Underhood Storage Unit (Remove and Replace) -
Remove
Underhood Storage Unit (Remove and Replace) -
Install
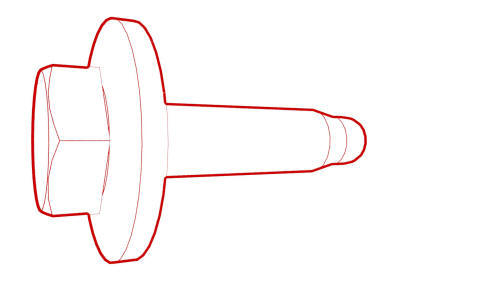 Torque 5 Nm
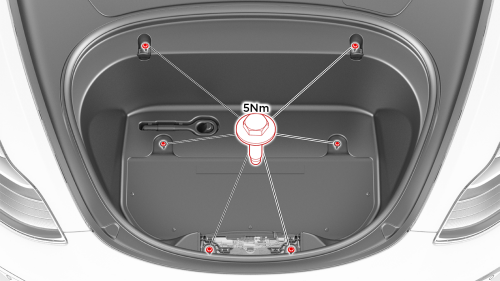
READ NEXT:
SEE MORE:
 Module - Cooling Fan (Remove and Install)
Module - Cooling Fan- Remove
Remove
Raise and support the vehicle. See
Raise Vehicle - 2 Post Lift
Remove the 2nd row lower seat cushion. See
Seat Cushion - Lower - 2nd Row (Remove and Replace).
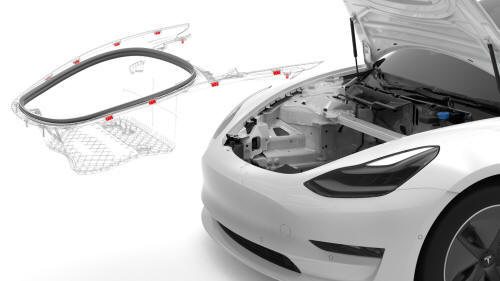
Remove the rear underhood apron. See
Underhood Apron - Rear (Remove and Replace).
Remove the ca
Brake Lines - Rear - LH to Sill (Remove and Replace)
SPECIAL TOOLS
Flare nut crowfoot set (1079041-00-A)
Remove
Caution:
Brake fluid dissolves paint. Have clean towels and plenty o
