Tesla Model 3: Seal - Outer Belt - Rear Door - LH (Remove and Replace)
Tesla Model 3 2017-2026 Service Manual / Closures / Seals Body Closures / Seal - Outer Belt - Rear Door - LH (Remove and Replace)

This procedure was formulated using a release candidate or production model. Follow safety requirements and use extreme caution when working on or near high-voltage systems and components.
Remove
- Open the LH rear door and lower the window.
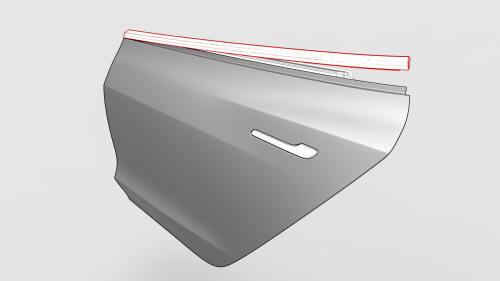
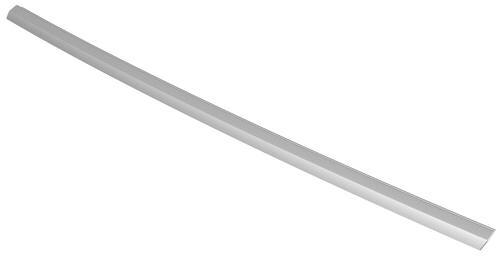
- Pry the outer belt seal from the rear door, and then remove the seal
from the rear door.
Install
Installation procedure is the reverse of removal
READ NEXT:
 Seal - Secondary - Front Door - LH (Remove and Replace)
Remove
Open the LH front door.
Use narrow-width tape to carefully mark the location of the secondary
seal around the door.
Caution:
Make sure that the edge of the tape accurately follows the
Seal - Secondary - Rear Door - LH (Remove and Replace)
Remove
Open the LH rear door.
Use narrow-width tape to carefully mark the location of the secondary
seal around the door.
Caution:
Make sure that the edge of the tape accurately follows the
Seal - Trunk (Remove and Replace)
Remove
Open the trunk.
Lift up the rear trunk floor, and then remove it from the vehicle.
Remove the trunk sill trim. See
Trim - Sill - Trunk (Remove and Replace).
Release the trunk seal
SEE MORE:
Cup Holder (Remove and Replace)
Remove
Disconnect 12V power. See
12V Power (Disconnect and Connect).
Remove the center console decor trim. See
Decor Trim - Center Console (Remove and Replace).
Remove the screws and release the tabs that attach LH and RH bright
strips to the center console, and then remove the strips
Guide - Probing - HV Battery (Remove and Replace)
Guide - Probing - HV Battery- Remove
SPECIAL TOOLS
Ratchet, 1/4" Sq Dr, HV Insulated (1057602-00-A)
Ext Bar, Wobble, 1/4" Dr, HV Insulated (1057603-00-A)
Skt, 1/4" Sq Dr, 13mm, HV Insulated (1057606-00-A)
Magnet, Flexible, HV Insulated, 18" (1057607-00-A)
Connector Removal, Coolant, PCS, M3 (11118
© 2019-2026 Copyright www.tmodel3.com
