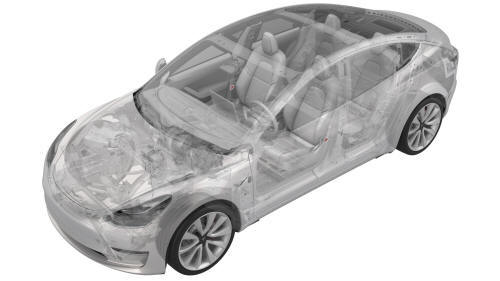
Tesla Model 3: Sensor - Airbag - B-Pillar - LH (Remove and Replace)
Tesla Model 3 2017-2026 Service Manual / Safety and Restraint / Sensors / Sensor - Airbag - B-Pillar - LH (Remove and Replace)
Remove
- Remove the LH instrument panel end cap. See End Cap - Instrument Panel - LH (Remove and Replace).
- Remove the LH middle A-pillar trim. See Trim - A-Pillar - Middle - LH (Remove and Replace).
- Remove the LH lower A-pillar trim. See Trim - A-Pillar - Lower - LH (Remove and Replace).
- Move the driver and front passenger seats fully forward.
- Disconnect 12V power. See 12V Power (Disconnect and Connect).
- Remove the LH 2nd row seat side bolster. See Bolster - Side - Seat - 2nd Row - LH (Remove and Replace).
- Remove the LH rear sill panel trim. See Trim - Sill Panel - Rear - LH (Remove and Replace).
.jpg)
- Release the clips that attach the LH upper B-pillar trim to the vehicle, and then set the trim aside.
Note: Pull the bottom of the LH upper B-pillar trim towards the inside of the vehicle to release the bottom clips, and then pull the top of the trim to release the remaining upper clips
- Remove the LH lower B-pillar trim. See Trim - B-Pillar - Lower - LH (Remove and Replace).
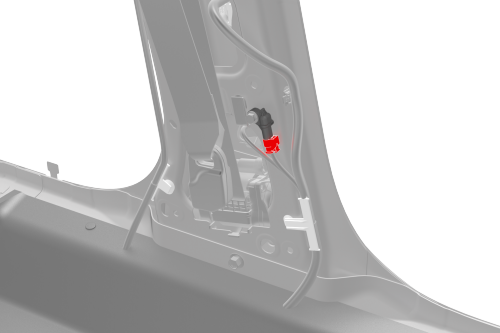
- Disconnect the electrical connector from the B-pillar airbag sensor.
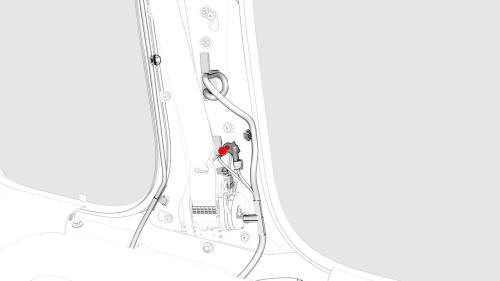
- Remove the bolt that attaches the B-pillar airbag sensor to the body,
and then remove the from the vehicle.
 Torque 8 Nm
Install
Installation procedure is the reverse of removal.
READ NEXT:
 Sensor - Airbag - C-Pillar - LH (Remove and Replace)
Remove
Open all doors.
Lower all windows.
Remove the 2nd row lower seat cushion. See Seat Cushion - Lower - 2nd
Row (Remove and Replace).
Remove the rear underhood apron. See Underhood Apron
Sensor - Airbag - Door - Front (Remove and Replace)
Note: This procedure was formulated using a release candidate or
production model. Follow safety requirements and use extreme caution when
working on or near high-voltage systems and components
Re
Sensor - Airbag - Front - Center (Remove and Replace)
Note:
This procedure was formulated using a release candidate or production
model. Follow safety requirements and use extreme caution when working on or
near high-voltage systems and components.
SEE MORE:
Skid Plate - HV Battery - Front (Remove and Replace)
Remove
Remove the front aero shield. See
Panel - Aero Shield - Front (Remove and Replace).
Remove the bolts and clips that attach the skid plate to the battery,
and then remove the plate from the battery.
Install
Installation procedure is the reverse of removal.
Carpet - Underhood Storage (Remove and Install)
Remove
Open the hood.
Remove the carpet from the underhood storage unit.
Install
Install the carpet into the underhood storage unit.
Close the hood.
© 2019-2026 Copyright www.tmodel3.com
