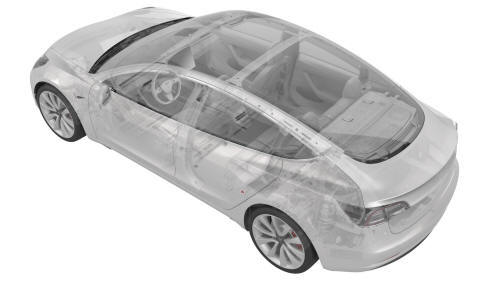
Tesla Model 3: Sensor - Airbag - C-Pillar - LH (Remove and Replace)
Tesla Model 3 2017-2026 Service Manual / Safety and Restraint / Sensors / Sensor - Airbag - C-Pillar - LH (Remove and Replace)
Remove
- Open all doors.
- Lower all windows.
- Remove the 2nd row lower seat cushion. See Seat Cushion - Lower - 2nd Row (Remove and Replace).
- Remove the rear underhood apron. See Underhood Apron - Rear (Remove and Replace).
- Disconnect 12V power. See 12V Power (Disconnect and Connect).
- Remove the LH 2nd row seat side bolster. See Bolster - Side - Seat - 2nd Row - LH (Remove and Replace).
- Remove the LH rear sill panel trim. See Trim - Sill Panel - Rear - LH (Remove and Replace).

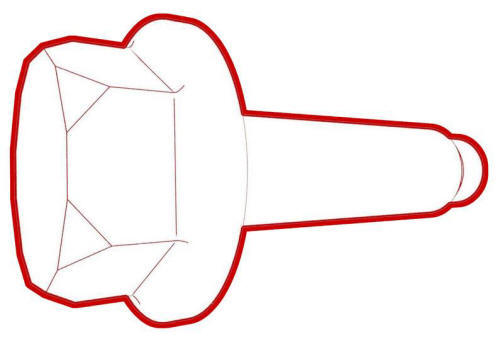
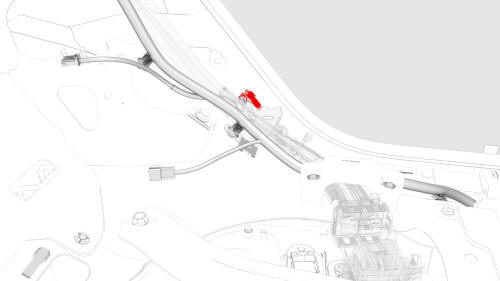
- Remove the bolt that attaches the charge port harness bracket to the
body, and then move the charge port harness away from the C-pillar.
 Torque 10 Nm
- Disconnect the electrical harness from the airbag sensor connector.
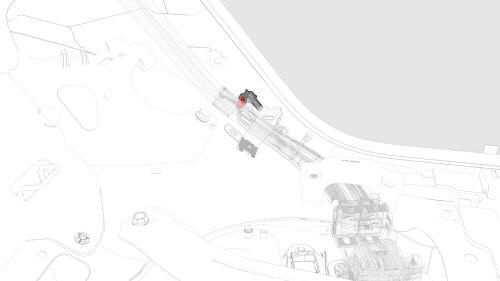
- Remove the bolt that attaches the airbag sensor to the C-pillar, and
then remove the sensor from the vehicle.
Torque 8 Nm
Install
Installation procedure is the reverse of removal.
READ NEXT:
 Sensor - Airbag - Door - Front (Remove and Replace)
Note: This procedure was formulated using a release candidate or
production model. Follow safety requirements and use extreme caution when
working on or near high-voltage systems and components
Re
Sensor - Airbag - Front - Center (Remove and Replace)
Note:
This procedure was formulated using a release candidate or production
model. Follow safety requirements and use extreme caution when working on or
near high-voltage systems and components.
Sensor - Airbag - Front - LH (Remove and Replace)
Remove
Remove the front LH wheel arch liner. See Wheel Arch Liner - Front - LH
(Remove and Replace).
Disconnect the electrical wiring harness connector from the LH front
airbag sensor.
SEE MORE:
Carpet - Front - LH (Remove and Replace)
DRAFT
Warning:
This procedure was derived from pre-production computer models, and
might not reflect the real-world situation. Warnings and cautions might be
missing. Follow safety requirements and use extreme caution when working on or
near high voltage systems and components.
Do not redistribu
Getting Maximum Range
Driving Tips to Maximize Range
You can maximize your driving range using
the same driving habits that you use to
conserve fuel in a gasoline-powered vehicle. In
addition to driving habits, energy
consumption depends on environmental
conditions (such as exceptionally cold or hot
weather and dr
© 2019-2026 Copyright www.tmodel3.com
