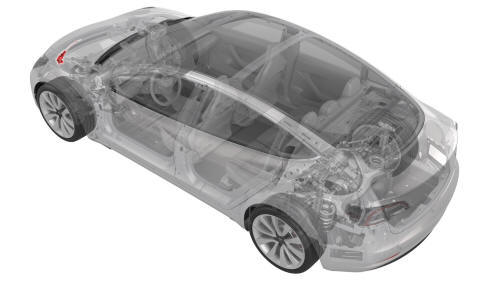
Tesla Model 3: Actuator - Latch - Hood - Primary (Remove and Replace)
Tesla Model 3 2017-2026 Service Manual / Closures / Latches Strikers and Pinch Sensors / Actuator - Latch - Hood - Primary (Remove and Replace)
Remove
- Remove the rear underhood apron. See Underhood Apron - Rear (Remove and Replace).
- Remove the cabin intake duct. See Duct - Cabin Intake (Remove and Replace).
- Remove the hood latch cover. See Cover - Hood Latch (Remove and Replace).
- Remove the underhood storage unit. See Underhood Storage Unit (Remove and Replace).
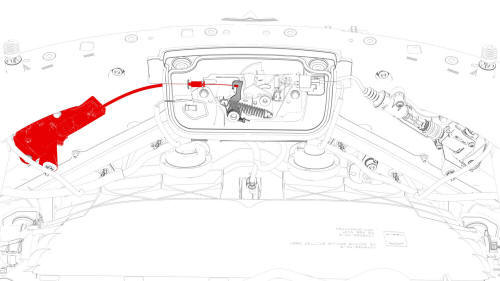
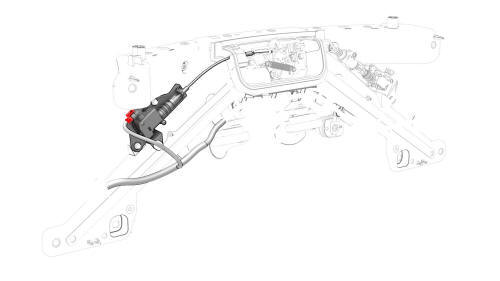
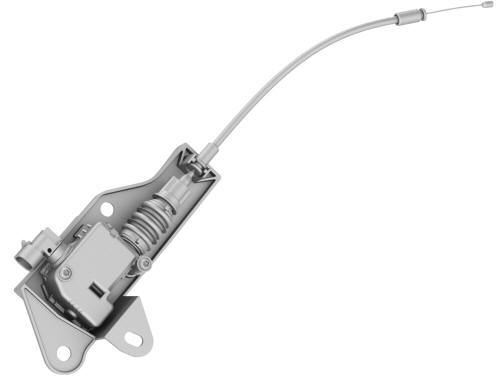
- Release the primary hood latch actuator cable from the hood latch.
Note: Release the clip before removing the primary latch actuator cable from the hood latch arm.
- Disconnect the electrical harness from the primary hood latch actuator connector.

- Release the clip that attaches the primary hood latch actuator electrical connector to the body.
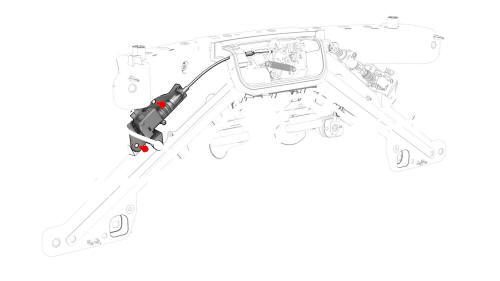
- Remove the bolts that attach the primary hood latch actuator to the
front end carrier, and remove the actuator from the vehicle.
 Torque 5 Nm
Install
Installation procedure is the reverse of removal.
READ NEXT:
 Actuator - Latch - Hood - Secondary (Remove and Replace)
Actuator - Latch - Hood - Secondary (Remove and Replace)- Remove
Remove
Remove the rear underhood apron. See Underhood Apron - Rear (Remove and
Replace).
Remove the cabin intake duct. See Duct
SEE MORE:
Switch - Steering Wheel - LH (Remove and Replace)
Remove
Remove the driver airbag. See Airbag - Driver (Remove and Replace).
Disconnect the steering wheel electrical wiring harness from the
connector.
Disconnect the electrical harness from the LH steering wheel switch
connector.
Disconnect the electrical harness from the RH s
Bezel - Handle - Seat Back - 2nd Row - LH (Remove and Replace)
Remove
Release the LH 2nd row seat back and fold it slightly forward.
Use a pry tool to release the clips (x2) that attach the LH 2nd row seat
back handle bezel to the LH 2nd row seat back handle assembly, and then
remove the bezel from the handle assembly
Install
Install the LH 2n
© 2019-2026 Copyright www.tmodel3.com
