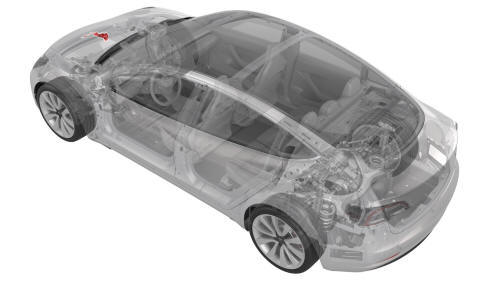
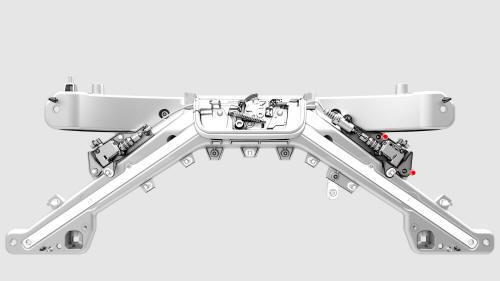
Tesla Model 3: Actuator - Latch - Hood - Secondary (Remove and Replace)
Remove
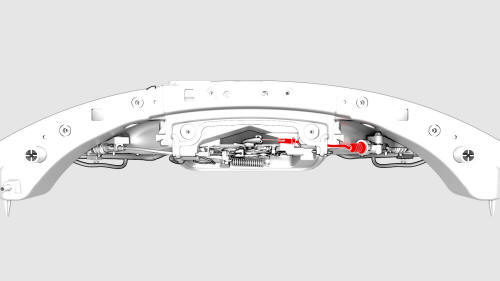
Note: Release the clip before removing the actuator cable from the
latch arm.
Install
Note: Secure the cable end to the latch arm, and then attach the
clip.Actuator - Latch - Hood - Secondary (Remove and Replace)- Remove
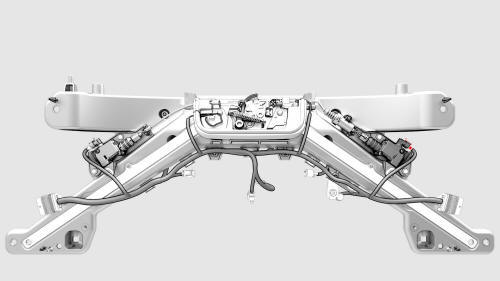
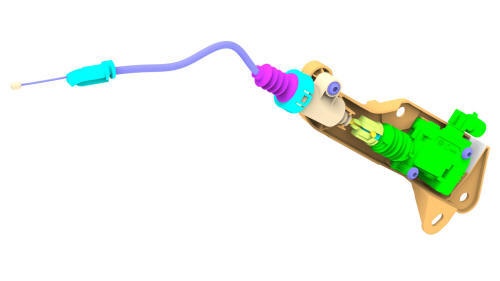
Actuator - Latch - Hood - Secondary (Remove and Replace)- Install
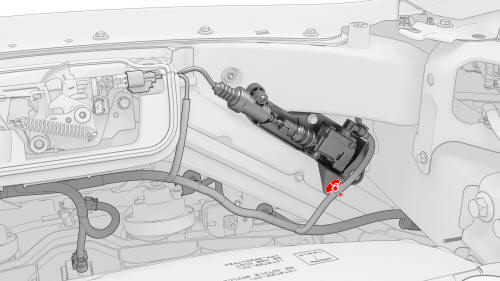
 Torque 5 Nm
READ NEXT:
 Latch - Door - Front - LH (Remove and Replace)
Remove
Remove the front LH door closeout panel. See Closeout Panel - Door -
Front - LH (Remove and Install).
Disconnect the electrical harness from the door latch connector.
SEE MORE:
Filter - Oil - Rear Drive Unit (Remove and
Replace)
SPECIAL TOOLS
Skt, Oil Filter, 63.5mm X 14
(1130484-00-A)
Kit, Drive Unit Oil Drain, Model
3 (1134264-00-A)
Procedure
Replace the oil filter according
to the gearbox fluid procedure. See
Harness - Drive Unit - Front (Remove and Replace)
Remove
Partially raise the vehicle to a comfortable working height. See Raise
Vehicle - 2 Post Lift.
Remove the 2nd row lower seat cushion. See Seat Cushion - Lower - 2nd
Row (Remove and Replace).
Remove the rear underhood apron. See Underhood Apron - Rear (Remove and
Replace).
Disconne
