Tesla Model 3: Switch - Steering Wheel - RH (Remove and Replace)
Tesla Model 3 2017-2026 Service Manual / Electrical / Interior Switches / Switch - Steering Wheel - RH (Remove and Replace)
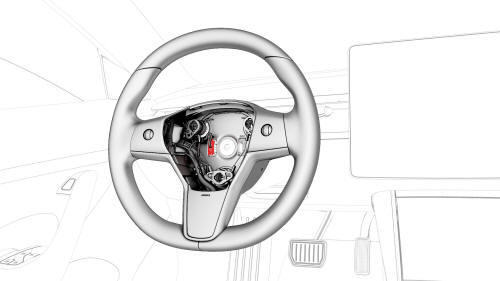
- Remove the driver airbag. See Airbag - Driver (Remove and Replace).
- Disconnect the steering wheel electrical wiring harness from the connector.
- Disconnect the electrical harness from the LH steering wheel switch connector.
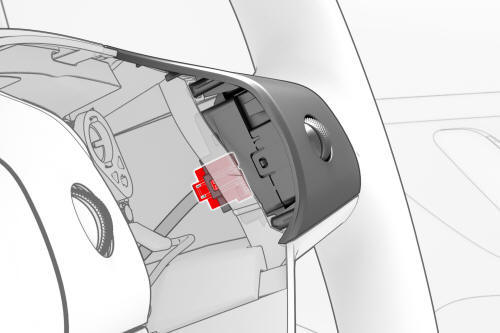
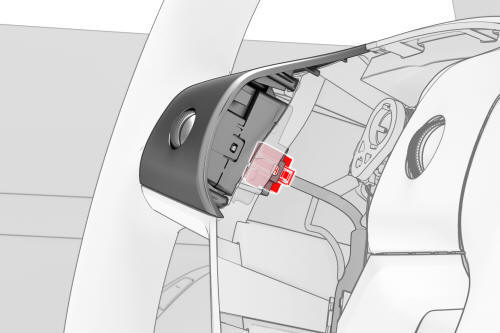
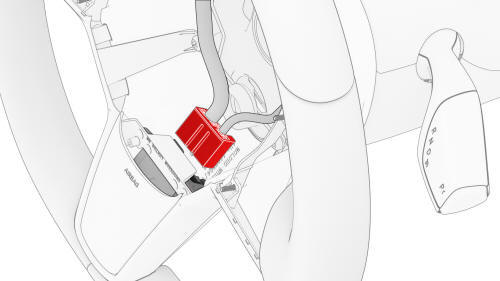
- Disconnect the electrical harness from the RH steering wheel switch connector.
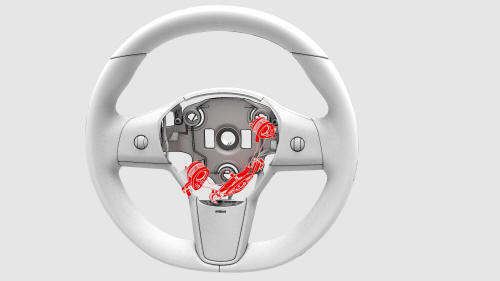
- Release the clips that attach the horn assembly, and then move the horn assembly to the side.
- Disconnect the electrical harness from the lower connector, and then remove the electrical harness from the steering wheel.
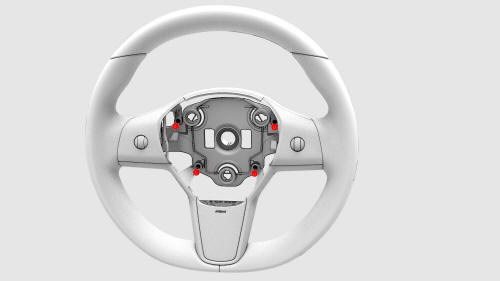
- Remove the screws that attach the bright surround to the steering wheel,
and then remove the surround.
 Torque 5.4 Nm
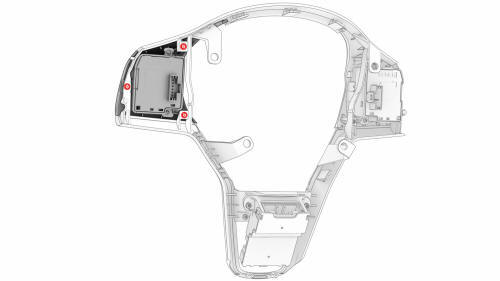
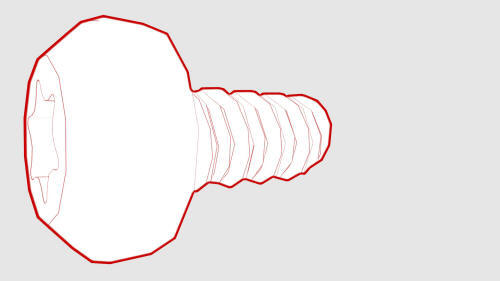
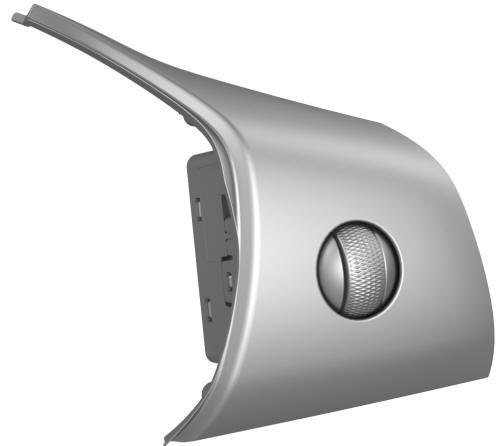
- Remove the screws (x3) that attach the RH steering wheel switch to the
bright surround, and then remove the switch from the surround.
Torque
0.9 Nm
Install
Installation procedure is the reverse of removal.
READ NEXT:
 Puddle Light - Front Door - LH (Remove and Replace)
Remove
Use a small screwdriver or pry tool in the slot at the front of the
puddle light to pry the light out of the bottom of the front LH door trim
panel.
Release the clips that attach
Puddle Light - Rear Door - LH (Remove and Replace)
Remove
Use a small screwdriver or pry tool in the slot at the front of the
puddle light to pry the light out of the bottom of the rear LH door trim
panel.
Release the clips that attach
SEE MORE:
Duct - HVAC Plenum - Outer (Remove and Replace)
Remove
Remove the rear underhood apron. See
Underhood Apron - Rear (Remove and Replace).
Remove the cabin intake duct. See
Duct - Cabin Intake (Remove and Replace).
Release the clips that attach the outer HVAC plenum duct to the inner
HVAC plenum duct, and then remove the outer HVAC pl
Actuator - Lower Mode (Remove and Replace)
Remove
Remove the HVAC assembly. See
HVAC Assembly (Remove and Replace).
Disconnect the lower mode actuator electrical connector.
Remove the screws that attach the lower mode actuator to the HVAC
assembly, and then remove the actuator from the HVAC assembly.
Install
Position th
© 2019-2026 Copyright www.tmodel3.com
