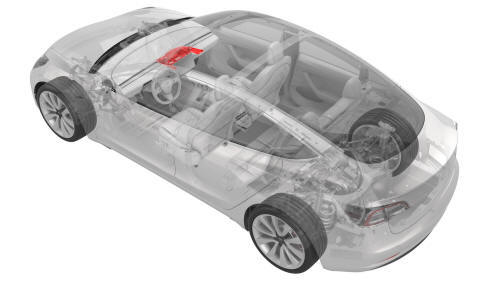
Tesla Model 3: Cover - Footwell - Passenger (LHD) (Remove and Replace)
Tesla Model 3 2017-2026 Service Manual / Instrument Panel / Cover - Footwell - Passenger (LHD) (Remove and Replace)
Remove
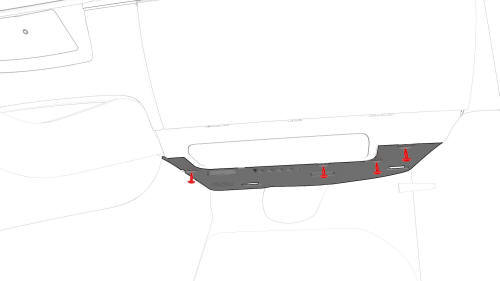
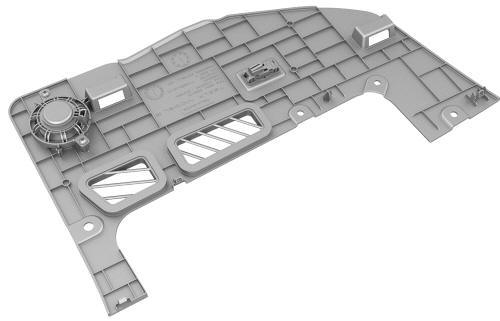
- Release the clips that attach the passenger footwell cover to the vehicle.
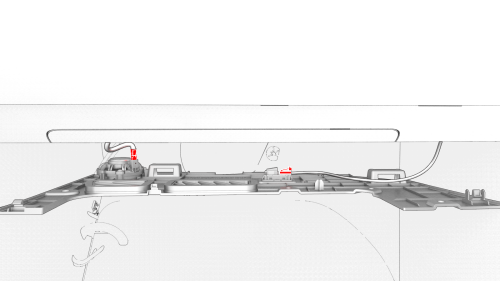
- Disconnect the electrical wiring harness connectors from the puddle light and emergency speaker.
- Remove the footwell cover from the vehicle.
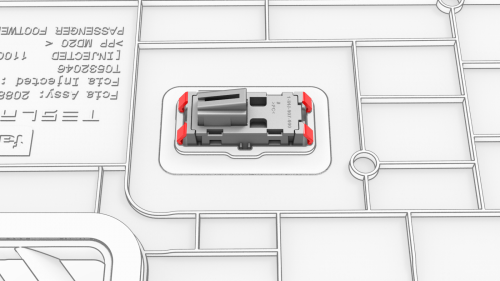
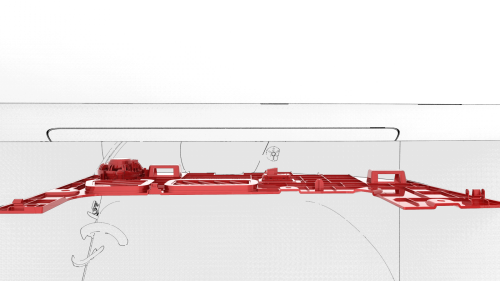
- Release the clips that attach the puddle light to the passenger footwell
cover, and then remove the puddle light from the footwell cover.
Install
Installation procedure is the reverse of removal.
READ NEXT:
 Damper - Glove Box (Remove and Replace)
Remove
Remove the glove box. See
Glove Box (LHD) (Remove and Replace).
Remove the pin that attach the glove box damper to the glove box using
needle nose pliers.
Fully open the glove bo
Decor Trim - Instrument Panel - Main (Remove and Replace)
Remove
Remove both the LH and RH air wave end caps. See
End Cap - Air Wave - LH (Remove and Replace).
Release the clips that attach the main instrument panel decor trim, and
then remove
End Cap - Instrument Panel - LH (Remove and Replace)
Remove
Release the clips that attach the end cap
Remove the end cap from the vehicle.
Install
Installation procedure is the reverse of removal.
SEE MORE:
Tire Rotation
Vehicle ride quality and
handling are maximized when
all 4 tires are the same age,
model, and tread depth.
Rotating tires regularly
allows them to wear at the
same rate and increases the
service life. T
Link - Fore - Upper - Rear - LH (Remove and Replace)
SPECIAL TOOLS
Tool, Spring Compressor, Hook, Model 3 (1135103-00-A)
Remove
Remove the rear subframe assembly. See
Subframe Assembly - Rear (Remove and Install).
Remove the bolt and nut that attach the LH rear upper fore link to the
knuckle.
With an assistant, remove the bolt and nut
© 2019-2026 Copyright www.tmodel3.com
